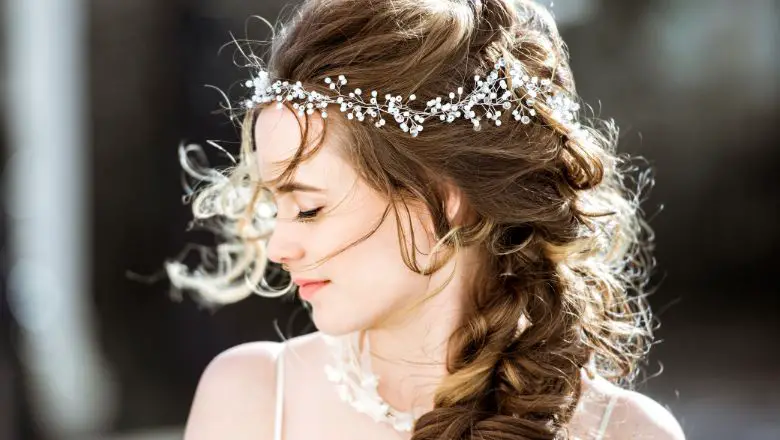
Your big day deserves the perfect hairstyle that reflects your beauty and personality.
Whether your hair is long and flowing or short and sassy, these DIY wedding hairstyle ideas are here to make you feel like the radiant bride you’ve always envisioned.
Get ready to walk down the aisle with confidence, knowing that your hair is an enchanting accessory that complements your bridal glow!
5 Easy DIY Wedding Hairstyles for Long and Short Hair
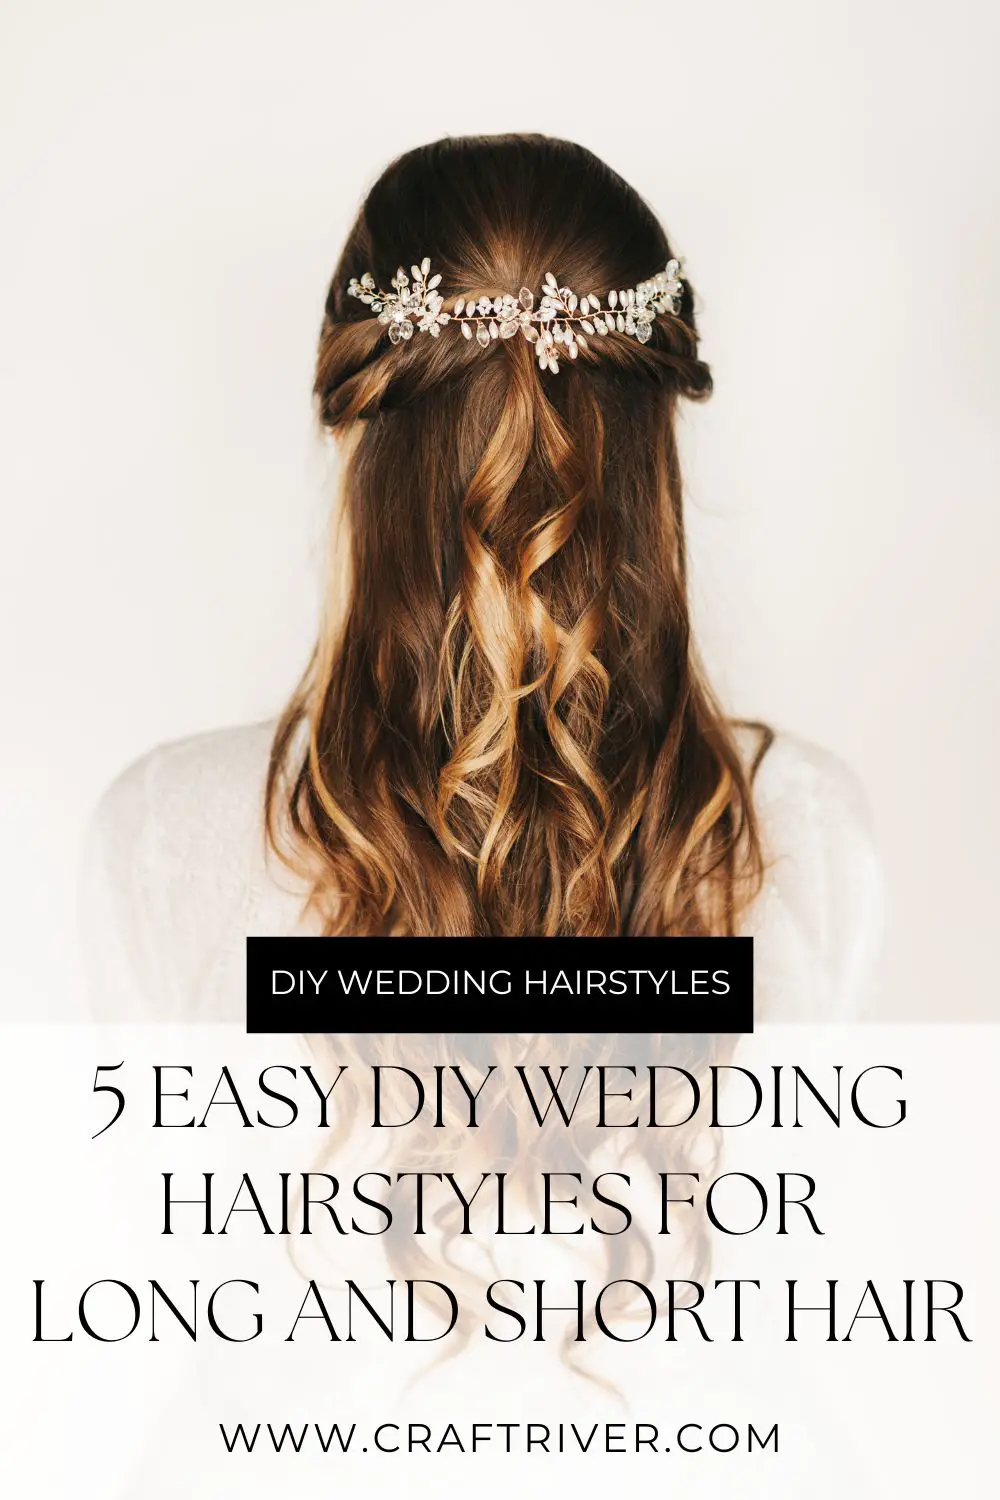
Planning a wedding can be an overwhelming task, with countless decisions to make and details to consider.
One of the most important aspects of any bride’s look is her hairstyle, as it can truly elevate and complete her overall bridal aesthetic.
However, hiring a professional hairstylist may not always be feasible or preferred.
That’s where these 5 easy DIY wedding hairstyles come in handy!
Whether you have long flowing locks or sport a chic shortcut, I’ve got you covered with these simple yet stunning hairstyles that will make you feel like a confident and beautiful bride on your special day.
Long Hair Elegance: Graceful Half-Up Twist
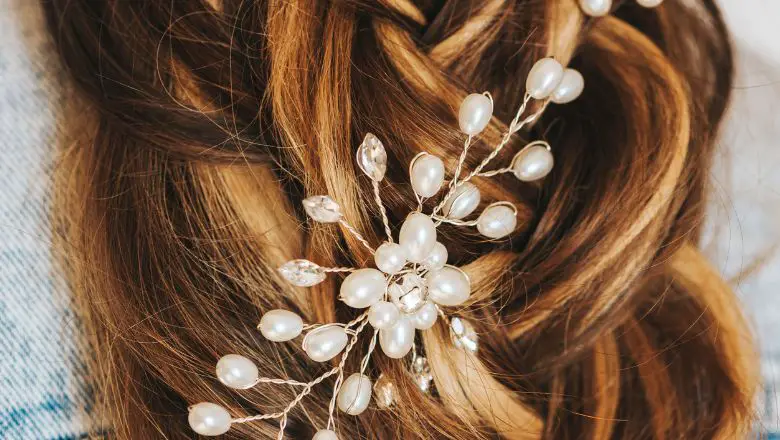
Long hair is a canvas for creativity, and this DIY half-up twist adds elegance to your wedding look.
It’s a balance of sophistication and romance that beautifully showcases your luscious locks.
What You’ll Need?
- Bobby pins (for secure styling)
- Curling iron (to add soft waves if desired)
- Decorative hairpins or a hair accessory (for a touch of glam)
Let’s Craft the Twist
- Wave it Up: If you’re opting for waves, use a curling iron to add soft, loose curls to your hair. This step adds texture and a touch of romance.
- Gather and Twist: Take a small section of hair from one side of your head, twist it towards the back, and secure it with a bobby pin. Repeat on the other side, creating a crisscrossed effect.
- Half-Up Elegance: Gather both twisted sections at the back of your head, slightly overlapping them, and secure them with bobby pins. This creates a lovely half-up, half-down look.
- Finishing Touches: For an added touch of glam, decorate the twist with decorative hairpins or a sparkly hair accessory. Your half-up twist is now a statement of elegance.
Why It’s Enchanting?
This DIY half-up twist isn’t just about styling your hair; it’s about framing your face with a touch of romance.
With soft waves and a graceful twist, you’re creating an effortlessly enchanting look. Imagine walking down the aisle, each twist reminding you of the journey that led you to this beautiful moment.
It’s a hairstyle that captures the essence of your love story.
Short Hair Chic: Vintage-Inspired Rolled Curls
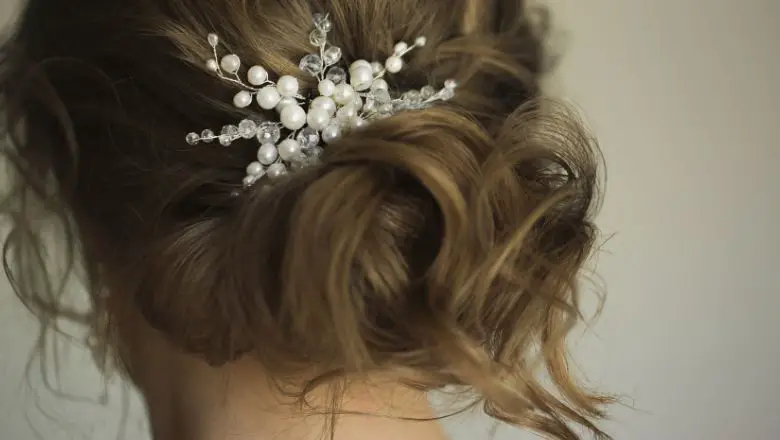
Short hair doesn’t mean sacrificing style – in fact, it’s an opportunity to rock a vintage-inspired look that’s chic and timeless.
These rolled curls are all about embracing your short hair and turning it into a canvas for elegance.
What You’ll Need?
- Hair rollers (for creating curls)
- Bobby pins (for securing curls)
- Hair spray (to set the curls in place)
- Decorative hairpin or headband (for added flair)
Let’s Create Vintage Magic
- Roller Set: Divide your hair into small sections and roll them up using hair rollers. This step creates classic curls that exude vintage charm.
- Pin and Set: Once your hair is rolled, secure each curl with bobby pins. Allow the curls to set for a bit – this is your moment to relax and enjoy some pampering.
- Unveil the Curls: Carefully remove the rollers, revealing your beautifully curled hair. Gently run your fingers through the curls to soften them and create a natural bounce.
- Add a Finishing Touch: If desired, add a decorative hairpin or a headband to elevate the vintage vibe. This is your chance to add a personal flair to the look.
Why It’s Timeless?
This DIY rolled curls hairstyle isn’t just about styling your short hair; it’s about embracing a vintage-inspired elegance that transcends trends.
With each curl, you’re harking back to a bygone era while confidently embracing the present.
Imagine walking down the aisle with a chic hairstyle that’s a nod to the past and a celebration of the present.
Long Hair Glamour: Boho Braided Crown
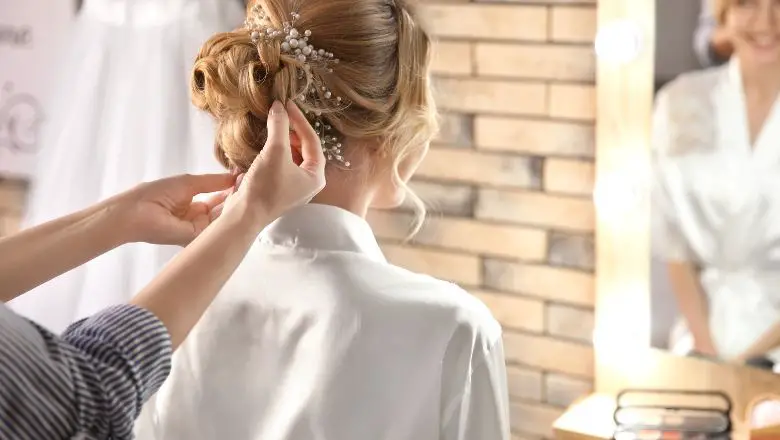
Long hair and boho vibes are a match made in bridal heaven.
This DIY boho braided crown is all about channeling your inner goddess and embracing the ethereal beauty that long locks can bring to your wedding day.
What You’ll Need?
- Hair elastics (for securing braids)
- Bobby pins (for securing the braided crown)
- Decorative hairpins or flowers (for a boho touch)
Let’s Create the Crown
- Center Part: Part your hair in the center to create two even sections. This step sets the foundation for your braided crown.
- Braid it Up: Start braiding one side of your hair from the front, working your way towards the back. Secure the end with a hair elastic. Repeat on the other side.
- Cross and Crown: Cross the braids over your head, placing them like a crown. Secure them with bobby pins, tucking the ends out of sight.
- Boho Flair: For a boho touch, tuck in some decorative hairpins or even fresh flowers along the crown. This step adds a touch of whimsy and ethereal charm.
Why It’s Ethereal?
This DIY boho braided crown isn’t just about styling your hair; it’s about creating a bridal look that’s ethereal and full of romance.
With intertwined braids and delicate accents, you’re embodying the spirit of nature and celebration.
Imagine walking down the aisle with a crown of braids that’s a reflection of your inner goddess.
Short Hair Glam: Textured Pixie Elegance
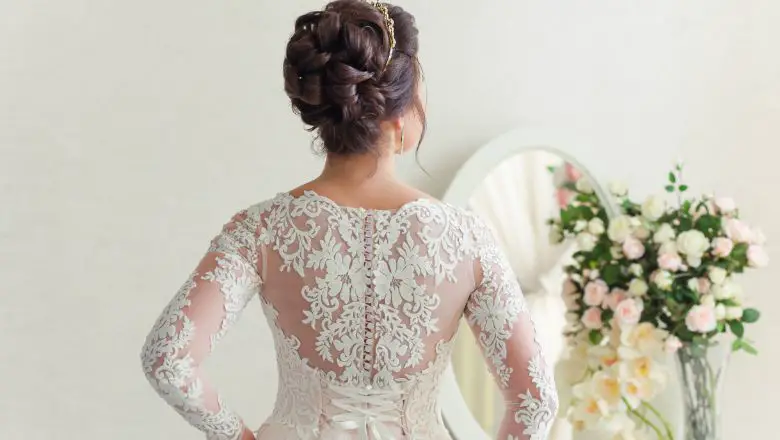
Short hair is the epitome of modern elegance, and this textured pixie hairstyle is all about embracing its charm.
It’s a balance of sophistication and playfulness that complements your wedding attire with grace.
What You’ll Need?
- Texturizing spray (for adding volume and texture)
- Hairpins (for securing hair)
- Decorative hair accessory (for a touch of elegance)
Let’s Create Pixie Magic
- Texturize: Apply texturizing spray to your hair to give it volume and definition. This step is all about adding a touch of drama to your pixie cut.
- Side-Sweep: Sweep your hair to one side, creating a deep side part. This asymmetrical style adds a sense of elegance to your short hair.
- Secure and Pin: Secure the hair on the side with hairpins, creating a tucked and elegant look. Embrace the art of pinning to create a polished finish.
- Elevate with Accessory: To add a touch of bridal elegance, adorn your hair with a decorative hair accessory. Whether it’s a sparkly hairpin or a delicate comb, it’s your chance to shine.
Why It’s Modern Elegance?
This DIY textured pixie hairstyle isn’t just about styling your short hair; it’s about celebrating the modern elegance that a pixie cut brings to your bridal look.
With texturized volume and a carefully styled side sweep, you’re embracing a chic and confident aura.
Imagine walking down the aisle with a hairstyle that radiates both sophistication and playfulness.
Long Hair Whimsy: Floral Crown Braid
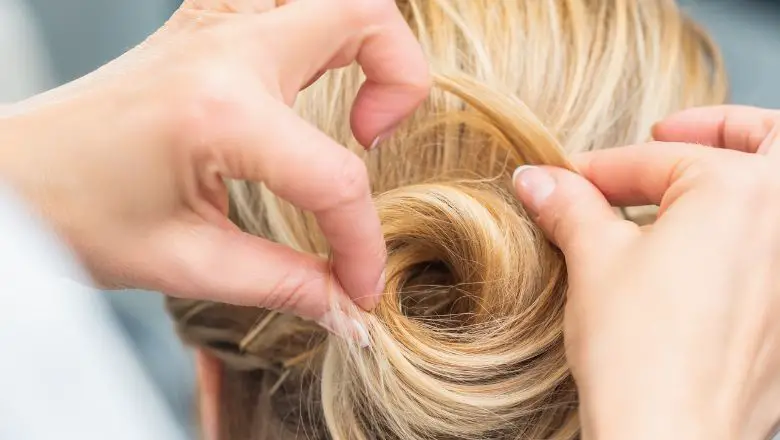
Long hair is a canvas for creativity, and what’s more whimsical than a floral crown braid?
This DIY hairstyle is all about weaving nature’s beauty into your wedding look, creating an ethereal and enchanting style.
What You’ll Need?
- Fresh flowers (small blooms work best)
- Hair elastics (for securing braids)
- Bobby pins (for securing flowers)
- Hair spray (to set the style)
Let’s Craft the Whimsy
- Braid Foundation: Start by braiding a small section of hair on one side, just above your ear. Secure it with a hair elastic. Repeat on the other side.
- Create the Crown: Cross the braids over your head, placing them like a crown. Secure them with bobby pins, positioning them to hold the braids and flowers.
- Blooming Beauty: Tuck small fresh flowers into the braid, securing them with bobby pins. This step is where the magic happens – your hair becomes a garden of enchantment.
- Set and Glow: Spritz your hairstyle with hair spray to set the blooms and keep the braids in place. Now, your floral crown braid is ready to shine!
Why It’s Enchanting?
This DIY floral crown braid isn’t just about styling your hair; it’s about weaving the beauty of nature into your bridal look.
With delicate blooms adorning your braids, you’re embracing a whimsical and ethereal charm.
Imagine walking down the aisle with a hairstyle that’s as enchanting as a fairy tale.
Get Ready to Shine on Your Big Day!
So there you have it, future bride! From elegant half-up twists to chic rolled curls, and boho braided crowns to textured pixie elegance – you’re armed with a treasure trove of DIY wedding hairstyle ideas that are all about celebrating your unique beauty.
Whether you’re walking down the aisle with flowing locks or rocking a short and sassy ‘do, these hairstyles aren’t just about hair – they’re about capturing your essence and radiating confidence as you say “I do.”
Each hairstyle is a canvas for your creativity, a reflection of your personality, and a testament to your journey as a bride.
As you embark on this exciting chapter of your life, remember that your hair is a reflection of your joy, love, and excitement.
It’s your time to shine, and these DIY hairstyles are here to help you do just that.
So go ahead, embrace your inner hairstylist, have fun experimenting, and most importantly, cherish every moment as you prepare to walk down the aisle as the most beautiful version of yourself.
From cascading curls to chic braids, let your hair tell the story of your love and your journey. It’s your day, your style, and your moment to shine, bride-to-be!
