Tired of staring at the same old clothes? Time to channel your inner fashion designer and give your wardrobe a fresh twist!
These easy DIY clothing refashion projects are about to turn your outdated garments into trendy masterpieces.
Get ready to unleash your creativity, save some money, and rock a unique style that’s all your own!
5 Easy DIY Clothing Refashion Projects

Are you tired of staring at your wardrobe and feeling uninspired? Do you have a pile of clothes that you rarely wear, but can’t bring yourself to throw away?
Well, it’s time to give your old garments new life with some easy DIY clothing refashion projects!
Whether you’re a seasoned DIY enthusiast or a beginner looking for a fun project, these five ideas will transform your outdated clothes into trendy and unique pieces.
Denim Delight: Turn Jeans into Stylish Shorts

Ready to give those old jeans a new lease on life?
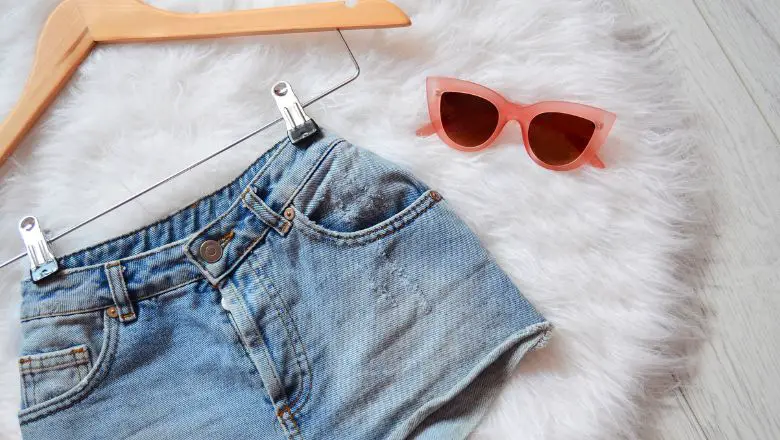
Say hello to your new favorite pair of shorts! With a touch of DIY magic, you’ll transform worn-out denim into chic shorts that are perfect for sunny days.
What You’ll Need
- Old jeans (the more worn, the better!)
- Scissors (your trusty tool for cutting)
- Chalk or fabric marker (for marking your desired length)
- Needle and thread (for optional sewing details)
Let’s Get Snipping
- Mark Your Length: Put on the jeans and use chalk or a fabric marker to mark where you want to cut. Remember, it’s better to start longer and trim if needed.
- Snip, Snip: Lay the jeans flat and carefully cut them along the marked line. If you’re aiming for a frayed edge, leave a little extra fabric.
- Optional Stitching: If you want a neater edge, fold the fabric inward and stitch it down. This will prevent excessive fraying and add a polished touch.
- Show Off Your Style: Rock your newly transformed shorts with pride! Whether you choose a distressed look or a clean-cut finish, you’ve just revamped your denim game.
Why It’s Fabulous?
This DIY shorts refashion isn’t just about extending the life of your jeans; it’s about adding a trendy touch to your wardrobe.
You’re not just wearing shorts – you’re wearing your creativity and personal style. Get ready to strut your stuff and show off those legs in a pair of shorts that are uniquely you!
Stay tuned for more wardrobe revamps that’ll have you looking at your old clothes with newfound excitement.
Let’s keep the fashion journey going and make each outfit a statement piece that speaks volumes about your creativity. Time to rock your DIY denim shorts, fashionista!
Tee Revival: Turn an Old T-Shirt into a Chic Tank Top

Got a collection of old t-shirts gathering dust? It’s time to transform them into trendy tank tops that are perfect for summer!
With a few snips and a touch of creativity, you’ll have stylish tops that breathe new life into your wardrobe.
What You’ll Need
- Old T-shirt (choose one with a design you love)
- Scissors (for cutting and creating the neckline)
- Chalk or fabric marker (for marking your cuts)
- Needle and thread (optional for sewing details)
Let’s Get Snipping
- Mark Your Cuts: Lay the t-shirt flat and use chalk or a fabric marker to mark where you want to cut. Start by cutting off the sleeves and creating a new neckline.
- Create the Neckline: To create a trendy scoop or V-neck, cut a deeper neckline than the original. Don’t worry if it’s not perfect – a slightly uneven edge adds character.
- Personalize It: Get creative with the back of the shirt! You can cut a racerback design, add a keyhole, or even create a stylish knot at the back.
- Optional Details: If you want a polished look, fold the neckline and armholes inward and stitch them down. This step is optional but adds a neat finish.
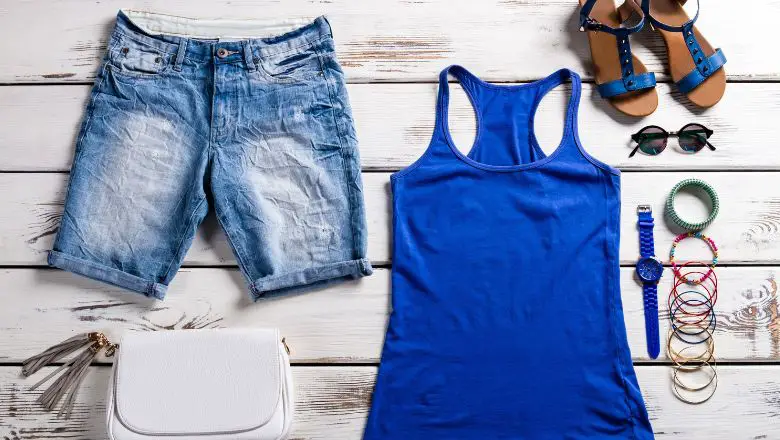
- Show It Off: Put on your newly transformed tank top and rock that summer vibe! You’ve just given new life to an old favorite.
Why It’s Trendy?
This DIY t-shirt-to-tank top refashion isn’t just about recycling old clothes; it’s about embracing your inner fashion designer.
By customizing the neckline and back, you’re adding a touch of personality to your wardrobe.
Imagine wearing a tank top that’s as unique as you are – it’s a fashion statement that’ll turn heads!
Let’s keep the fashion journey rolling and make each outfit a canvas for your creativity.
Get ready to rock those chic tank tops like the fashion-savvy trendsetter you are!
Sweater Chic: Transform a Sweater into a Stylish Cardigan

Got a sweater that’s seen better days? Don’t toss it just yet – we’re about to turn it into a versatile cardigan that’ll become your go-to layering piece.
With a little cutting and some creativity, you’ll have a chic cardigan that’s perfect for those in-between seasons.
What You’ll Need?
- Old sweater (preferably one with knit fabric)
- Scissors (for cutting)
- Fabric glue or sewing kit (for optional finishing touches)
Let’s Unveil the Cardigan
- Decide the Length: Put on the sweater and determine how long you want your cardigan to be. Mark the desired length with chalk or pins.
- Cut, Cut, Cut: Lay the sweater flat and carefully cut along the marked line. Remember, you’re only cutting the front part – the back will stay intact.
- Optional Finishing: To prevent the cut edges from fraying, you can apply fabric glue along the cut lines or use a sewing kit to create a neat hem.
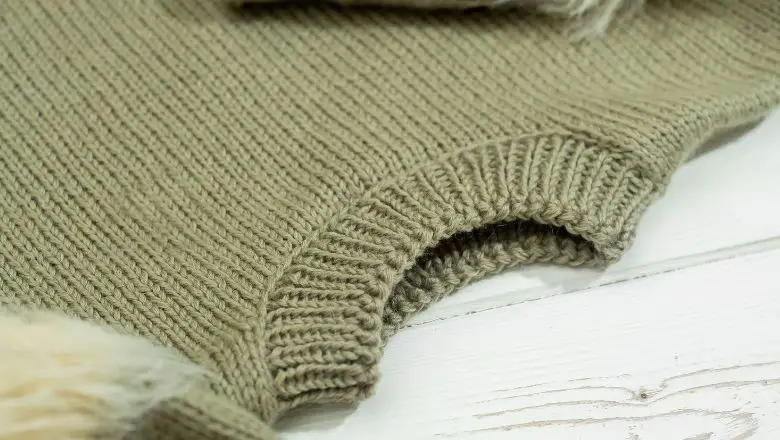
- Drape and Style: Slip on your newly transformed cardigan and let it drape open effortlessly. The result? A cozy layer that’s as stylish as it is comfortable.
Why It’s Versatile?
This DIY sweater-to-cardigan refashion isn’t just about salvaging an old garment; it’s about turning it into a fashion-forward piece.
By creating a cardigan, you’re adding a layering essential to your wardrobe that’s perfect for transitioning between seasons.
Imagine having a versatile piece that can be dressed up or down – it’s like giving your sweater a whole new lease on life!
Stay tuned for more wardrobe revamps that’ll have you rethinking your old clothes with a creative eye. Let’s keep the fashion journey alive and make each outfit a statement of your unique style.
Get ready to rock that transformed cardigan with confidence, trendsetter!
Dress Transformation: Turn a Skirt into a Stylish Tube Top

Who says a skirt can’t multitask?
Get ready to transform a skirt into a trendy tube top that’s perfect for casual outings or layering under your favorite jacket.
With a few snips and a pinch of imagination, you’ll have a versatile piece that adds flair to your wardrobe.
What You’ll Need?
- Old skirt (choose one with a stretchy waistband)
- Scissors (for cutting)
- Needle and thread (optional for finishing touches)
Let’s Get Creative
- Choose Your Length: Put on the skirt and decide where you want the tube top to end. Mark the desired length using chalk or pins.
- Cutting Time: Lay the skirt flat and cut along the marked line to separate the top part from the rest of the skirt.
- Optional Finishing: If you want a neat edge, fold the cut edge inward and sew it down using a needle and thread. This step adds a polished touch.
- Wear and Wow: Slip on your newly crafted tube top and rock that new look with confidence. Whether you pair it with jeans, or shorts, or layer it under a jacket, you’re showcasing your fashion versatility.
Why It’s Adaptable?
This DIY skirt-to-tube top refashion isn’t just about repurposing old clothes; it’s about creating something unique that fits your style.
By transforming a skirt into a tube top, you’re adding a trendy piece to your collection that can be dressed up or down.
Imagine having a top that effortlessly complements your wardrobe and adds an unexpected twist to your outfits!
Stay tuned for more fashion transformations that’ll have you reimagining your clothes in exciting ways.
Let’s keep the fashion journey rolling and make each piece in your wardrobe a canvas for your creativity. Get ready to flaunt your versatile tube top with confidence, fashionista!
Pocket Chic: Add Pockets to Your Favorite Dress

Ever wished your dress had pockets? It’s time to turn that wish into a reality!
With a little sewing and a lot of excitement, you’ll add functional and stylish pockets to your favorite dress.
Get ready to step up your dress game and enjoy the convenience of having pockets at your fingertips.
What You’ll Need?
- Dress (choose one made from a fabric that’s easy to sew)
- Fabric for pockets (can match or contrast with the dress)
- Needle and thread (for sewing)
- Scissors (for cutting fabric)
Let’s Get Sewing
- Select Pocket Fabric: Choose a fabric for your pockets – it can match the dress or add a fun contrast. Cut out two symmetrical pocket shapes.
- Positioning Pockets: Put on the dress and decide where you want the pockets to sit. Use pins to mark the placement on both sides of the dress.
- Sew the Magic: Carefully sew the pockets onto the dress using a needle and thread. Start by sewing along the top edge of each pocket, then the sides. Make sure the stitches are secure.
- Enjoy Pocket Perks: Slip your hands into your newly added pockets and revel in the satisfaction of a dress that’s both stylish and functional.
Why It’s Practical?
This DIY pocket addition isn’t just about upgrading your dress; it’s about enhancing your dress-wearing experience.
By adding pockets, you’re transforming a stylish garment into a practical piece that’s perfect for carrying essentials while keeping your hands free.
Imagine attending events or outings without the need for a bag – your dress becomes your stylish storage solution!
Time to Rock Your Refashioned Look!
So there you have it, the fab five of DIY clothing refashioning. The best part? You don’t need a degree in fashion design – just a dash of enthusiasm and a sprinkle of creativity.
These projects are your ticket to a wardrobe that’s uniquely, wonderfully, and totally you.
So grab your scissors, raid your craft box, and let your inner fashionista soar!
