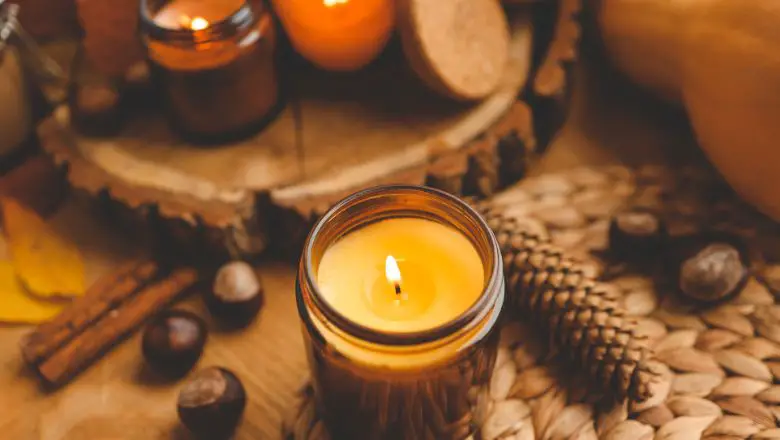
Can you believe Thanksgiving is just around the corner?
It’s that time of the year when we gather with our loved ones and create lasting memories together. And you know what that means – it’s time to spruce up our homes with some fabulous Thanksgiving decor!
But wait, before you start worrying about breaking the bank, I’ve got some awesome news for you.
I’ve put together 5 incredible DIY Thanksgiving decor ideas that won’t cost you a fortune. Yes, you heard me right – budget-friendly and super stylish!
In this blog post, I’m going to walk you through these creative and fun decor projects step-by-step. You don’t need to be a crafting expert or a DIY guru; these ideas are perfect for everyone – even if you think your crafting skills are a little, well, “rustic.”
So, if you want to impress your guests with your stunning Thanksgiving decorations without blowing your budget, stick with me. From charming table settings to heartwarming centerpieces, I’ve got it all covered.
Deck the Halls for Thanksgiving: 5 DIY Decor Projects on a Shoestring Budget
As the weather cools and the leaves begin to change, it’s time to start thinking about Thanksgiving decorations that will bring warmth and festive charm to your home.
But who says you have to break the bank to achieve a stylish and inviting atmosphere?
With a little creativity and some simple materials, you can deck your halls for Thanksgiving without emptying your wallet.
Below, we will explore five DIY decor projects that are not only budget-friendly but also guaranteed to impress your guests.
So get ready to unleash your inner craftiness and transform your home into a cozy autumn haven without spending a fortune!
DIY Thanksgiving Decor Idea #1: Rustic Pumpkin Centerpiece
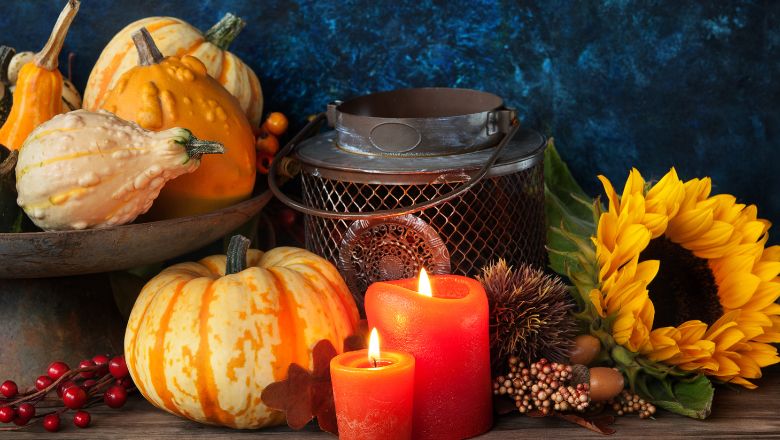
Ready to add a touch of rustic charm to your Thanksgiving table? Get excited because we’re diving into the world of adorable DIY pumpkin centerpieces!
These little cuties will instantly elevate your decor game without breaking the bank. So, grab those mini pumpkins, twine, fall foliage, and a glue gun – we’re about to craft some serious coziness!
Materials you’ll need
- Mini pumpkins (the more, the merrier!)
- Twine or jute string for that rustic feel
- Fall foliage like leaves, berries, or faux flowers
- A trusty glue gun (it’s your DIY bestie!)
Step 1: Pick the Perfect Pumpkins
Head to your local farmer’s market or pumpkin patch and have a blast selecting a variety of mini pumpkins in different shapes and colors. Embrace the uniqueness of each pumpkin – imperfections add character!
Step 2: Tie the Knot
Time to channel your inner macramé expert (just kidding, it’s easy, we promise!). Take the twine or jute string and wrap it around the stem of each pumpkin. Tie a cute little bow to secure it in place. Voilà, instant rustic vibe!
Step 3: Fall Foliage Finesse
Now, let’s add some fall foliage flair. Grab those gorgeous leaves, berries, or faux flowers, and get creative. You can use a hot glue gun to attach them to the pumpkins, arranging them in a way that suits your style.
Step 4: Centerpiece Showtime
Your rustic pumpkin masterpiece is ready for its grand debut! Line up the pumpkins on a pretty tray or a wooden serving board. For an extra cozy touch, scatter some autumn leaves around the pumpkins – it’s like bringing the outdoors in!
Pro Tips:
- If you want to up the elegance, consider painting the mini pumpkins with metallic gold or copper paint before wrapping them with twine.
- Add a sprinkle of cinnamon or nutmeg to the pumpkins for a delightful fall scent.
Now, step back and admire your work – you’ve crafted a gorgeous centerpiece that will surely steal the spotlight at your Thanksgiving feast. Your guests won’t be able to resist the warm, welcoming charm of your rustic pumpkin creation.
DIY Thanksgiving Decor Idea #2: Thankful Banner Wall Art
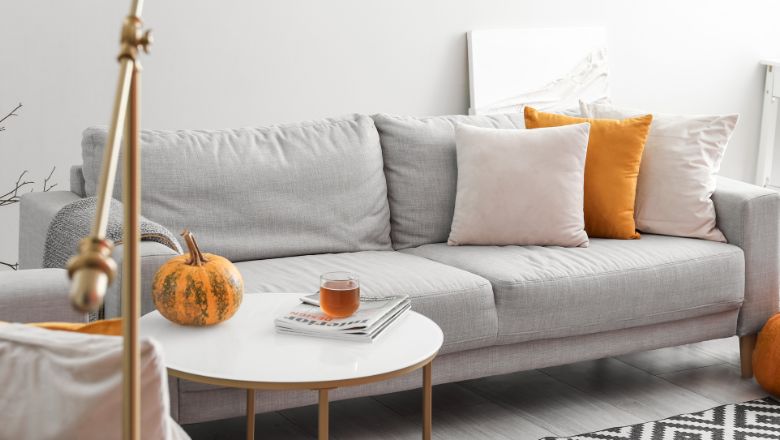
Looking to spread some gratitude vibes in your home? Let’s create a heartwarming “Thankful” banner that will add a touch of warmth to your walls.
It’s an easy-peasy DIY project that will make you feel thankful just by looking at it! So, gather your materials – burlap or craft paper, stencils or printable templates, twine, and clothespins – and let’s get started!
Materials you’ll need
- Burlap or craft paper in your favorite fall color
- Stencils with alphabet letters or printable templates
- Twine or ribbon for hanging
- Cute clothespins to attach the letters
Step 1: Letter of Love
Start by selecting your alphabet stencils or print out your desired letter templates. Choose a font that matches the cozy, autumn vibes you want to capture.
Step 2: Get Cutting
Place the stencils or letter templates on the burlap or craft paper, and carefully cut out each letter. This might take a little patience, but trust us, it’s worth it!
Step 3: String it Along
Now, take the twine or ribbon and lay it out on a flat surface. Arrange the letters along the twine in the order you want them to appear in your banner. Secure each letter to the twine with the help of adorable clothespins.
Step 4: Display with Delight
Find the perfect spot to display your “Thankful” banner – it could be above the fireplace, along a staircase, or even as part of your Thanksgiving dinner table decor. Get creative with the placement!
Pro Tips:
- Want to add more autumn vibes? Attach faux fall leaves or small pinecones between the letters for an extra touch of nature.
- For an eco-friendly twist, use recycled brown paper bags instead of burlap or craft paper.
Your heartwarming “Thankful” banner is now ready to remind you of all the things you’re grateful for. Every time you walk past it, take a moment to appreciate the blessings in your life.
DIY Thanksgiving Decor Idea #3: Candlelit Harvest Mason Jars

Get ready to illuminate your Thanksgiving with a touch of enchantment! These Candlelit Harvest Mason Jars will infuse your home with a warm, cozy glow that’ll make everyone feel right at home.
So, let’s gather our materials – mason jars, acrylic paint, tea lights, and sponge brushes – and get ready to create some magical ambiance!
Materials you’ll need
- Mason jars in various sizes (a mix of shapes adds charm)
- Acrylic paint in your favorite fall colors
- Tea lights or battery-operated LED candles
- Sponge brushes for easy application
Step 1: Painting Perfection
Start by selecting your paint colors – think deep oranges, rustic browns, and cozy yellows. Now, paint the exterior of each mason jar with your chosen colors. You can go for a solid coat or get creative with patterns like polka dots or stripes!
Step 2: Let it Dry
Once you’ve worked your painting magic, place the mason jars upside down on a protected surface to dry. Patience is key here, as you don’t want to smudge your artistic efforts.
Step 3: Light it Up
Once the paint is dry and you’re happy with the result, flip the mason jars right-side-up. Now, pop a tea light or LED candle into each jar. Light them up, and watch the magic happen as the jars cast a soft, mesmerizing glow.
Step 4: Arrangement Inspiration
Display your Candlelit Harvest Mason Jars in various corners of your home – on the mantelpiece, along the windowsills, or even as a charming centerpiece for your Thanksgiving dinner table.
Pro Tips
- Create a “stained glass” effect by using different colors of paint on each jar and overlapping the colors slightly.
- Tie some raffia or twine around the neck of the mason jars for an extra rustic touch.
These Candlelit Harvest Mason Jars will add a touch of enchantment to your Thanksgiving celebration. As you gather with loved ones around the dinner table, the warm glow of the candles will create a cozy atmosphere that’ll make everyone feel cherished.
DIY Thanksgiving Decor Idea #4: Festive Fall Wreath
Welcome your guests with a burst of autumnal beauty by crafting your very own Festive Fall Wreath. This delightful DIY project will showcase your creativity and love for the season.
So, gather your supplies – a wreath form, faux fall leaves, ribbon, and a trusty glue gun – and let’s get wreath-making!
Materials you’ll need
- Wreath form (choose a size that suits your space)
- Faux fall leaves in vibrant colors
- Coordinating ribbon for hanging
- Glue gun and glue sticks to keep everything in place
Step 1: Fall Foliage Fantasy
Start by arranging the faux fall leaves on your wreath form. Overlap the leaves and play with different color combinations until you achieve the autumnal masterpiece you’ve envisioned.
Step 2: Stick it Together
Once you’re satisfied with your leaf arrangement, use the glue gun to secure the leaves to the wreath form. Be careful not to burn your fingers – the glue gun can be quite enthusiastic!
Step 3: Bow-tiful Finish
Now, let’s add a charming bow to your wreath. Cut a piece of ribbon, form a bow, and attach it to the bottom or top of the wreath – wherever you prefer!
Step 4: Hang with Pride
Your Festive Fall Wreath is ready to shine! Find the perfect spot to display it – your front door, above the fireplace, or even as a welcoming piece in the hallway.
Pro Tips
- Mix in some faux berries or mini pumpkins for extra fall flair.
- Consider personalizing the wreath with a wooden initial or a “Happy Thanksgiving” sign.
Your Festive Fall Wreath is a reflection of your autumnal spirit, and it will undoubtedly impress your guests as they arrive for Thanksgiving celebrations. Its vibrant colors and natural charm will set the tone for a day filled with warmth and gratitude.
DIY Thanksgiving Decor Idea #5: Turkey Leaf Placemats
Gobble gobble, it’s time to bring some adorable turkey fun to your Thanksgiving table! These Turkey Leaf Placemats will not only protect your table but also add a delightful touch of creativity.
Get ready to dive into this kid-friendly and whimsical DIY project – it’s sure to make your little ones giggle with delight!
Materials you’ll need
- Construction paper or felt in various fall colors
- Glue stick (because who needs the extra mess?)
- Scissors to cut out those turkey shapes
Step 1: Falling for Fall Colors
Start by picking your favorite fall colors for your turkey feathers. Think vibrant oranges, deep browns, and warm yellows – perfect for the season!
Step 2: Shape Your Turkeys
Cut out turkey body shapes from brown construction paper or felt. Now, it’s time to get creative with those feathers! Cut out feather shapes in different colors to give your turkeys some personality.
Step 3: Stick ‘Em Up
Grab your glue stick and stick the colorful feathers to the back of your turkey bodies. Arrange the feathers in a fan-like pattern to make your turkeys look extra fancy.
Step 4: Complete the Look
Now, it’s time to add some turkey features! Cut out small circles for eyes, a triangle for the beak, and a squiggly shape for the wattle (that red thing hanging from their beaks – who knew it had a name, right?).
Step 5: Feast-Ready
Your adorable Turkey Leaf Placemats are ready to take their place at the Thanksgiving table! Lay them out for each guest, and watch their faces light up with joy.
Pro Tips
- Laminate the placemats to make them more durable and reusable for future Thanksgiving dinners.
- Encourage your kids to get involved and create their unique turkey designs!
Your Turkey Leaf Placemats will not only protect your table from gravy spills but also bring a whole lot of fun and creativity to your Thanksgiving celebration.
Time to Decorate and Celebrate: Embrace Thanksgiving with These Budget-Friendly DIY Ideas!
You did it – your Thanksgiving decorations are on point and ready to steal the show! With your creative flair and a sprinkle of budget magic, you’ve transformed your home into a cozy, festive haven that will leave your guests in awe.
Just imagine the joy on their faces as they gather around your beautifully set Thanksgiving table. Your handcrafted centerpieces and charming decor pieces have truly set the perfect ambiance for a day of gratitude and togetherness.
And the best part? You didn’t have to break the bank to do it!
From the rustic charm of your DIY pumpkin centerpiece to the warm glow of your handmade candle holders, every detail exudes your love and care.
You’ve proven that with a little imagination and a few crafting supplies, you can create wonders that touch hearts and create lasting memories.
So, as you enjoy the delicious feast and share laughter with your loved ones, take a moment to pat yourself on the back. You’ve shown that Thanksgiving is not just about the food; it’s about embracing the spirit of giving and sharing your creativity with others.
Now, your home is filled with warmth and love, and it’s all thanks to your incredible DIY skills! I hope this Thanksgiving becomes a cherished memory, reminding you of the joy of crafting and the magic of doing it on a budget.
