Are you eagerly waiting to transform your little one’s nursery into an adorable haven? Well, look no further because I’ve got something exciting for you! Today, I’m going to spill the beans on the top 5 DIY nursery decor ideas for your little darling!
From whimsical wall art to cute and crafty mobiles, we’ve got all the inspiration you need to sprinkle some magic into your baby’s space. Whether you’re a seasoned DIY guru or a first-timer, these ideas are perfect for everyone.
Trust me; you don’t need to be a crafting wizard to make these dreams come true!
So, if you’re ready to embark on a creative journey filled with joy and laughter, fasten your seatbelts, and let’s dive into these enchanting DIY nursery decor ideas.
Your little one will soon be surrounded by love, warmth, and a touch of your artistic flair!
DIY Nursery Decor: 5 Easy Ideas for Busy Parents with Big Hearts!
I adore decorating my baby’s nursery! It’s a chance for me to unleash my creativity and create a special space for my little one.
If you’re like me and love DIY projects, here are five nursery decor ideas that will make your little darling’s room truly unique.
DIY Nursery Decor Idea #1: Whimsical Wall Art (Painting Magic on the Walls)
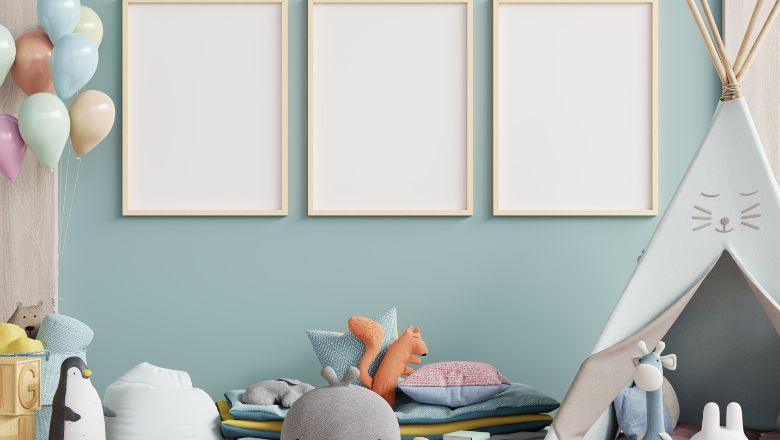
Ready to splash some enchantment on those nursery walls?
Get your paintbrushes and imagination ready because we’re about to create a whimsical wonderland for your little darling!
Materials Needed
- Vibrant paints in your favorite colors
- Soft and sturdy brushes
- Stencils with adorable shapes (if you’re feeling fancy)
- Painter’s tape for clean lines (you’ll thank us later)
Unique Wall Art Ideas
- Dreamy Clouds: Let fluffy clouds float above your baby’s crib, evoking sweet dreams in every nap.
- Woodland Friends: Paint cute forest creatures peeking out from behind the furniture, sparking your little one’s imagination.
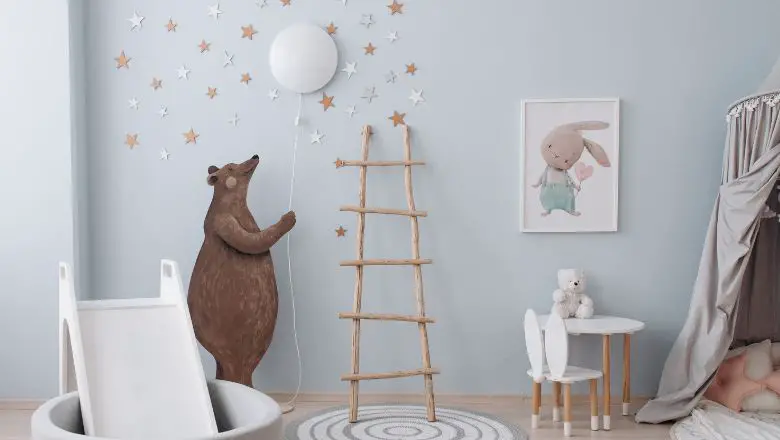
- Starry Night: Craft a celestial scene with glow-in-the-dark stars, making bedtime magical and calming.
Step-by-step Guide
- Pick your favorite wall and clear the space. You don’t want to accidentally paint the furniture!
- Gently apply painter’s tape to create defined shapes and lines.
- Start painting with a steady hand and lots of love. Remember, it doesn’t have to be perfect; it just has to be you!
- If using stencils, place them strategically and fill them with whimsical colors.
- Wait for the paint to dry before removing the tape. This is the moment of truth!
Personal Touch
Picture this: your baby gazing up at those clouds or smiling at those friendly forest critters.
That warm feeling in your heart? That’s the magic of creating something special for your little one.
Tips for Involving Your Baby
- Get those tiny feet involved! Dip them in paint and stamp them on the wall, leaving cute little footprints.
- Use non-toxic, baby-safe paint for handprints, and let your baby have a hand (literally!) in creating the art.
Now, take a deep breath, and don’t worry about perfection. This is your canvas of dreams, and it should reflect your love and creativity. Let those walls tell a story and watch your baby’s nursery transform into a whimsical wonderland!
DIY Nursery Decor Idea #2: Crafty Mobiles (Delightful Dancing Decor)
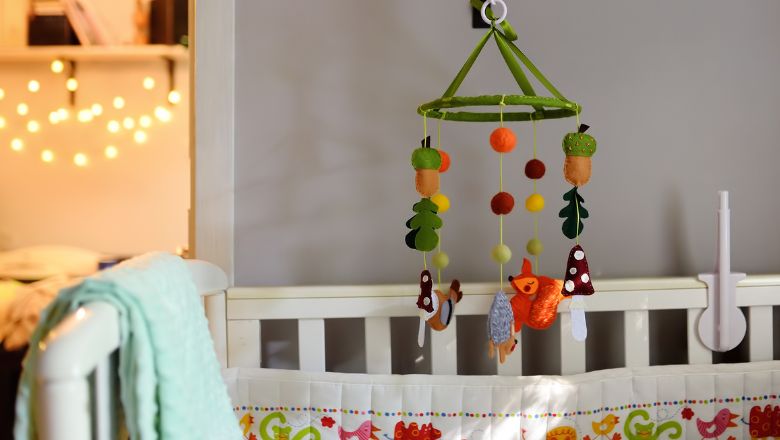
Get ready to bring your baby’s nursery to life with delightful dancing decor!
Mobiles are the perfect way to add charm and joy to any room, and we’re about to create one that will make your little darling’s eyes sparkle with delight!
Gathering Materials
- Hoops in various sizes (don’t worry; they won’t jump through!)
- Colorful strings or ribbons to hang the elements
- Adorable shapes and objects to dangle (think stars, animals, or even tiny felt clouds)
Unique Mobile Designs
- Under the Sea Adventure: Craft an aquatic wonderland with fish, seahorses, and smiling octopuses, turning your baby’s crib into an ocean of dreams.
- Fluttering Butterflies: Let delicate butterflies dance gracefully above the changing table, creating a whimsical and serene atmosphere.
- Celestial Symphony: Hang stars, moons, and planets, giving your baby a front-row seat to the cosmos.
Step-by-step Instructions
- Take your hoops and arrange them in a visually pleasing way. Think big hoop in the center and smaller hoops around it.
- Tie colorful strings or ribbons at equal intervals around each hoop, ensuring they’re secure.
- Time to get creative! Attach your chosen shapes and objects to the strings, letting them hang at various lengths for a dynamic look.
- Don’t forget the center! Add a charming element that completes the mobile’s theme and brings everything together.
Personal Touch
Imagine the pure joy in your baby’s eyes as they gaze up at the mobile you’ve created just for them.
Their little hands might even reach out to touch the dancing shapes, creating moments of wonder and fascination.
Safety Precautions
- Hang the mobile securely out of your baby’s reach to prevent any accidents.
- Choose lightweight materials to avoid straining the support structure.
Whether your little one is a daydreamer, an explorer, or a future astronaut, a crafty mobile can add a touch of magic to their nursery.
DIY Nursery Decor Idea #3: Personalized Name Banner (Adding a Touch of Identity)
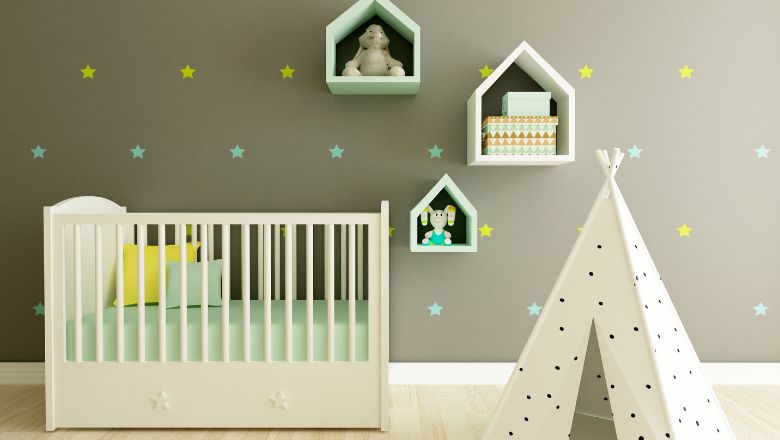
Get ready to put a big smile on your little darling’s face with a personalized name banner that adds a touch of identity to their nursery.
Let’s turn their name into a work of art that will make their space truly their own!
Materials Required
- Soft and colorful felt or fabric
- Alphabet templates (you can find printable ones online)
- Glue or sewing supplies (depending on your preference)
- Ribbons or strings to hang the banner
Creative Lettering Styles
- Whimsical Wonderland: Make the letters look like they’re floating in a dreamy cloud, with soft, curvy edges.
- Nature’s Delight: Incorporate elements from the outdoors, like leaves and flowers, into the letters for an earthy touch.
- Bold and Brave: Craft big, bold letters that stand out and show off your baby’s adventurous spirit.
Step-by-step Guide
- First, decide on the perfect spot for the banner in your nursery, so you can get the measurements right.
- Use the alphabet templates to trace the letters onto the felt or fabric. Mix and match colors for a playful look!
- Cut out the letters carefully, making sure they’re neat. Remember, the little details count!
- Now, it’s time to attach the letters to the ribbons or strings. You can use glue or sew them on for added durability.
- Hang your masterpiece in your chosen spot and admire the magic you’ve created!
Personal Touch
Picture your little one’s face lighting up when they see their name displayed so beautifully in their own space.
It’s more than just a name; it’s a symbol of love and individuality that will stay with them as they grow.
Bonus Idea
Why stop at the name? Add some cute symbols or shapes that represent your baby’s interests or your family’s unique story.
So, get ready to create a name banner that will be the highlight of your baby’s nursery. It’s not just a decoration; it’s a celebration of who they are and all the love that surrounds them.
DIY Nursery Decor Idea #4: Upcycled Nursery Storage (Organizing with Style)
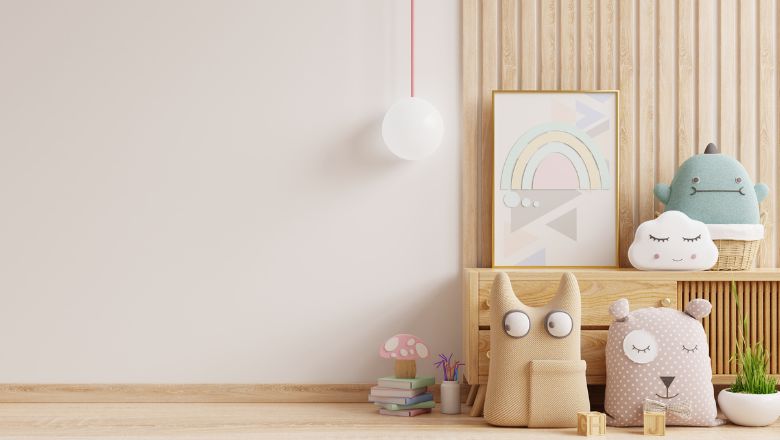
Let’s add some style and eco-friendliness to your baby’s nursery with upcycled storage solutions.
Say goodbye to clutter and hello to a charmingly organized space that will make your little one’s nursery a true haven!
Choosing Suitable Items to Upcycle
- Rustic Crates: Hunt down vintage wooden crates that can double as rustic storage bins. They’ll add a touch of nostalgia to the nursery.
- Baskets Galore: Gather different sizes and shapes of baskets for a delightful mix-and-match storage solution.
- Jars of Joy: Reuse glass jars to store small items like cotton balls or baby socks, making them both functional and decorative.
Creative Ways to Transform
- Color Splash: Give your crates or baskets a fresh coat of paint in delightful pastel colors, matching your nursery’s theme.
- Decoupage Magic: Decorate the wooden surfaces with the decoupage technique using baby-themed fabric or adorable illustrations.
- Fabric Wrapping: Wrap the handles or rims of baskets with soft, patterned fabric for a cozy touch.
Step-by-step Instructions
- Clean and prepare your chosen items for upcycling. Remove any labels or residue from the glass jars.
- If painting, choose your colors wisely. Soft hues complement a serene nursery ambiance.
- Get creative with decoupage or fabric wrapping, adding those special touches that match your nursery’s personality.
Personal Touch
Imagine your baby’s nursery neatly organized with these upcycled storage solutions. It’s not just about tidiness; it’s about infusing your baby’s space with your love for the environment.
You’re showing your little one the value of repurposing and caring for the world they’ll grow up in.
Tips for Organizing Baby Essentials
- Use labeled jars to sort and store diaper creams, baby powder, or other small items.
- Arrange the baskets in a way that makes it easy for you to grab what you need when tending to your little one.
Upcycled nursery storage is not only eco-friendly, but it also adds character and charm to your baby’s space.
DIY Nursery Decor Idea #5: Dreamy DIY Mobile Arm (Bringing It All Together)
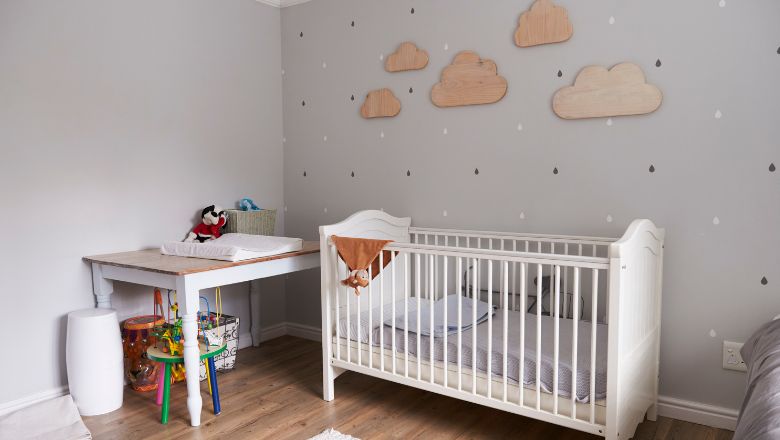
We’re almost there—time to bring it all together with a dreamy DIY mobile arm.
This is the final touch that will elevate your nursery decor to a whole new level of enchantment. Let’s create a masterpiece that holds your crafty mobiles with style and grace!
Materials Needed
- Sturdy wooden dowel or branch (let’s bring nature indoors!)
- Hooks or eye screws to attach the mobile
- Paint or fabric to add a pop of color (optional but fun!)
Creating a Custom Mobile Arm
- Find the Perfect Branch: Take a little adventure outdoors and look for a smooth and sturdy branch that fits the nursery’s theme.
- Clean and Prep: Remove any loose bark or dirt, and sand down the branch for a smooth finish. Safety first!
- Paint or Wrap: If you want to add a splash of color, paint the branch in a soft hue or wrap it with fabric that complements the nursery’s palette.
Step-by-step Guide
- Position the Branch: Decide on the best spot to hang your dreamy mobiles. It could be above the crib, the changing table, or any other cozy corner.
- Secure the Branch: Attach hooks or eye screws to the branch, evenly spaced, to hold the mobiles. Make sure they’re secure and can hold the weight.
Personal Touch
Visualize your crafty mobiles gently swaying from the dreamy DIY mobile arm.
This is the moment when all your efforts come together, and your nursery becomes a magical oasis for your baby.
Tips for Ensuring Safety and Stability
- Hang the mobile arm securely from the ceiling or wall. You want it to dance gracefully, not tumble.
- Check the branch’s weight capacity to ensure it can hold your beautiful mobiles without any worries.
Your DIY mobile arm is like the conductor of a symphony, bringing your enchanting mobiles to life. It’s the final note that completes the melody of your nursery decor.
Crafting Love, Creating Joy: Your Baby’s Nursery is Ready to Shine!
Crafting my baby’s nursery was an experience filled with love, laughter, and a splash of paint here and there (okay, maybe more than just a splash!). From the moment I embarked on this creative endeavor, I knew it was going to be special, but little did I know just how much joy it would bring.
I’ve realized that DIY nursery decor isn’t just about the end product — it’s about the love and care we pour into every little detail. Each stroke of paint, every stitch, and every thoughtful touch have made our baby’s nursery a reflection of our love.
So, to all you creative parents out there, I encourage you to embark on this magical adventure. Let your imagination run wild, and don’t be afraid to try something new. Whether you’re a seasoned DIY guru or just starting, these ideas are for you.
Your baby’s nursery is not just a room; it’s a sanctuary of love, warmth, and joy. So, gather your crafting supplies, and let your heart guide you. Embrace the imperfections, relish the journey, and know that every little creation will be cherished beyond measure.
Crafting love for your little darling is an experience like no other, and I can assure you, it’s worth every single moment.
So go ahead, create, and let your baby’s nursery be a masterpiece of love — a place where dreams come alive and memories are woven into every corner.
