Are you ready to unleash your creative superpowers without a single stitch?
I’m thrilled to share with you 5 mind-blowing DIY no-sew projects that will take your crafting game to a whole new level!
Now, picture this, transforming everyday items into jaw-dropping masterpieces, all without touching a needle and thread. From fabulous fashion fixes to stunning home decor hacks, these projects will have you saying, “Why didn’t I think of that before?”
Whether you’re a seasoned DIY pro or just dipping your toes into the crafty waters, fear not! These projects are super beginner-friendly, and I’ll be your trusty guide, sharing tips and tricks along the way.
Get ready to be wowed by ingenious ideas, budget-friendly solutions, and endless opportunities to personalize your creations.
So, if you’re eager to dive in and discover the magic of DIY no-sew crafts, keep reading, and let’s get our craft on together!
Crafting without the Thread: 5 Mind-Blowing DIY No Sew Project Ideas
I love getting crafty and creating DIY projects, especially when they don’t involve any sewing! Not only does it save time, but it also allows for more creativity and flexibility.
Here are five of my favorite no-sew projects that are not only easy to make but also incredibly fun!
DIY No Sew Project #1: Fashion Revamp – No-Sew T-Shirt Infinity Scarf
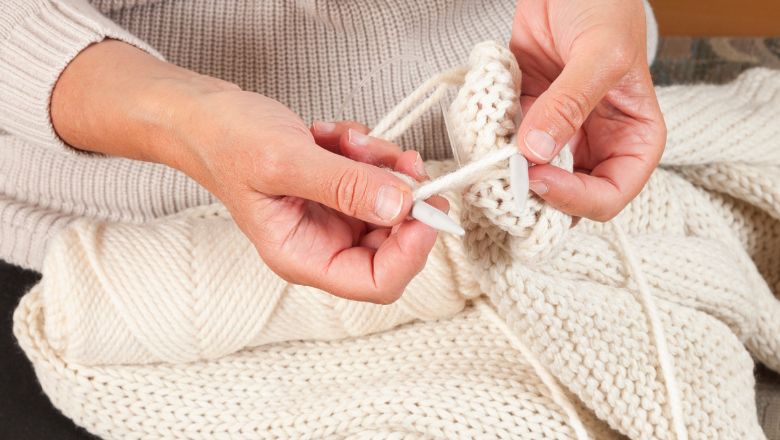
Are you ready to give that old t-shirt a stylish makeover? Get ready to create a fabulous no-sew infinity scarf that will turn heads wherever you go!
Materials You’ll Need
- An old T-shirt (the softer, the better!)
- Fabric scissors
- Ruler or measuring tape
Step-by-Step Guide
- Lay your t-shirt flat on a clean surface, and smooth out any wrinkles. Time to unleash your inner designer!
- Cut across the t-shirt, just below the sleeves, to create a rectangular shape. The width of the rectangle will determine the thickness of your scarf, so you can adjust it to your liking.
- Now, cut the bottom hem of the t-shirt to remove it. This will give your scarf a neat and clean edge.
- With the remaining fabric, you should have a loop of cloth. Here comes the fun part: stretch the looped fabric as much as you can! This will make the edges curl, giving your scarf a trendy look.
- Once you’re satisfied with the stretching, fold the loop in half, matching the short edges together. Make sure the right sides are facing each other.
- Now, grab your fabric scissors again and cut slits along the folded edge, leaving about an inch uncut at the top. These slits will create fringe-like tassels on your scarf.
- Carefully separate the top uncut part of the scarf to reveal the individual fringe strands.
- Time to tie those strands together! Take the top fringe from the front and the top fringe from the back and tie them in a double knot. Continue this along the folded edge until you’ve tied all the fringes together.
And voilà! You’ve just made a fabulous no-sew infinity scarf that’s not unique but also environmentally friendly by upcycling your old t-shirt.
Wrap it around your neck, and you’re ready to rock that chic look!
The best part? You can make multiple scarves using different t-shirts to match various outfits. So, go ahead and get crafty with your fashion revamp!
DIY No Sew Project #2: Chic No-Sew Pillow Covers
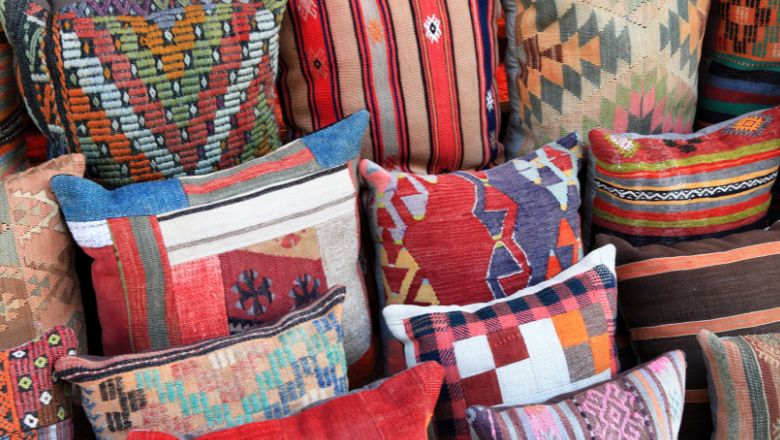
Ready to give your living space a makeover with stylish and budget-friendly pillow covers?
Get your creative juices flowing as we dive into making chic no-sew pillow covers!
Materials You’ll Need
- Plain pillow covers (or old pillowcases you want to revamp)
- Fabric glue or fabric tape
- Fabric scissors
- Iron-on appliques or fabric paint (optional for added flair)
Step-by-Step Guide
- Lay your plain pillow cover on a clean surface. If you’re using an old pillowcase, make sure it’s washed and ironed before starting.
- Measure the dimensions of your pillow cover and any embellishments you want to add. This will help you plan the design and placement.
- Time to get creative! Use fabric glue or fabric tape to attach any appliques, patches, or decorative elements onto the pillow cover. You can play around with different patterns and shapes to suit your style.
- If you prefer a more personalized touch, try fabric painting your designs on the cover. Whether it’s floral motifs, geometric patterns, or inspiring quotes, the possibilities are endless!
- Once you’ve added all the decorations, let the fabric glue dry or set according to the manufacturer’s instructions. If you used fabric paint, make sure to let it dry completely before moving on to the next step.
- After your design is set, fold the pillow cover in half, matching the edges together. Make sure the right sides are facing each other.
- Use fabric glue or fabric tape to seal the two open sides of the pillow cover. Be generous with the glue, ensuring a secure hold.
- Allow the glue to dry thoroughly. Double-check that all the edges are properly sealed before turning the pillow cover right-side out.
And there you have it – a chic no-sew pillow cover that adds a touch of personality to your space!
Mix and match different designs and colors to create a cozy atmosphere that reflects your style.
The best part? You can easily change the pillow covers whenever you want a fresh look, making it a versatile and wallet-friendly home decor solution. Happy decorating!
DIY No Sew Project #3: Boho Dreamcatchers – No-Sew Wall Art
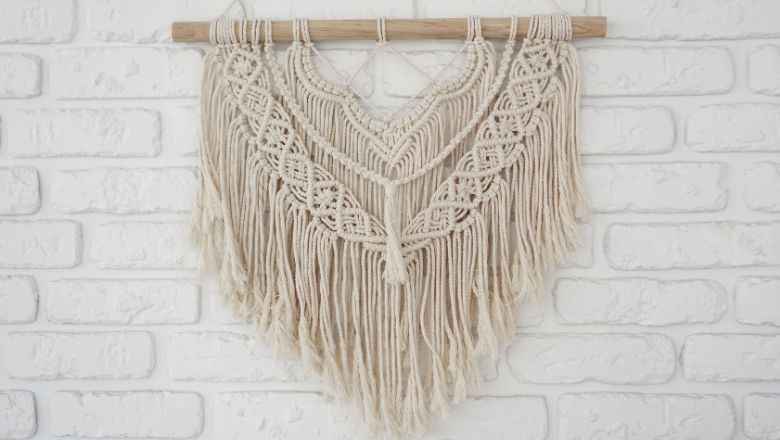
Want to add a boho-inspired touch to your living space? Let’s dive into the enchanting world of boho dreamcatchers – no sewing required!
Get ready to create mesmerizing wall art that brings positive vibes to any room.
Materials You’ll Need
- Embroidery hoop (any size you prefer)
- Yarn or twine in various colors
- Feathers, beads, and other embellishments
- Glue gun and glue sticks
- Scissors
- Optional: decorative ribbons or lace
Step-by-Step Guide
- Take your embroidery hoop and remove the outer ring, leaving just the inner ring. This will serve as the base for your dreamcatcher.
- Begin wrapping the yarn or twine around the hoop. You can use a single color or create a pattern by alternating different shades. Secure the ends with a dab of hot glue.
- Once you’ve covered the hoop entirely, create a hanging loop at the top by tying a piece of yarn and securing it with glue.
- Now, let’s move on to the Dreamcatcher’s center. Take a long piece of yarn or twine and tie one end to the top of the hoop, leaving a tail for hanging later.
- Begin weaving the yarn in a circular pattern inside the hoop, creating a web-like design. You can go for a loose or tight weave, depending on your preference.
- As you weave, don’t forget to add beads or feathers for an extra boho touch. Attach them by threading the yarn through the holes or using a small dab of hot glue to secure them in place.
- Once you’ve completed the dreamcatcher’s center, tie off the yarn and trim any excess.
- Time to create the hanging elements! Cut several pieces of yarn or twine in varying lengths and attach them to the bottom of the dreamcatcher using a knot or hot glue.
- Now, it’s time to add some flair! Incorporate decorative ribbons, lace, or more feathers into the hanging elements for a bohemian aesthetic.
And there you have it – a stunning boho dreamcatcher ready to hang on your wall! Each dreamcatcher is unique, reflecting your style and creativity.
Place it above your bed, in the living room, or even in your cozy reading nook for a touch of whimsy and positive energy. So, get ready to dream sweet dreams surrounded by your handmade boho art!
DIY No Sew Project #4: No-Sew Personalized Tote Bags
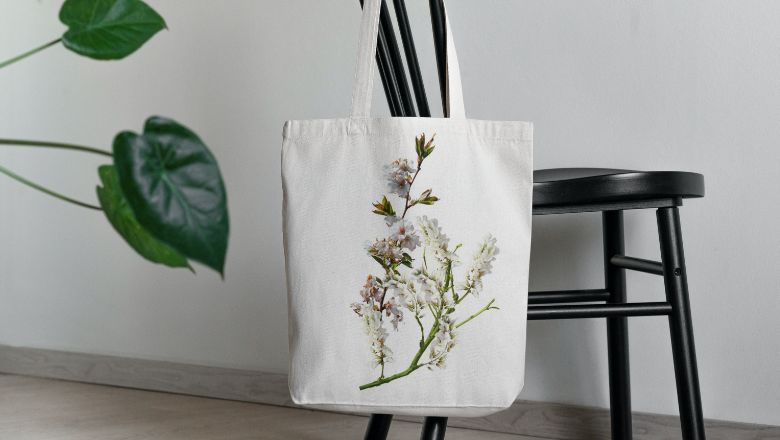
Looking for a fun and functional way to express your unique style?
Let’s dive into the world of personalized tote bags – no sewing skills needed! Get ready to rock a custom-designed bag that showcases your creativity and stands out from the crowd.
Materials You’ll Need
- Plain canvas tote bags (you can find them at craft stores or online)
- Fabric paint or fabric markers
- Stencils or stickers (optional for added design elements)
- Painter’s tape or washi tape (optional for creating clean lines)
Step-by-Step Guide
- Lay your plain canvas tote bag on a flat surface, and make sure it’s clean and free from any wrinkles.
- Time to unleash your inner artist! Use fabric paint or fabric markers to draw or write directly on the tote bag. You can go for a bold and colorful design or something more subtle and elegant.
- If you want to create clean lines or specific shapes, use painter’s tape or washi tape as a guide. Apply the tape to the bag, creating the desired pattern, and then fill in the spaces with fabric paint or markers.
- Alternatively, you can use stencils or stickers to add interesting elements to your tote bag. Place the stencil or sticker on the bag and apply the fabric paint or marker over it. Remove the stencil or sticker carefully to reveal the design.
- Get personal! Add your name, favorite quotes, or meaningful symbols to the tote bag. This will make it uniquely yours and reflect your personality.
- Don’t be afraid to experiment and have fun with the design. Mix and match colors, try different fonts, and play with various patterns to create a one-of-a-kind masterpiece.
- Once you’ve completed the design, let the fabric paint or markers dry completely according to the manufacturer’s instructions. This will ensure that your artwork stays vibrant and long-lasting.
- Voilà! You now have a personalized tote bag that’s both stylish and functional. Take it with you to the beach, the market, or even as a chic everyday bag. Show off your creativity wherever you go!
Not only are these no-sew personalized tote bags a fantastic way to express yourself, but they also make great gifts for friends and family.
So, grab your favorite canvas tote bag and let your imagination run wild.
DIY No Sew Project #5: No-Sew Hair Accessories – Trendy Headbands
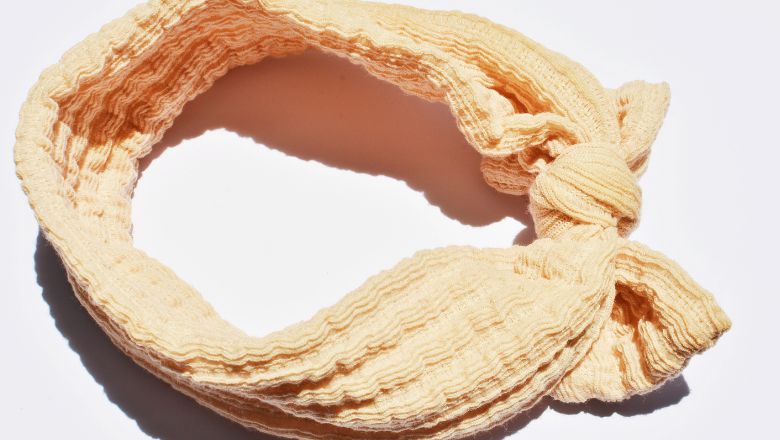
Ready to add some flair to your hairstyle without a single stitch?
Let’s dive into the world of no-sew hair accessories and create trendy headbands that’ll make you the style star of the show! Get ready to rock a chic and unique look without breaking a sweat.
Materials You’ll Need
- Plain fabric headbands (you can find them at craft stores or online)
- Assorted fabric scraps or ribbons
- Fabric glue or hot glue gun and glue sticks
- Felt (optional for added padding and comfort)
- Decorative elements like buttons, beads, or rhinestones (optional for extra glam)
Step-by-Step Guide
- Start with a plain fabric headband in the color of your choice. These headbands serve as the perfect base for your creative endeavors!
- Time to gather some fabric scraps or ribbons. Choose a mix of colors, patterns, and textures that complement your style.
- Cut the fabric scraps or ribbons into strips of varying lengths and widths. This will add dimension and visual interest to your headband.
- Now, let’s start decorating! Apply fabric glue or use a hot glue gun to attach the fabric strips or ribbons to the headband. You can go for a random and boho-inspired arrangement or create a neat and geometric pattern – it’s entirely up to you!
- If you want some extra padding and comfort, cut a piece of felt to match the size of the headband and glue it to the inside. This will also help secure the fabric strips or ribbons in place.
- Get creative with embellishments! Add buttons, beads, or rhinestones to the fabric strips for an extra touch of glam and sophistication.
- Let the glue dry completely, ensuring that all the elements are securely attached to the headband.
- Time to rock your trendy no-sew headband with pride! Wear it with your favorite outfit or use it as a statement piece to elevate your look.
The best part about these no-sew headbands is that you can make a whole collection to suit any occasion or mood.
Play with different fabrics and embellishments to create headbands for casual outings, parties, or even special events. Get ready to turn heads and receive compliments on your fabulous hair accessories wherever you go!
So, get your craft on and enjoy the joy of effortless style with these chic headbands.
No Needle, No Problem: Wrapping Up Our Favorite No-Sew Projects!
What I loved most about these projects is their accessibility. No more fumbling with needles and threads or worrying about complicated techniques.
With a few simple tools and a bucketful of imagination, anyone can embark on these adventures and unleash their inner artist.
It’s a joy to see how these no-sew marvels breathe new life into mundane items, adding a personal touch and a dash of charm to everything around us.
Plus, the budget-friendly aspect is a huge bonus – no need to break the bank to create awe-inspiring pieces!
So gather your materials, set your imagination free, and embark on your no-sew adventure! Trust me; you won’t be disappointed.
The possibilities are endless, and the joy of crafting is an experience like no other!
