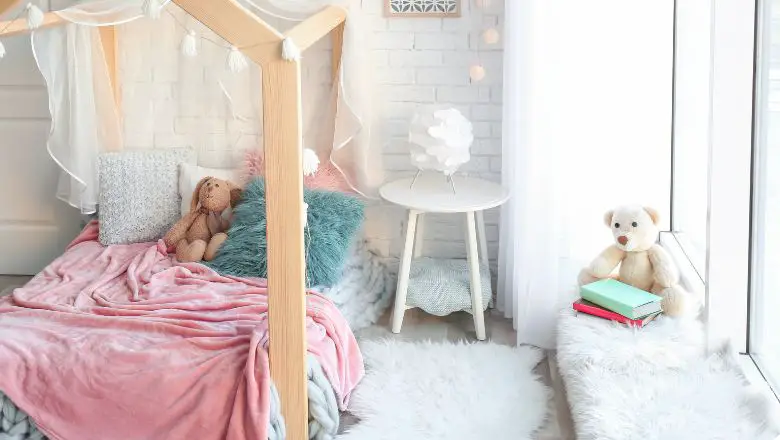
Are you looking to spruce up your little girl’s bedroom without breaking the bank? Look no further! As a DIY enthusiast myself, I understand the joy that comes with creating something beautiful with your own two hands.
That’s why I’ve compiled a list of 5 DIY decorating ideas that are perfect for your little girl’s bedroom.
From whimsical wall art to personalized pillows, these ideas are sure to make your daughter’s room the envy of all her friends.
So grab your crafting supplies and get ready to transform your girl’s bedroom into a magical oasis! Keep reading to discover how.
5 DIY Decorating Ideas for Girls Bedrooms
As a girl, I know how important it is to have a bedroom that is not only functional but also reflects your unique style and personality. But let’s be real, decorating can get expensive.
That’s why I’ve rounded up 5 DIY decorating ideas that will transform any boring bedroom into a stylish sanctuary without breaking the bank.
Personalized Wall Art
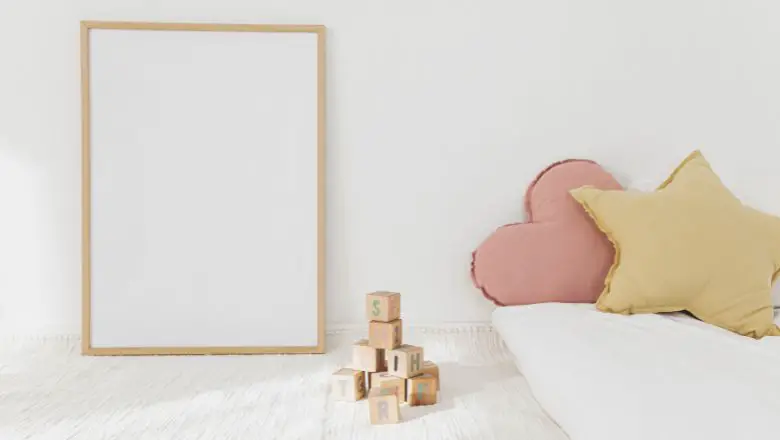
Are you looking for a way to add a personal touch to your little girl’s bedroom?
Why not try creating your personalized wall art?
This DIY decorating idea is not only budget-friendly, but it also allows you to get creative and customize the art to fit your little girl’s personality and interests.
Materials needed:
- Canvas or picture frame
- Paints and paintbrushes
- Letter stencils or stickers (optional)
- Embellishments such as glitter, gems, or stickers (optional)
Steps to create personalized wall art:
- Choose a canvas or picture frame size that fits the space you have in mind.
- Use the paints to create a background for your art. You can choose one color or create a pattern or design.
- Once the background is dry, add a personalized message using letter stencils or stickers. You could use your daughter’s name, a favorite quote, or a word that describes her personality.
- Add embellishments such as glitter, gems, or stickers to make the art even more special.
- Hang your personalized wall art in your little girl’s bedroom and watch her face light up with joy!
Variations:
- Use different-sized canvases or frames to create a gallery wall of personalized art.
- Use different fonts and colors for the lettering to create a more dynamic effect.
- Try using different painting techniques such as ombre or splatter to add more interest to the background.
Personal experience:
When I created personalized wall art for my daughter’s room, I used a canvas and painted a background of pink and purple swirls.
Then, I added her name in big letters using gold letter stickers. To make the art even more special, I added some glitter and gems to the canvas.
It turned out beautiful and my daughter loved it! It’s been hanging in her room for over a year now and still looks just as good as the day we made it.
Conclusion:
Creating personalized wall art is a fun and easy way to add a personal touch to your little girl’s bedroom.
Whether you’re using letter stencils or painting the letters freehand, the possibilities are endless. So grab some paint and get creative!
Fairy Light Canopy

Want to add a magical touch to your little girl’s bedroom?
A fairy light canopy is a perfect way to do it! This DIY decorating idea creates a cozy and enchanting atmosphere that your daughter will love.
Materials needed:
- Curtain rods or hooks
- Sheer curtains or tulle
- String lights
- Command hooks or clear tape
- Embellishments such as paper flowers or butterflies (optional)
Steps to create a fairy light canopy:
- Install a curtain rod or hooks above the bed.
- Drape the sheer curtains or tulle over the curtain rod or hooks, creating a canopy effect.
- Attach the string lights to the inside of the canopy using command hooks or clear tape.
- Add embellishments such as paper flowers or butterflies to the canopy to add even more charm.
Variations:
- Try using different colored curtains or tulle to create a different mood in the room.
- Use different types of string lights such as globe lights or twinkling lights to create a different effect.
- Hang the canopy in different ways, such as diagonally across the room or over a reading nook.
Personal experience:
When I created a fairy light canopy for my daughter’s room, I used sheer pink curtains and draped them over a curtain rod above her bed.
I attached the string lights to the inside of the canopy using clear tape, creating a soft and magical glow in her room.
To add some extra charm, I hung paper butterflies from the canopy. My daughter loved the cozy and whimsical feel of her new fairy light canopy!
Conclusion:
A fairy light canopy is a simple and affordable DIY decorating idea that can transform any little girl’s bedroom into a magical wonderland.
Whether you choose to use sheer curtains or tulle, string lights, or globe lights, the result is sure to be enchanting.
So why not add some fairy magic to your daughter’s bedroom today?
DIY Flower Garland
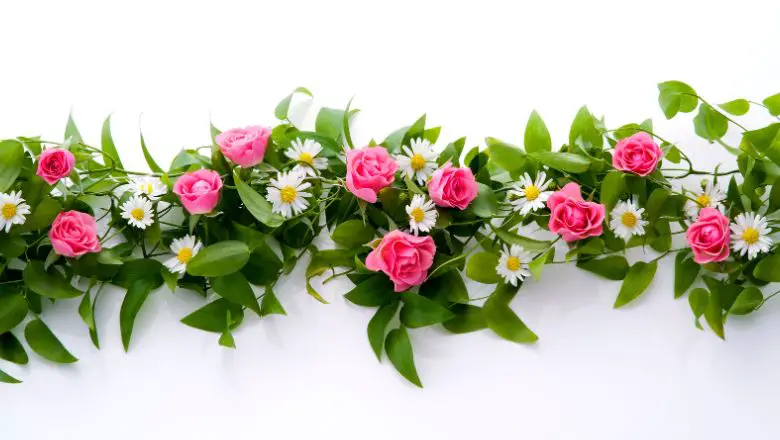
A flower garland is a beautiful and easy DIY decorating idea that can add a pop of color and life to any girl’s bedroom.
This decoration can be customized with different colors and types of flowers to match your daughter’s personality and style.
Materials needed:
- Artificial flowers of your choice
- Twine or string
- Scissors
Steps to create flower garland:
- Cut the twine or string to the desired length for your garland.
- Choose your flowers and cut them from the stem, leaving about 2-3 inches of stem.
- Tie a knot around the base of each flower stem, spacing them out along the length of the twine.
- Continue tying flowers along the twine until it is fully decorated.
Variations:
- Use different types of flowers such as roses, daisies, or peonies.
- Experiment with different color combinations to match the color scheme of the bedroom.
- Add greenery or leaves to the garland for a more natural look.
Personal experience:
For my daughter’s bedroom, I created a flower garland using artificial pink and white roses. I cut the flowers from the stem and tied them to a twine, spacing them out about 3 inches apart.
I added a few green leaves throughout the garland to give it a more natural look.
When I hung the garland above her bed, it instantly brightened up her room and added a sweet, feminine touch.
Conclusion:
A flower garland is a simple yet effective way to decorate a girl’s bedroom.
By using different types of flowers and color combinations, you can create a garland that is unique and personalized for your daughter’s style.
Whether hung above the bed or draped along the walls, a flower garland is sure to add a touch of beauty and nature to any room.
Customized Pillowcases
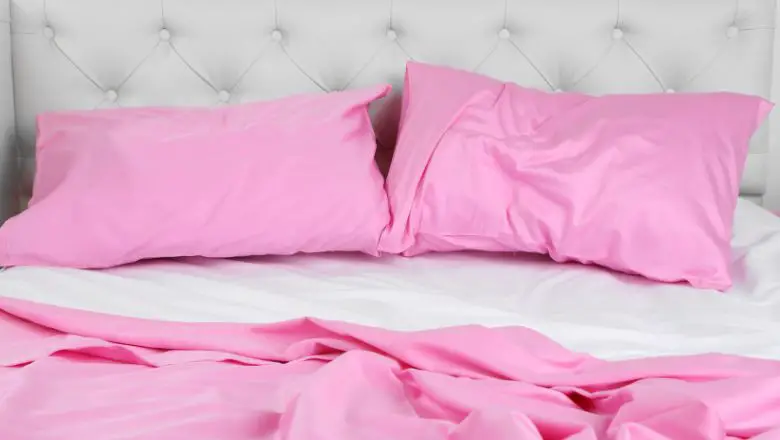
Customized pillowcases are a fun and easy DIY decorating idea that can add a personal touch to any girl’s bedroom.
These pillowcases can be customized with different designs and colors to match the decor of the room.
Materials needed:
- Plain pillowcases
- Fabric paint or markers
- Stencils (optional)
- Paintbrushes or markers
Steps to create customized pillowcases:
- Choose the design you want to use on your pillowcases.
- If using stencils, place them on the pillowcase and secure them with tape.
- Use fabric paint or markers to fill in the design.
- Let the paint dry completely before using.
Variations:
- Experiment with different designs such as geometric patterns, floral designs, or quotes.
- Use different colors to match the color scheme of the bedroom.
- Try using different fabrics such as burlap or linen for a different texture.
Personal experience:
For my daughter’s bedroom, I created customized pillowcases using fabric markers and stencils.
I used stencils to spell out her name on one pillowcase and drew a small floral design on the other.
I chose colors that matched the color scheme of her room and let the paint dry overnight.
When I placed the pillowcases on her bed, she was thrilled to see her name and the cute design.
Conclusion:
Customized pillowcases are a simple and fun way to add a personal touch to any girl’s bedroom.
By using different designs and colors, you can create a unique and personalized set of pillowcases that match the decor of the room.
Whether using stencils or drawing freehand, these pillowcases are sure to make a statement in any bedroom.
Upcycled Storage Solutions
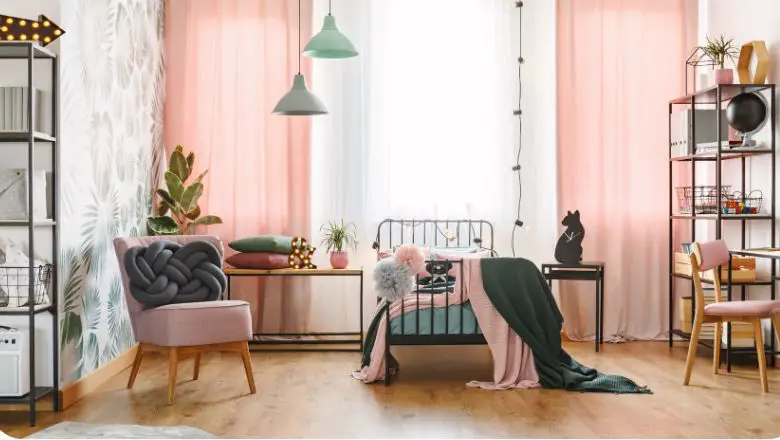
Storage solutions are a must-have in any bedroom, especially for girls with lots of accessories and toys.
Upcycling old items into new storage solutions is not only environmentally friendly but also a creative way to add a unique touch to the room.
Materials needed:
- Old crates or boxes
- Paint or wallpaper
- Decorative knobs or handles
- Glue or screws
- Sandpaper (optional)
Steps to create upcycled storage solutions:
- Choose the item you want to upcycle, such as an old crate or box.
- Sand the item down (if necessary) to remove any rough edges.
- Paint or cover the item with wallpaper to match the decor of the room.
- Attach decorative knobs or handles to the item using glue or screws.
Variations:
- Experiment with different patterns and colors of paint or wallpaper.
- Use different types of boxes or crates for a variety of storage options.
- Add labels or tags to the storage solutions for easy organization.
Personal experience:
For my daughter’s room, I upcycled an old wooden crate into a storage solution for her toys and books.
I sanded down the rough edges and painted it in a light pink color. I added a decorative knob to the front for easy opening and closing.
When I placed it in her room, it not only provided practical storage but also added a unique and personalized touch to the space.
Conclusion:
Upcycling old items into new storage solutions is a creative and eco-friendly way to add storage to any girl’s bedroom.
By using different paints, wallpapers, and knobs, you can customize the storage solutions to match the decor of the room.
From bookshelves to toy boxes, the possibilities are endless when it comes to upcycled storage solutions.
Watch Your Little One’s Face Light Up with Delight!
In conclusion, decorating your little girl’s bedroom doesn’t have to be expensive or stressful.
With a little bit of creativity and some DIY magic, you can transform your daughter’s room into a personalized oasis that reflects her unique personality and interests.
Whether you choose to create whimsical wall art or personalized pillows, the possibilities are endless.
Not only will these DIY projects add a personal touch to the room, but they will also create memories that you and your little one will cherish for years to come.
So go ahead and let your imagination run wild! Happy crafting!
