Are you tired of constantly tripping over stacks of fabric or digging through piles of paper to find that one crafting tool you need? As someone who loves to DIY and create, I know firsthand how quickly a craft room can become cluttered and disorganized.
That’s why I’ve put together this guide on 5 DIY craft room organization ideas that will help transform your space from chaos to creativity.
With simple and affordable solutions, you’ll be able to efficiently store your materials, easily access your tools, and maximize your workspace.
So, if you’re ready to take your crafting game to the next level and create a space that inspires you, then keep reading!
5 DIY Craft Room Organization Ideas
As a fellow crafting enthusiast, I know how important it is to have an organized craft room.
Not only does it make finding your supplies easier, but it also allows you to focus on the task at hand without being distracted by clutter.
That’s why I’ve compiled a list of 5 DIY craft room organization ideas that are both practical and easy to implement.
Utilize Wall Space
Do you ever find yourself running out of storage space in your craft room? If so, then it’s time to start thinking vertically! By utilizing your wall space, you can free up valuable floor space and create a more organized and efficient workspace.
Here are some creative ways to use your walls for storage:
Install Shelves: Vertical Storage Made Easy
If you have empty wall space, installing shelves is an easy way to add storage without taking up any floor space. You can use simple brackets and wooden planks to create a custom shelving unit that fits your specific needs. Use the shelves to store items such as fabric, books, or baskets filled with supplies.
Pegboards: The Ultimate DIY Solution
Pegboards are an incredibly versatile and customizable storage solution that can be used to hang everything from tools to the ribbon. You can purchase pre-made pegboards or create your own using pegboard panels and hooks. By hanging your supplies on the pegboard, you can easily see and access everything you need without having to dig through a drawer or bin.
Hooks: A Simple and Versatile Option
Another simple way to use your wall space for storage is by installing hooks. You can use them to hang anything from scissors to spools of thread. Use decorative hooks to add a pop of color and personality to your space.
Wall-Mounted Organizers: Streamline Your Storage
Wall-mounted organizers come in many different forms, from mail sorters to shoe organizers. These versatile storage solutions can be repurposed to fit your craft room needs. Use them to store paper, stickers, or even small embellishments like buttons.
Magnetic Strips: Perfect for Small Supplies
Magnetic strips are a great way to keep small supplies organized and within reach. You can use them to store anything from bobby pins to paper clips. Attach them to the wall and use magnetic containers or clips to keep your supplies in place.
By utilizing your wall space, you can create a more efficient and organized craft room that allows you to focus on what matters – crafting! So, take advantage of your vertical space and get creative with your storage solutions.
Repurpose Everyday Items
Crafting can be an expensive hobby, but it doesn’t have to be. Instead of buying new storage solutions, why not repurpose everyday items that you already have at home? Here are some creative ways to repurpose everyday items for craft room organization:
Mason Jars: A Versatile Storage Solution
Mason jars are not only great for canning, but they also make fantastic storage containers for craft supplies. Use them to store items such as buttons, beads, or paintbrushes. You can even attach them to a board or shelf for easy access.
Shoe Organizers: More Than Just for Shoes
Shoe organizers are a great way to store and organize craft supplies. Hang them on the back of a door or a wall and use the pockets to store items such as paper, stickers, or ribbon. You can even label each pocket for easy access.
Cereal Boxes: An Eco-Friendly Option
Instead of throwing away cereal boxes, repurpose them into magazine holders or file folders. Simply cut the box to size, cover it with decorative paper or fabric, and voila! You have a stylish and eco-friendly storage solution.
Egg Cartons: Perfect for Small Items
Egg cartons can be used to store and organize small craft supplies such as beads or sequins. Simply cut the lid off the carton and use each compartment to store your supplies. You can even stack multiple cartons for even more storage.
Tin Cans: The Ultimate Upcycle
Tin cans are a versatile storage solution that can be easily upcycled. Clean and decorate them with paint or washi tape, and use them to store items such as pens, pencils, or even paintbrushes. You can even attach them to a board or shelf for easy access.
By repurposing everyday items, you can save money and create a more eco-friendly craft room. So, before you throw anything away, think about how you can repurpose it into a creative storage solution.
Invest in Storage Solutions
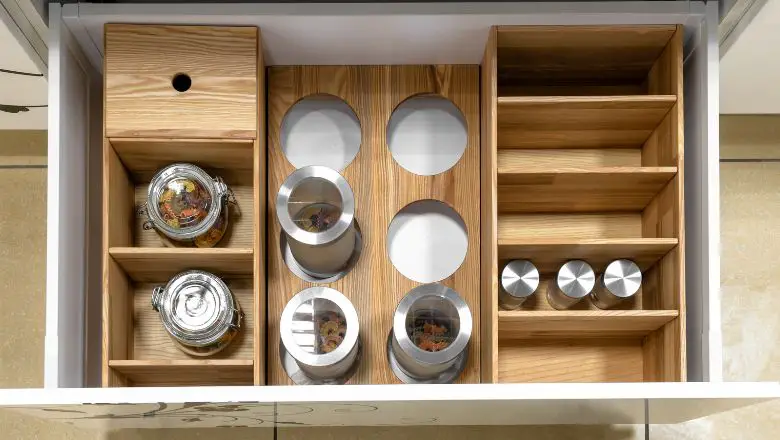
Sometimes, repurposing everyday items just won’t cut it. That’s when it’s time to invest in some quality storage solutions. Here are some options to consider:
Cubbies and Shelves: Perfect for Larger Items
Cubbies and shelves are great for storing larger craft items such as paper, fabric, or yarn. You can purchase pre-made units or even build your own using materials such as wood or PVC pipe.
Drawer Units: Ideal for Smaller Items
Drawer units are perfect for storing smaller items such as pens, markers, or stamps. They can be purchased in a variety of sizes and can be stacked or arranged to fit your specific needs.
Rolling Carts: Versatile and Portable
Rolling carts are a great option for those who need to move their craft supplies from room to room. They come in a variety of sizes and styles and can be used to store everything from paper to sewing supplies.
Pegboards: Customizable and Easy to Access
Pegboards are a popular storage solution for craft rooms because they are customizable and easy to access. Simply attach the pegboard to the wall and use hooks and baskets to store your supplies. You can even paint or decorate the pegboard to match your decor.
Hanging Organizers: Space-Saving and Stylish
Hanging organizers are a great option for those who are short on space. They can be hung on the back of a door or a wall and come in a variety of styles and sizes. Use them to store items such as scissors, rulers, or tape.
Investing in quality storage solutions will not only help you stay organized but will also make crafting more enjoyable. So, take the time to find the right storage solutions for your craft room and get ready to create!
Organize Materials by Type
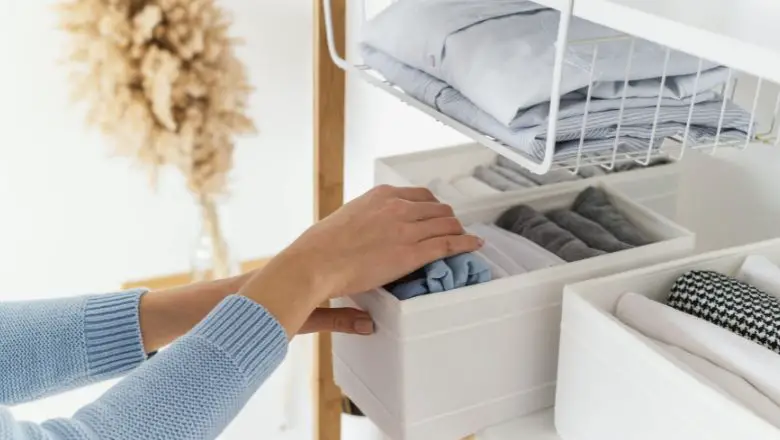
One of the best ways to keep your craft room organized is to sort and store materials by type. Here are some tips to help you get started:
Sort by Material Type
The first step in organizing materials by type is to sort them into categories. For example, sort all of your fabric into one pile, all of your paper into another pile, and so on.
Store Similar Items Together
Once you’ve sorted your materials, store similar items together. For example, store all of your buttons in one container, all of your thread in another container, and so on.
Label Everything
Labeling your storage containers is essential for easy access to your materials. Use a label maker or create your labels using paper and tape.
Use Clear Containers
Using clear containers makes it easy to see what’s inside without having to dig through multiple containers. It’s also a great way to show off your colorful materials.
Utilize Drawer Dividers and Inserts
Drawer dividers and inserts are a great way to keep smaller items organized within a larger container. For example, use drawer dividers to separate different colors of thread or to organize different types of buttons.
By organizing materials by type, you’ll be able to easily find what you need and keep your craft room tidy. So, take the time to sort and store your materials and get ready to craft!
Maximize Workspace

Having a spacious and organized workspace is essential for any crafter. Here are some tips to help you maximize your workspace:
Use a Rolling Cart
A rolling cart is a great way to add workspace and storage to your craft room. Use it to store your materials and move them around your room as needed.
Use a Pegboard
Pegboards are a great way to store and organize materials while maximizing workspace. Hang frequently used tools on the board for easy access.
Utilize Vertical Space
If you’re short on space, consider utilizing vertical space. Install shelves or stackable storage containers to keep materials off of your workspace.
Get a Folding Table
A folding table is a great way to add workspace when you need it and fold it away when you don’t. It’s also a great option for those with limited space.
Create a Designated Workspace
Designate a specific area of your room for your workspace. This will help you stay focused and organized while crafting.
By maximizing your workspace, you’ll be able to create without the stress of a cluttered and cramped environment. So, take the time to assess your craft room and make the necessary changes to maximize your workspace.
Get Organized and Get Crafting with These Creative Space-Saving Ideas
Crafting can be a fun and fulfilling hobby, but it can quickly become overwhelming when you don’t have an organized workspace.
I hope that these 5 DIY craft room organization ideas have given you some inspiration to transform your space into one that works for you.
Whether it’s utilizing wall space, repurposing everyday items, or investing in new storage solutions, there are plenty of simple and affordable ways to organize your materials and tools.
By implementing these ideas, you’ll be able to create a clutter-free, functional, and inspiring craft room that allows you to focus on what matters – bringing your creative visions to life.
