Are you looking for ways to spruce up your outdoor space and create a stunning ambiance for those warm summer nights? Look no further! As someone who loves spending time in my garden, I can tell you that the right lighting can make all the difference.
Not only does it enhance the beauty of your garden, but it also creates a warm and inviting atmosphere for you and your guests to enjoy.
But don’t worry, you don’t have to break the bank to achieve a beautiful garden lighting setup.
There are plenty of DIY garden lighting ideas that are simple, stunning, and won’t cost you a fortune.
I’ve personally tried out a variety of DIY garden lighting ideas over the years and I’m excited to share my top 5 favorites with you.
Whether you’re planning a romantic dinner for two or a fun-filled evening with friends, these 5 stunning DIY garden lighting ideas will help you create a magical outdoor space that you’ll love to spend time in.
So, grab a cup of tea, sit back, and get ready to be inspired!
Brighten Up Your Garden: 5 Stunning DIY Lighting Ideas You Can Try Today!
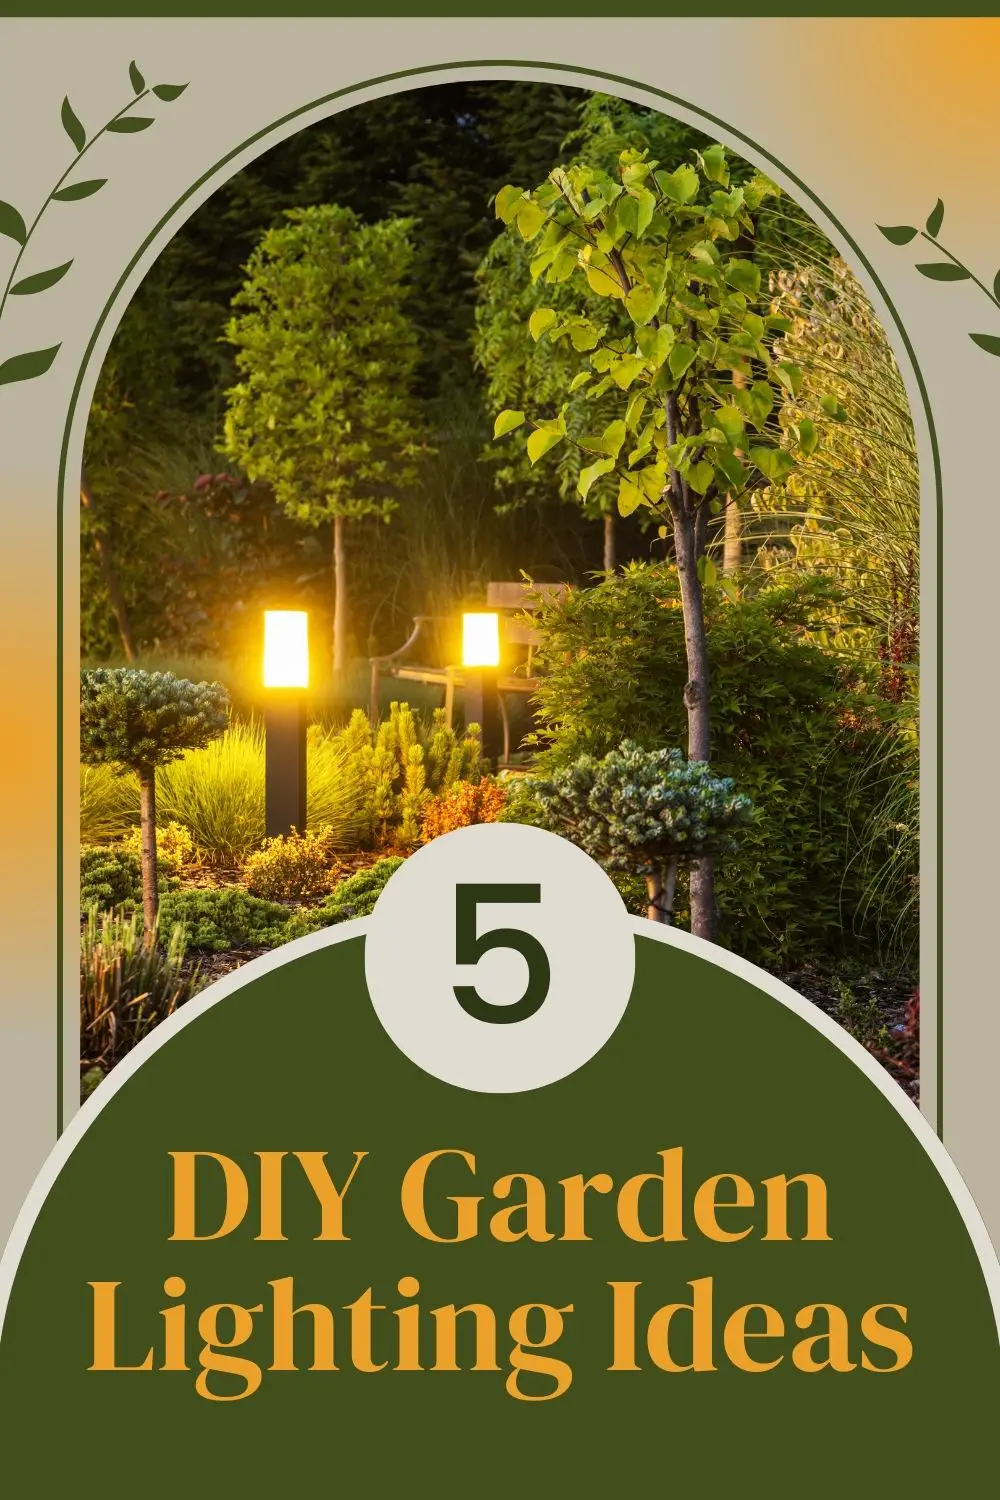
As a true garden enthusiast, I know that there’s nothing more magical than a well-lit outdoor space.
Not only does it create an inviting and cozy atmosphere, but it also allows you to enjoy your garden even after the sun goes down! However, finding the perfect lighting fixtures can be quite pricey – this is where DIY projects come in handy.
If you’re looking to brighten up your garden without breaking the bank, you’ve come to the right place.
In this article, I’m excited to share with you 5 stunning DIY lighting ideas that you can try today.
These projects are simple enough for beginners but will create a dramatic effect that will impress even seasoned pros!
Mason Jar Lanterns

If you’re looking to add some cozy ambiance to your garden, Mason jar lanterns are a great place to start!
These rustic lanterns are easy to make and will create a warm glow that’s perfect for nighttime gatherings. Here’s what you’ll need to get started:
Materials
- Mason jars (any size you like)
- Tea light candles or battery-operated LED lights
- Twine or ribbon
- Scissors
Steps
- Start by cleaning your Mason jars and removing any labels. You can use a bit of rubbing alcohol to remove any stubborn adhesive.
- Next, tie a length of twine or ribbon around the neck of the jar. This will be used to hang the lantern later on.
- If you’re using tea light candles, place one in each jar. If you’re using LED lights, turn them on and place them in the jars.
- Tie another length of twine or ribbon around the top of the jar, just below the lip. This will be used to hang the lantern.
- Hang your Mason jar lanterns wherever you like!
Variations and Customization
There are endless ways to customize your Mason jar lanterns to fit your style and garden decor. Here are a few ideas to get you started:
- Paint the jars with glass paint or use colored jars for a pop of color.
- Add decorative elements like lace or burlap to the outside of the jars.
- Use different types of twine or ribbon for a unique look.
- Experiment with different sizes and shapes of jars for variety.
Optimal Placement
Mason jar lanterns look great hanging from tree branches or shepherd’s hooks in a garden. They can also be placed on tables or lining walkways for a charming touch.
Overall, Mason jar lanterns are an easy and affordable way to add some cozy charm to your garden. So grab some jars and get crafting!
Fairy Lights
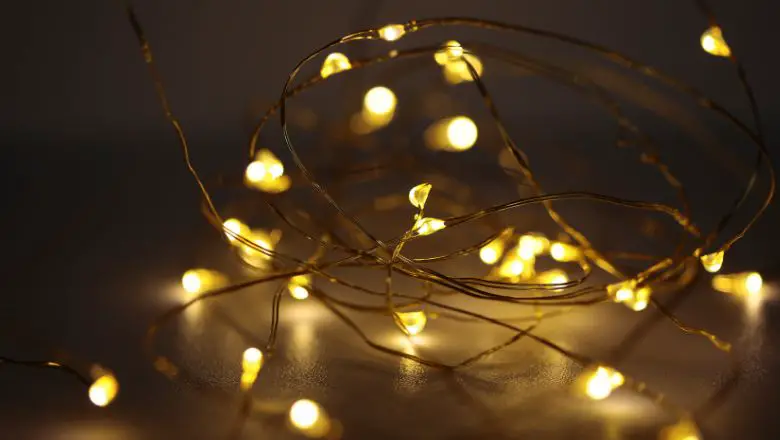
Fairy lights are a magical addition to any garden space. These twinkling lights create a cozy and whimsical atmosphere that’s perfect for summer nights. Here’s everything you need to know to add fairy lights to your garden.
Fairy lights are a type of small, delicate string lights that are often used for decoration. They come in a variety of shapes and sizes and can be used in several different ways to create a charming atmosphere in your garden.
Benefits of Fairy Lights
Not only do fairy lights add charm to your garden, but they also have a number of practical benefits. They provide soft lighting that can guide you through your garden paths or illuminate outdoor entertaining spaces.
They also consume less electricity than other outdoor lighting options, making them an eco-friendly choice.
Ways to Use Fairy Lights
There are endless ways to incorporate fairy lights into your garden. Here are a few ideas to get you started:
- Wrap them around tree trunks or branches to create a magical, glowing effect.
- String them along the edges of your patio or deck for a charming touch.
- Hang them from your pergola or trellis to create a cozy outdoor seating area.
- Use them to highlight garden features like fountains or sculptures.
- Place them in lanterns or glass jars for a unique, glowing centerpiece.
Creating a Fairy Light Installation
Creating a fairy light installation is easy and can be done in just a few simple steps:
- Start by measuring the area where you want to install the fairy lights.
- Choose the type of fairy lights you want to use (battery-powered, solar-powered, or plug-in).
- Decide on the pattern you want to create with the lights.
- Begin attaching the lights to the designated areas using clips or hooks.
- Test the lights to ensure they are working properly.
Customization and Personalization
Fairy lights are a versatile addition to any garden and can be customized in many ways. Try experimenting with different colors, shapes, and sizes to create a unique look. You can also add decorative elements like paper lanterns or fabric for added charm.
Creative Uses of Fairy Lights
Fairy lights can be used in a variety of creative ways in your garden. Here are a few ideas to inspire you:
- Create a glowing path through your garden using fairy lights and mason jars.
- Spell out words or create shapes with fairy lights for a unique focal point.
- Hang them from trees to create a romantic canopy.
- Use them to create a backdrop for outdoor photos or events.
- Wrap them around outdoor furniture for a cozy touch.
Overall, fairy lights are a charming and practical addition to any garden space. So get creative and let the magic of fairy lights transform your outdoor living area!
Solar-Powered Lights
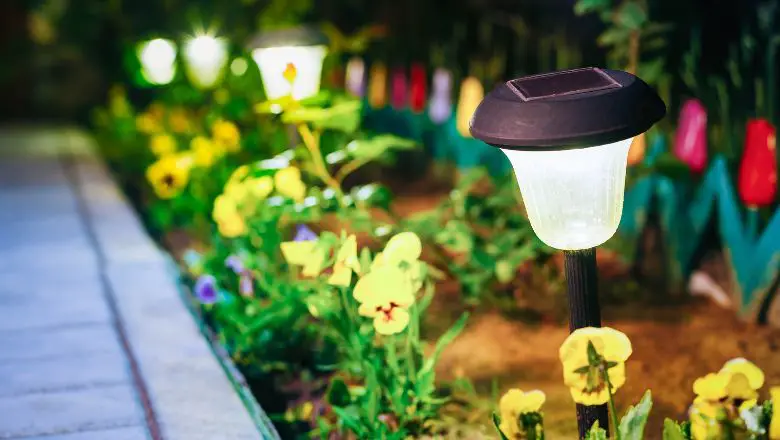
Solar-powered lights are a great way to add lighting to your garden while being eco-friendly and cost-effective. Here’s everything you need to know about using solar-powered lights in your garden:
Advantages of Solar-Powered Lights
The biggest advantage of solar-powered lights is that they don’t require electricity. Instead, they are powered by the sun, which means they are energy-efficient and eco-friendly. Additionally, solar-powered lights are low-maintenance, as they automatically turn on and off depending on the level of sunlight.
Creating Solar-Powered Light Installations
Creating solar-powered light installations is a breeze, and can be done in just a few simple steps:
- Choose the type of solar-powered lights you want to use (string lights, path lights, etc.).
- Determine the best location for the lights, making sure they will receive plenty of sunlight during the day.
- Install the lights according to the manufacturer’s instructions, which typically involve inserting a stake into the ground or mounting the lights on a wall or fence.
- Allow the lights to charge for a full day in the sun before turning them on.
Placement and Customization
When it comes to placement, solar-powered lights are extremely versatile. They can be placed along garden paths, around flower beds, or even used to highlight garden features like fountains or sculptures.
Additionally, many solar-powered lights come in a variety of shapes and sizes, which makes customization easy.
Economic and Environmental Benefits
Using solar-powered lights in your garden not only saves you money on electricity bills but also helps reduce your carbon footprint. By using renewable energy, you are doing your part to protect the environment and conserve natural resources.
In conclusion, solar-powered lights are a fantastic addition to any garden. They are easy to install, customizable, and eco-friendly, making them the perfect choice for those who want to add a touch of light to their outdoor space while being environmentally conscious.
DIY Path Lighting
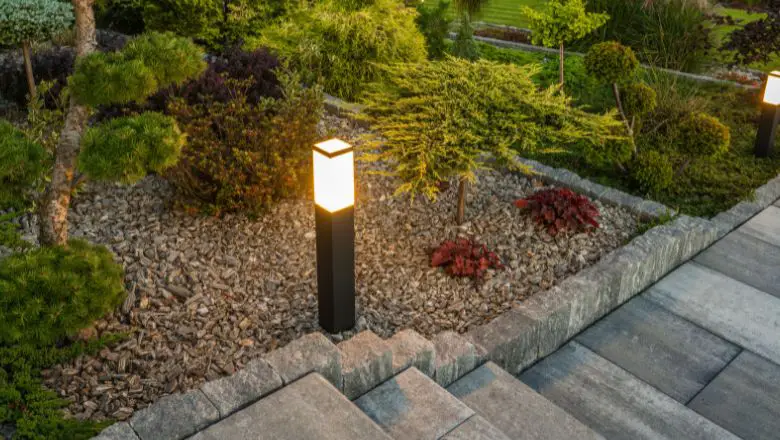
Creating your path lighting is an easy and affordable way to add ambiance to your garden. Here’s everything you need to know about creating DIY path lighting.
DIY path lighting is a creative and cost-effective way to light up the path leading to your garden or patio. Not only does it provide a beautiful ambiance, but it also makes it easier to navigate through the area at night.
Necessary Materials and Steps
Here are the materials and steps you’ll need to follow to create your DIY path lighting:
- Solar lights (with stakes or adhesive backing)
- Decorative glass gems
- Silicone adhesive
- A garden trowel
- A mallet or hammer
Steps
- Use the garden trowel to dig a shallow hole in the ground where you want to place your solar light.
- Place the solar light in the hole and fill in the space around it with soil.
- Using the silicone adhesive, attach the decorative glass gems to the surface of the solar light.
- Use the mallet or hammer to gently tap the gems into place and ensure they are securely attached.
Potential Variations and Customization
DIY path lighting is highly customizable, as you can use different types of solar lights and decorative gems to create a variety of effects. Additionally, you can create a pattern or design with the gems, such as a spiral or mosaic, to add a unique touch to your path lighting.
Optimal Placement
DIY path lighting is best placed along the path leading to your garden or patio, as it provides a clear and illuminated path to walk on at night. Additionally, it can be used to highlight certain features along the path, such as flowers or trees.
In conclusion, DIY path lighting is a simple and creative way to add ambiance and functionality to your garden or patio.
With just a few materials and a little bit of time, you can create your unique path lighting that will provide a beautiful glow and make it easier to navigate through your outdoor space at night.
Upcycled Lighting
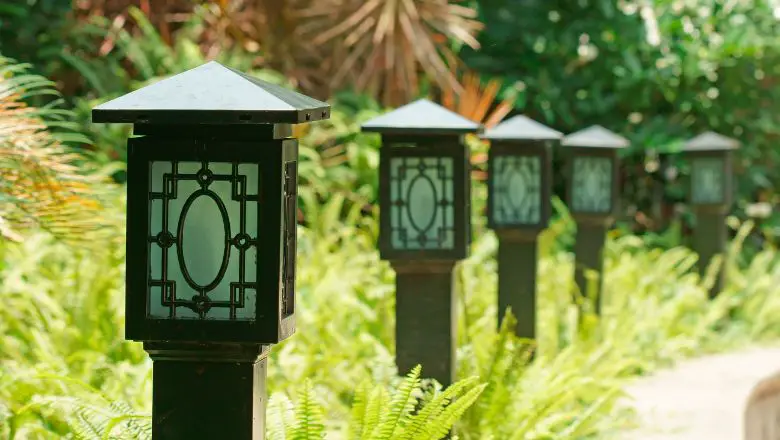
Upcycling is a great way to repurpose materials and create something new and useful. Here’s how you can create your own upcycled garden lighting.
Upcycling involves taking old or unused materials and repurposing them into something new and useful. When it comes to garden lighting, upcycling can be a creative and sustainable way to add light to your outdoor space.
Necessary Materials and Steps
Here are the materials and steps you’ll need to follow to create your own upcycled garden lighting:
- Old glass jars or bottles
- LED string lights
- Sandpaper
- A drill with a diamond bit
- Twine or wire
Steps
- Clean the glass jars or bottles and remove any labels.
- Sand the surface of the glass to create a frosted effect.
- Using the drill and diamond bit, create a small hole in the bottom of each glass jar or bottle.
- Thread the LED string lights through the hole in each jar or bottle.
- Attach the jars or bottles to a length of twine or wire, spacing them out evenly.
Potential Variations and Customization
Upcycled garden lighting is highly customizable, as you can use different types of glass jars or bottles to create different effects. Additionally, you can paint or decorate the jars or bottles to add a personal touch to your garden lighting.
Tips for Finding and Repurposing Materials
When it comes to upcycling, the possibilities are endless. Here are some tips for finding and repurposing materials for your garden lighting:
- Look for old glass jars or bottles at thrift stores or yard sales.
- Repurpose old lampshades or light fixtures.
- Use old metal containers, such as tea tins or cans, to create unique garden lighting.
Environmental Benefits of Upcycling
Upcycling is an environmentally friendly way to create new products from old materials. By repurposing materials that would otherwise go to waste, upcycling reduces the amount of waste that ends up in landfills and helps to conserve natural resources.
In conclusion, upcycled garden lighting is a creative and sustainable way to add light to your outdoor space. By repurposing old materials, you can create unique and personalized garden lighting that is both beautiful and environmentally friendly.
Sparkle and Shine: Why These 5 DIY Garden Lighting Ideas are a Must-Try
In conclusion, DIY garden lighting is a simple and affordable way to enhance the beauty and atmosphere of your outdoor space.
By utilizing these 5 stunning DIY garden lighting ideas, you can create a magical ambiance for any occasion – from a romantic dinner for two to a fun-filled evening with friends.
With just a few simple tools and materials, you can transform your garden into a warm and inviting space that you’ll love to spend time in.
Not only will these DIY garden lighting ideas add beauty to your outdoor space, but they also provide several benefits.
From safety and security to energy efficiency and cost-effectiveness, these lighting solutions are a great investment for any homeowner.
So, what are you waiting for? Grab some supplies and start experimenting with these DIY garden lighting ideas today.
Your outdoor space is sure to sparkle and shine in no time!
