I’ve always been on the hunt for creative ways to celebrate Mother’s Day, and let me tell you, finding activities that keep kids, teens, and preschoolers all engaged is no small feat.
But fret not, because I’ve got the inside scoop on five delightful Mother’s Day crafts that are sure to bring that heartwarming smile to your mom’s face.
Ready to dive in and explore the magic of DIY fun? Let’s get crafting!
5 Engaging Mother’s Day Crafts for Kids, Teens, and Preschoolers!

I still have that lopsided clay mug my teen crafted for me last Mother’s Day – the best coffee ever!
If you want your Mother’s Day filled with heartwarming memories (and perhaps some glitter), keep reading.
Together, let’s explore 5 brilliant craft ideas suitable for kids from preschool to high school. Let the creativity commence!
Craft 1: Handprint Flower Bouquet Card

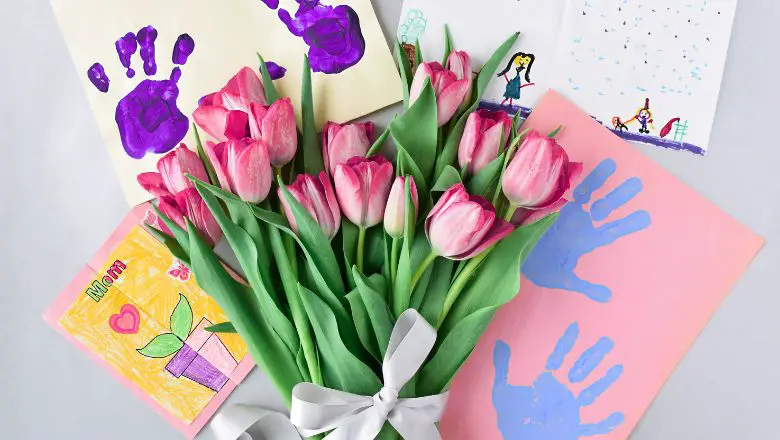
I love making personalized cards for my loved ones, and this Handprint Flower Bouquet Card is a perfect way to show Mom some extra love this Mother’s Day!
Materials
For this craft, you’ll need:
- Construction Paper: Grab some vibrant colors to make those flowers pop.
- Paint or Washable Ink Pads: Choose Mom’s favorite colors for the handprint flowers.
- Scissors: Make sure they’re safe and easy to handle for the little ones.
- Glue: A trusty glue stick or kid-friendly adhesive works wonders.
Instructions
- Create Handprint Flowers: Begin by carefully painting your little one’s hands with the chosen colors, making sure to cover the palms and fingers evenly. Press their hand firmly onto the construction paper to create the flower petals. Repeat this process to make a beautiful bouquet of handprint flowers.
- Assemble the Bouquet Card: Once the handprint flowers are dry, cut around each handprint to shape them like flowers. Arrange them into a lovely bouquet on a separate piece of construction paper, ensuring that they’re evenly spaced and aesthetically pleasing.
- Personalize with a Heartfelt Message: Use colorful markers or pens to write a heartfelt message for Mom. Whether it’s a sweet poem, a simple “I love you,” or a personalized note, make sure it comes straight from the heart. Don’t forget to include your name and the date to make it a cherished keepsake!
With this Handprint Flower Bouquet Card, you’ll not only create a beautiful craft but also a heartfelt token of appreciation that Mom will surely treasure forever.
Craft 2: Customized Photo Frame

When it comes to creating a personalized gift for Mom, this Customized Photo Frame is an absolute winner, adding that extra touch of love to her cherished memories!
Materials
To get started, gather the following materials:
- Plain Wooden or Cardboard Frame: Choose a frame that’s just the right size for the selected photo.
- Decorative Items: Get creative with glitter, buttons, or stickers to add that personalized flair.
- Craft Glue: Opt for a strong yet safe adhesive to keep the decorations in place securely.
- Printed Family Photos: Pick out some of Mom’s favorite family snapshots to add to the frame.
Instructions
- Design the Frame Layout: Begin by planning the layout of your frame decorations. Whether you want to create a pattern or a specific design, have a clear vision in mind before starting.
- Decorate with Personal Touches: Use the chosen decorative items to add a personalized touch to the frame. Sprinkle some glitter, arrange the buttons in a unique pattern, or stick on some vibrant stickers to make the frame truly special.
- Insert Chosen Photos and Secure in Place: Carefully place the selected family photos in the frame. Ensure they fit perfectly and are positioned just right. Use the craft glue to secure the photos in place, making sure they don’t shift or move around.
With this Customized Photo Frame, you’ll not only capture and display precious memories but also create a heartfelt gift that’s bound to bring a smile to Mom’s face every time she glances at it.
Craft 3: Scented Candle Jar

Adding a touch of aroma to Mom’s special day is easy with this delightful Scented Candle Jar that will fill her space with warmth and love.
Materials
Prepare the following materials for this aromatic adventure:
- Small Glass Jars or Containers: Choose jars that are both aesthetically pleasing and the right size for your candles.
- Soy Wax Flakes: Opt for soy wax for a natural and clean burning experience.
- Essential Oils: Select Mom’s favorite scents to infuse the candles with her preferred aromas.
- Candle Wicks: Ensure the wicks are the appropriate size for the jars and can burn evenly.
Instructions
- Melt the Soy Wax: Begin by melting the soy wax flakes using a double boiler or microwave, following the instructions on the packaging. Be sure to supervise younger crafters when handling hot materials.
- Add Scent and Pour into Jars: Once the wax is melted, mix in the chosen essential oils to create Mom’s favorite scent. Carefully pour the scented wax into the glass jars, leaving some space at the top.
- Insert and Secure Candle Wicks: Before the wax completely solidifies, place the candle wicks in the center of each jar. Hold the wicks in place until the wax cools and hardens, ensuring they stay upright and centered.
With this Scented Candle Jar, you’ll not only add a fragrant touch to Mom’s day but also create a cozy ambiance that will make her feel cherished and loved.
Craft 4: Decorative Pot with Herb Seeds

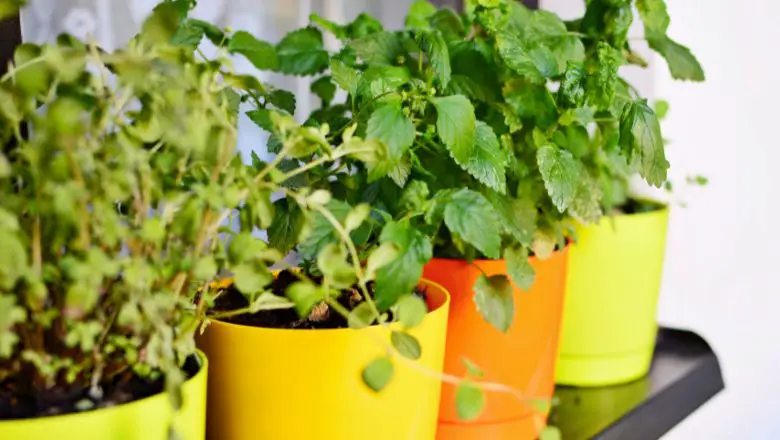
For a gift that keeps on giving, this Decorative Pot with Herb Seeds is the perfect way to add some fresh, aromatic flair to Mom’s kitchen while creating a fun and engaging project for the whole family to enjoy.
Materials
Gather these materials to get started on your herb-planting adventure:
- Terracotta Pots: Select pots of various sizes that are suitable for planting herbs.
- Acrylic Paints: Choose a range of vibrant colors to add a decorative touch to the pots.
- Paintbrushes: Make sure to have a variety of brush sizes for detailed designs and broader strokes.
- Herb Seeds and Potting Soil: Pick out Mom’s favorite herbs and ensure you have quality potting soil for optimal growth.
Instructions
- Paint and Decorate the Pots: Begin by painting the terracotta pots with your chosen acrylic paints, letting your creativity flow. You can create patterns, and designs, or even paint Mom’s name on the pots for that extra personalized touch.
- Plant the Herb Seeds: Once the painted pots are dry, fill them with the potting soil and carefully plant the selected herb seeds according to the instructions on the packet. Make sure to water them gently and place the pots in a sunny spot.
- Add Personalized Labels: Create personalized labels for each herb using small wooden sticks or cardboard. Write the names of the herbs on each label and attach them to the corresponding pots, adding that final decorative element.
With this Decorative Pot with Herb Seeds, you’ll not only bring some greenery indoors but also provide Mom with fresh herbs to use in her culinary adventures, making it a gift that keeps on giving throughout the year.
Craft 5: Homemade Spa Kit

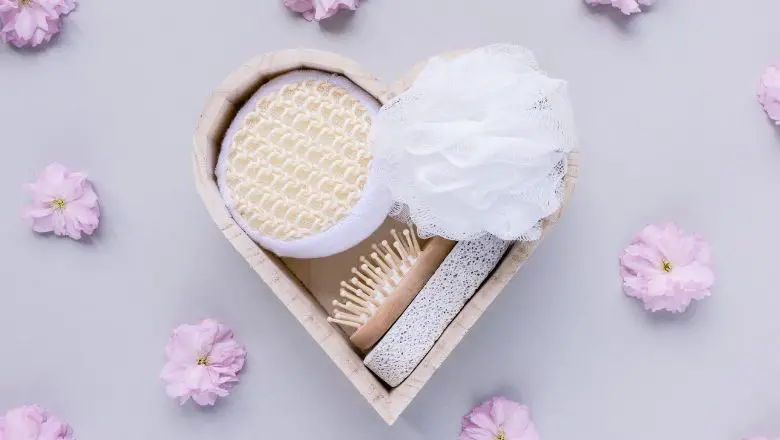
Pamper Mom with a rejuvenating spa experience right at home by creating this delightful Homemade Spa Kit, filled with soothing goodies to help her unwind and relax on her special day.
Materials
Gather these essential materials to curate a spa-like experience for Mom:
- Mason Jars or Decorative Gift Boxes: Choose sturdy and visually appealing containers to hold the spa goodies.
- DIY Sugar Scrub Ingredients: Combine sugar, essential oils, and other natural ingredients for a luxurious exfoliating experience.
- Bath Bombs or Bath Salts Components: Gather ingredients such as baking soda, citric acid, Epsom salts, and essential oils for a calming bath experience.
- Handmade Cards or Labels: Get creative with personalized messages or labels to add a heartfelt touch to the spa kit.
Instructions
- Prepare the Sugar Scrub and Bath Products: Mix the DIY sugar scrub ingredients and carefully layer them in the mason jars, creating a visually appealing and fragrant scrub. Similarly, combine the bath bomb or bath salt components and mold them into enticing shapes for a delightful bathing experience.
- Package in Jars or Gift Boxes: Carefully place the finished sugar scrubs and bath products into the mason jars or decorative gift boxes, ensuring they are secure and visually appealing.
- Add a Personalized Touch with Decorative Labels or Cards: Write thoughtful messages on handmade cards or labels, expressing gratitude and love for Mom. Attach these labels or cards to the spa kit, adding that final personal and heartfelt touch.
With this Homemade Spa Kit, you’ll not only give Mom a well-deserved break but also show her how much she’s cherished and appreciated, making her feel relaxed and rejuvenated, just like she deserves.
Crafting Memories: Unforgettable Moments This Mother’s Day!
Oh, what a whirlwind of creativity and joy it has been!
I can still see the sparkle in my little one’s eyes as we put together these special Mother’s Day crafts, each one crafted with love and excitement, ready to bring that priceless smile to Mom’s face.
As we wrap up our crafting adventure, I can’t help but feel the warmth and closeness that only comes from sharing these heartfelt moments.
This Mother’s Day, let’s celebrate not just the beautiful crafts we’ve made, but the bonds we’ve strengthened and the memories we’ve woven together, creating a tapestry of love that will last a lifetime.
Cheers to all the amazing moms out there!
