Have you ever walked into a space and instantly felt the warm embrace of rustic charm?
There’s something magical about the cozy, down-to-earth vibe that rustic decor brings to a home.
And guess what? Today, I’m here to share some seriously cool DIY Rustic Home Decor Ideas that will have you channeling your inner designer in no time!
So, are you ready to roll up your sleeves and dive into a world of rustic elegance? Get ready to explore these 5 DIY Rustic Home Decor Ideas that will have your friends begging for decorating tips.
We’ll create, we’ll craft, and most importantly, we’ll have a blast infusing our homes with that cozy charm we all love.
Let’s jump in and let our inner decorators shine – I’ll be your guide, and you’ll be the master of your rustic domain.
5 DIY Rustic Home Decor Ideas
Picture this: Your living room is adorned with handmade, weathered wood shelves showcasing your favorite vintage finds.
Or maybe your kitchen, where mason jar candle holders cast a soft, inviting glow over family dinners. I know what you’re thinking – “But I’m not a crafting expert!”
Well, my friend, let me assure you that if I can do it, so can you. These ideas are all about simplicity, creativity, and a touch of that rustic flair.
Why settle for cookie-cutter decor when you can infuse your space with personality? Imagine being surrounded by elements that tell your unique story, that evoke memories of cozy cabins and timeless beauty.
Each of these DIY rustic decor projects has a story to tell, and I’m here to guide you through the journey of turning everyday items into cherished pieces of art.
Rustic Wooden Picture Frames: Capturing Memories in Style
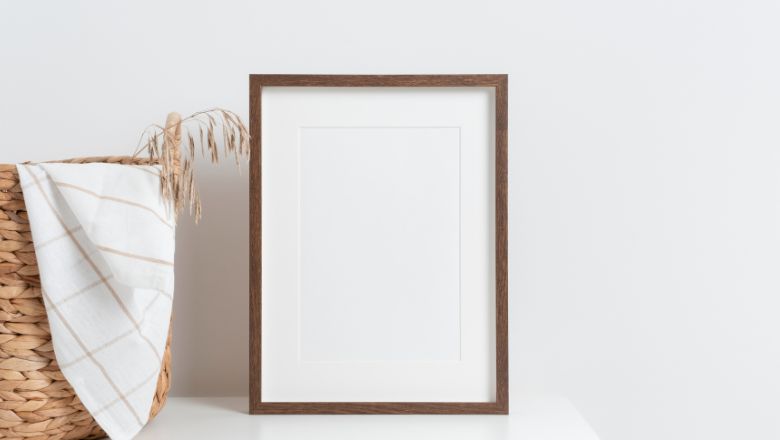
Ready to give your memories a touch of rustic charm?
Imagine turning ordinary reclaimed wood into picture frames that not only hold your cherished moments but also add a cozy and vintage vibe to your space.
Step 1: Hunt for Treasure
Imagine embarking on a treasure hunt for the perfect pieces of reclaimed wood. It’s like finding hidden gems in your backyard – each piece holds a story waiting to be shared.
Step 2: Embrace the Imperfections
Now, here’s where the magic happens. Those cracks, knots, and imperfections in the wood? They’re what make your frames uniquely rustic. Embrace them, and let them tell a story of their own.
Step 3: Shape Your Vision
Picture your favorite memories nestled within these frames. Now, with a saw in hand, shape your wood into the desired frame size. Feel the satisfaction of crafting something tailor-made for your moments.
Step 4: Piece by Piece
Assemble your frame by nailing or gluing the wood pieces together. The beauty lies in the organic, uneven lines – they give your frame that authentic rustic touch.
Step 5: Finishing Touches
Now, it’s time to decide if you want to leave your frame natural or add a touch of paint or stain. You’re the artist here, creating a frame that reflects your style and taste.
Step 6: Display with Pride
Imagine the satisfaction of placing your beloved photo within the frame you’ve crafted. It’s not just a photo anymore; it’s a piece of art encased in your creation.
As you stand back and admire your rustic wooden picture frame, remember that you’ve not only captured a memory but also crafted a piece of decor that exudes your unique personality. Whether you hang it on the wall or place it on a shelf, this frame holds the essence of cozy charm and a touch of nostalgia.
Mason Jar Lanterns: Illuminating with Vintage Glow
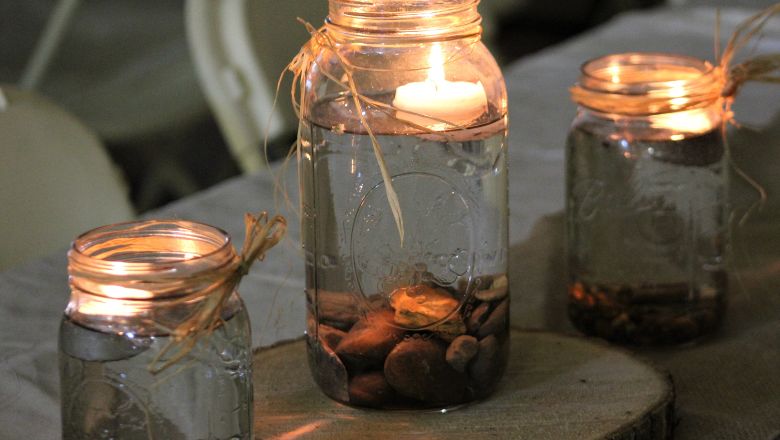
Picture the charming radiance of mason jar lanterns, turning your space into a cozy haven.
These illuminating mason jar lanterns take you on a journey where you’ll transform simple glass jars into captivating lanterns that not only light up your nights but also infuse your decor with a touch of vintage magic.
Step 1: Collect Your Jars
Imagine scouting for those versatile glass mason jars. They’re like blank canvases just waiting for your creativity to shine.
Step 2: Embrace the Twine
Here’s where the rustic charm starts to take shape. Grab some twine and wrap it around the mouth of the jar. It’s a bit like giving your lantern a cozy scarf.
Step 3: Secure Your Handle
Attach a sturdy piece of twine or wire around the neck of the jar – this is your lantern’s handle. It’s like giving your lantern a way to light up the night while hanging out.
Step 4: Insert the Light
Imagine the moment you place a tea light or a small LED candle inside the jar. Suddenly, your lantern comes to life, casting a gentle and welcoming glow.
Step 5: Let Them Shine
As dusk settles in, you’ll witness the transformation of your space. The mason jar lanterns emit a soft and vintage-inspired radiance that creates an atmosphere of comfort and nostalgia.
Step 6: Savor the Ambiance
Imagine spending a relaxing evening basking in the gentle light of your mason jar lanterns. Whether indoors or outdoors, they’ll turn ordinary moments into magical ones.
As you let the warm glow of your mason jar lanterns wash over you, remember that you’ve not only created functional lighting but also added a dash of whimsy to your decor. These lanterns have the power to transport you to a simpler time, where the soft flicker of candlelight invites you to slow down and savor life’s little pleasures.
Burlap and Lace Pillows: Softening Rustic Spaces with Elegance
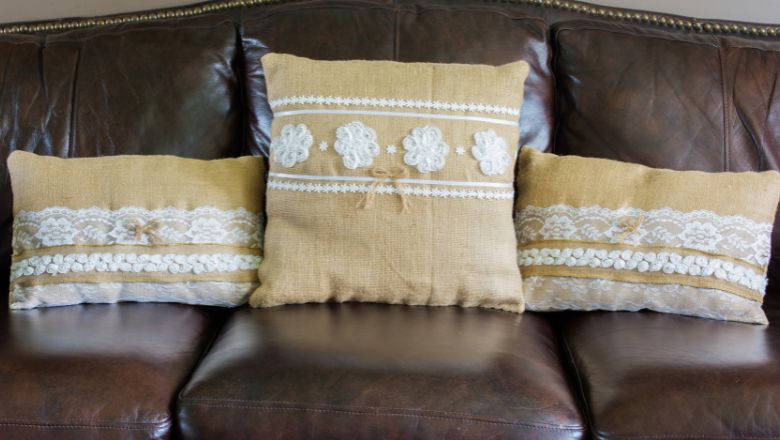
These rustic burlap and lace pillows will invite you to embark on a DIY adventure where you’ll craft pillows that effortlessly merge rustic textures with delicate lace, bringing an air of sophistication to your decor.
Step 1: Gather Your Materials
Envision collecting burlap fabric and lace trim, like gathering treasures for your crafting journey. These contrasting textures will soon meld into something beautifully harmonious.
Step 2: Measure and Cut
Imagine measuring and cutting the burlap fabric to your desired pillow size. The rustic nature of burlap is like a canvas waiting for your creative touch.
Step 3: Add the Lace
Lay the lace trim along the edges of the burlap fabric, envisioning the delicate lace mingling with the rugged texture of burlap. Secure it in place with pins, preparing for a seamless fusion of elegance and rusticity.
Step 4: Stitch with Care
As you sew the lace trim onto the burlap, picture each stitch as a bridge between two worlds – the soft and the rugged, the elegant and the rustic.
Step 5: Fill and Fluff
Imagine the satisfaction of stuffing your pillow with soft filling, transforming your fabric into a plush haven of comfort. Fluff the pillow, giving it that inviting shape that’s ready to embrace you.
Step 6: Embrace the Aesthetic
As you place your burlap and lace pillows on your couch or bed, take in the visual contrast they offer. The burlap’s earthiness and the lace’s delicacy coexist in perfect harmony, softening your space with a touch of refined rustic elegance.
Picture yourself sinking into the embrace of these pillows, feeling the blend of textures beneath your fingertips. These burlap and lace creations aren’t just pillows; they’re artistic expressions that add depth and style to your surroundings.
Rustic Pallet Wall Art: Making a Statement with Recycled Wood
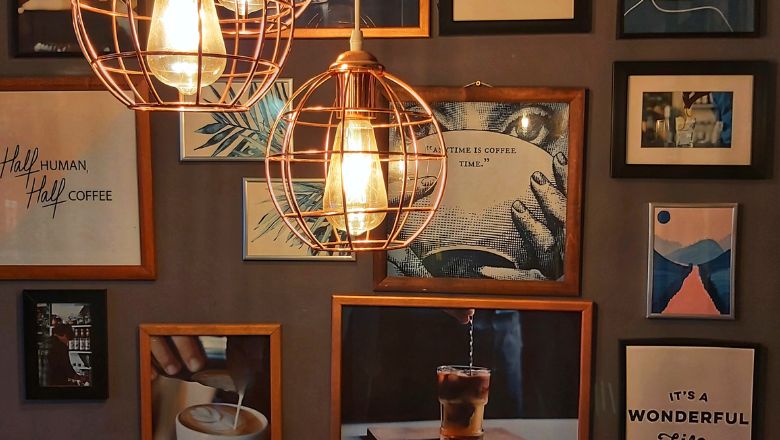
Imagine turning discarded pallet wood into captivating wall art that not only speaks volumes but also adds a rustic focal point to your space.
With this rustic home sdecor, you’ll embark on a creative journey where you’ll transform weathered planks into a masterpiece that tells a story and captures attention.
Step 1: Salvage Your Pallets
Picture rescuing pallet wood from its humble origins and envisioning the transformation that lies ahead. These weathered planks are like blank canvases waiting for your artistic touch.
Step 2: Plan Your Design
Imagine sketching out your design on paper, visualizing how the rustic wood will come together to create your statement piece. It’s a bit like putting together a puzzle of creativity.
Step 3: Gather Your Tools
As you gather your tools – hammer, nails, paints – you’re preparing to translate your vision onto the wood, turning it into a work of art.
Step 4: Assemble and Paint
Envision nailing the pallet wood planks together, forming the canvas for your masterpiece. Then, with each stroke of the brush, you’re adding color and life to your creation.
Step 5: Hang Your Art
Imagine the moment you hang your rustic pallet art on the wall. It’s like giving your space a voice, a visual story that demands attention and invites contemplation.
Step 6: Embrace the Impact
As you step back to admire your creation, picture how it elevates your decor. The combination of recycled wood, artistic expression, and rustic charm creates an impact that’s both powerful and inviting.
Imagine standing before your rustic pallet wall art, feeling a sense of pride and accomplishment. It’s not just a piece of decor; it’s a testament to your creativity and resourcefulness. Each time you glance at it, you’re reminded of the magic that can unfold when you repurpose materials and breathe new life into them.
Rope-Wrapped Vases: Elevating Florals with a Rustic Twist

Imagine taking a simple glass vase and transforming it into a rustic masterpiece that elevates your floral arrangements to a whole new level.
Step 1: Gather Your Vases
Envision selecting a collection of glass vases, each one a blank canvas for your creativity. These vases are like your own personal art gallery, waiting for your touch.
Step 2: Choose Your Rope
Imagine browsing through different types of ropes – jute, sisal, or even colored twine – to find the perfect one that matches your vision. This rope is the rustic thread that ties your project together.
Step 3: Begin Wrapping
As you start wrapping the rope around the vase, feel the texture beneath your fingers. It’s like weaving a story into the vase, adding depth and interest to its surface.
Step 4: Secure and Decorate
Envision tying a knot to secure the rope in place, marveling at how the simple act of wrapping can transform the vase. You might even consider adding embellishments like beads or shells for an extra touch of rustic flair.
Step 5: Insert Your Flowers
Imagine the moment you place your freshly cut flowers into the rope-wrapped vase. It’s like pairing rustic charm with natural beauty, creating a harmonious fusion that enhances both elements.
Step 6: Display and Admire
As you place your rope-wrapped vases around your home, picture the visual impact they create. Each vase exudes a sense of rustic elegance that complements your decor and brings your floral arrangements to life.
Imagine the delight of seeing your floral displays nestled within these rope-wrapped vases. They’re not just vessels for flowers; they’re artful accents that add a touch of nature and rusticity to your living spaces.
Handmade Happiness: A Recap of Your Rustic Home Adventure
Just think about the conversations these DIY rustic decor pieces will spark – your friends and family won’t be able to resist asking, “Where did you get that amazing piece?”
And you get to reply with a proud smile, “I made it myself!” Your home now tells a story, your story, through every handcrafted detail.
Remember the thrill of collecting materials, letting your imagination run wild, and witnessing your ideas come to life?
That’s the beauty of DIY, my friend. Every piece you’ve created carries a bit of your heart and soul, turning your living space into a haven of creativity and comfort.
As you sit back and bask in the warm glow of your mason jar candle holders or admire your handiwork on those weathered wood shelves, remember this feeling of accomplishment.
You’ve not only added rustic flair to your home but also brought a touch of your magic to every corner.
So keep embracing the rustic charm, keep seeking inspiration from nature’s imperfections, and keep adding your unique touch to your surroundings.
Your home is a canvas waiting for your creative brushstrokes, and with these DIY rustic decor ideas in your toolkit, the possibilities are endless.
