Are you tired of feeling like your small space is bursting at the seams with clutter?
Trust me, I’ve been there too, but fear not! I’ve got some fantastic DIY storage ideas up my sleeve that will have you reclaim your space in no time.
Do you know that feeling when you’re constantly searching for your keys or your favorite shirt amidst the chaos?
Well, I’m here to rescue you from that frustration!
Whether you live in a cozy apartment, a tiny house, or just have limited storage space, these creative and practical solutions are about to change your life (and your living space!).
From sneaky space-saving hacks to stylish and functional storage solutions, I promise you’ll find something that suits your unique style and needs.
Ready to transform your small space into an organized oasis? Let’s get started!
Maximize Your Space: 5 DIY Storage Solutions for Small Homes
Are you tired of constantly tripping over clutter in your small home? Do you find yourself struggling to find a place for all your belongings?
Well, fear not! Below, we will explore five creative and budget-friendly do-it-yourself storage solutions that are perfect for small living spaces.
So say goodbye to the chaos and hello to a more organized and efficient living environment – let’s get started!
The Magic of Vertical Storage: DIY Hanging Shelf
Tired of things piling up on the floor and feeling like your space is getting smaller every day?
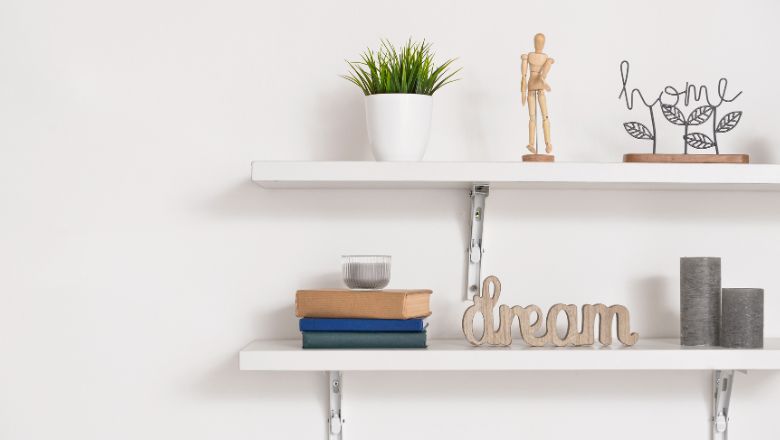
Well, fret no more! With this nifty DIY hanging shelf, you can utilize the often-overlooked vertical space in your room.
Not only will it keep your belongings organized, but it’ll also add a touch of uniqueness to your decor.
Materials You’ll Need
- A sturdy wooden plank (choose your preferred size)
- Rope or sturdy twine
- Drill and screws
- Hooks or wall anchors (if needed)
- Paint or wood stain (optional, for a pop of color)
Step-by-Step Guide
- Measure and Cut: First things first, measure the area where you want to hang your shelf. Then, cut the wooden plank to your desired length using a saw. If you’re not comfortable with sawing, most hardware stores will happily cut it for you!
- Drill, Baby, Drill: Now it’s time to drill! On each corner of the wooden plank, carefully make a hole big enough to fit your rope or twine through. Make sure the holes are evenly spaced to maintain balance.
- Add Some Color (Optional): Feeling artsy? You can paint the wooden plank in your favorite color or stain it to showcase the natural beauty of the wood. Let your creative side shine!
- Thread the Rope: Take your rope or twine and thread it through the holes on each corner of the wooden plank. Tie sturdy knots to secure it in place, ensuring the shelf hangs evenly.
- Find the Perfect Spot: Time to decide where your DIY hanging shelf will work its magic! Choose a spot that complements your room’s layout and makes a statement.
- Hang It Up: Depending on your wall type, use hooks or wall anchors to securely hang the rope from the ceiling or wall. If you’re unsure about the best method for your wall type, seek advice from your local hardware store.
Personalize Your Space
Now comes the fun part – styling your DIY hanging shelf! Use it to showcase your collection of potted plants, vintage books, or quirky trinkets. Let your personality shine through as you curate the perfect display.
Remember, the organization doesn’t have to be boring or limited to the floor. With this DIY hanging shelf, you’ve discovered the magic of vertical storage, bringing harmony and creativity to your small space. Get ready to step back and admire the stylish transformation you’ve achieved!
The Sneaky Side Table: DIY Storage Ottoman
Who says furniture can’t be sneaky and stylish at the same time?
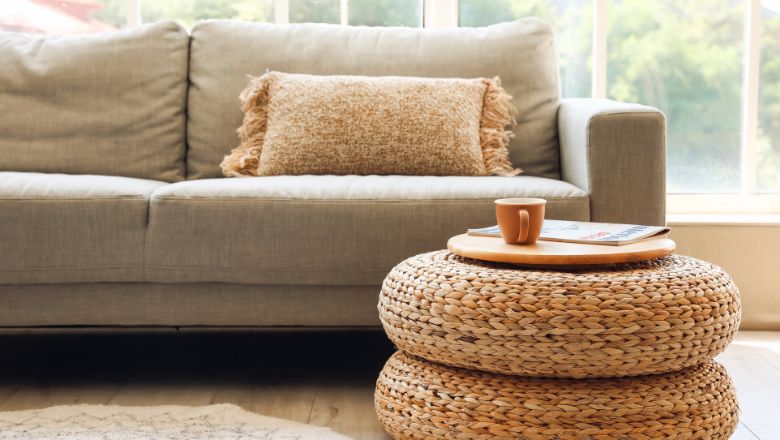
Get ready to add a touch of hidden genius to your living space with this DIY storage ottoman! Not only will it serve as a comfy seat, but it’ll also keep your belongings neatly tucked away – all while elevating your interior design game.
Materials You’ll Need
- Wooden crate or sturdy box (choose a size that suits your needs)
- Foam cushion or old pillow
- The fabric of your choice (make sure it’s enough to cover the top and sides of the crate)
- Adhesive spray or glue
- Scissors and a staple gun
- Decorative elements (optional – think buttons, ribbons, or tassels)
Step-by-Step Guide
- Prep the Crate: Start by checking your wooden crate for any rough edges or splinters. Sand them down to ensure a smooth surface.
- Add Comfort: Lay the foam cushion or old pillow on top of the crate, making sure it fits snugly. If needed, trim the foam to match the crate’s dimensions.
- Wrap It Up: Now, it’s time to wrap your DIY storage ottoman. Lay the fabric facedown on a flat surface and place the crate on top of it, upside down. Pull the fabric up around the sides of the crate, making sure it covers the foam cushion entirely.
- Secure in Place: Use adhesive spray or glue to secure the fabric to the bottom of the crate. This will keep the fabric in place while you work on the sides.
- Create Neat Corners: For the corners, fold the fabric like you’re wrapping a gift and staple it to the inside of the crate. This technique will give your ottoman a polished look.
- Finishing Touches: If you want to add a touch of flair, now’s the time! Get creative with buttons, ribbons, or tassels to embellish your storage ottoman.
Versatility at Its Best
Not only is this DIY storage ottoman perfect for keeping your space tidy, but it also serves multiple purposes.
Use it as a side table, a footrest, or an extra seat for impromptu gatherings. It’s like having a secret superhero in your home!
Room by Room Inspiration
- Living Room Elegance: Place your DIY storage ottoman in the living room, right next to your sofa. It’ll be the perfect spot to rest your feet after a long day, and you can store extra blankets or throw pillows inside for cozy movie nights.
- Bedroom Bliss: In the bedroom, position the ottoman at the foot of your bed. Not only will it serve as a stylish bench, but it’ll also discreetly hold your extra linens or off-season clothing.
- Entryway Marvel: Create an inviting entryway by using the ottoman as a shoe storage solution. It’s an easy way to keep your hallway clutter-free and impress your guests with your clever decor choices.
With this DIY storage ottoman, you’ve discovered the art of hiding storage in plain sight. So go ahead, and enjoy the added functionality and elegance it brings to your space.
The Space-Saving Haven: DIY Under Bed Storage
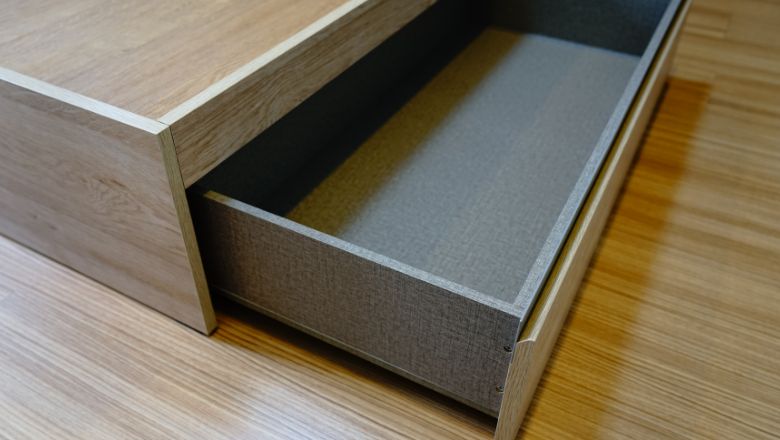
Are you ready to make the most of every inch of your small space? Say goodbye to wasted space under your bed and hello to the ultimate storage haven!
This DIY under-bed storage project is a game-changer, giving you the perfect spot to stash away your belongings and keep your bedroom clutter-free.
Materials You’ll Need
- Wooden boards (quantity and size depend on your bed dimensions)
- Casters or wheels (4 for each storage unit)
- Screws and a screwdriver
- Measuring tape and a saw (if needed to cut the boards)
- Sandpaper
- Paint or wood stain (optional, for a polished look)
Step-by-Step Guide
- Measure Your Bed: Start by measuring the space under your bed. You want to make sure your DIY storage units fit perfectly, so double-check those measurements!
- Cut the Boards: Using a saw cut the wooden boards to the desired length and width for your storage units. Sand down any rough edges for a smooth finish.
- Assemble the Boxes: Create rectangular boxes by screwing the boards together at the corners. This will be the base of your under-bed storage.
- Add Wheels for Mobility: Flip the boxes over and attach casters or wheels to each corner. These wheels will make it easy to slide the storage units in and out from under the bed.
- Paint or Stain (Optional): If you want a pop of color or a polished look, consider painting or staining the wooden boxes. Choose a shade that complements your bedroom decor.
- Slide and Store: Now it’s time to put your DIY under-bed storage to work! Slide the units under your bed, and start organizing your belongings. From clothing and shoes to extra bedding and seasonal items, you’ve got the perfect space-saving solution.
A Bedroom Oasis
Having a clutter-free bedroom not only creates a sense of serenity but also makes it easier to find what you need.
With your DIY under-bed storage, you can keep everything tidy and within reach, all while freeing up valuable closet and drawer space.
Tailor-Made for Your Needs
- Kids’ Toy Tamer: In a kids’ bedroom, use the under-bed storage to corral toys, books, and stuffed animals. It’s a fantastic way to keep their play area organized and encourage tidy habits.
- Closet Extension: If your closet space is limited, consider using the under-bed storage for shoes, handbags, or out-of-season clothing. It’s like having a bonus closet right beneath your feet!
- Crafty Storage Solution: For crafters and DIY enthusiasts, this under-bed storage is a dream come true. Keep your crafting supplies, scrapbooking materials, or knitting projects neatly stored and accessible.
So there you have it – your DIY under-bed storage solution is ready to revolutionize your bedroom! Enjoy the extra space, easy access to your belongings, and the joy of waking up to a clutter-free sanctuary.
The Upcycling Marvel: DIY Mason Jar Organizer
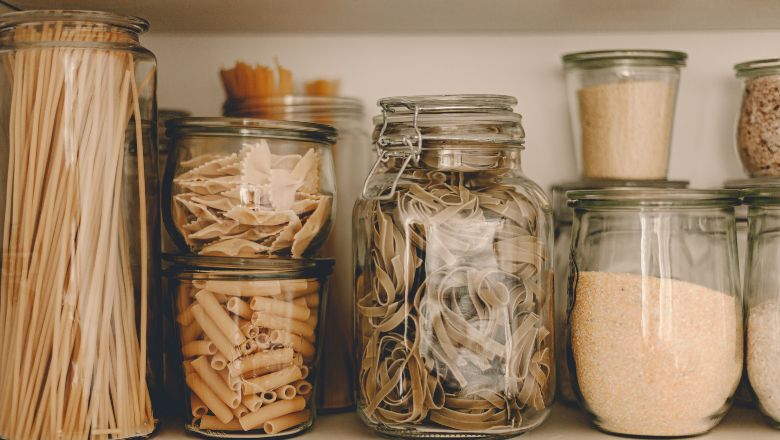
Get ready to transform ordinary mason jars into a storage marvel that will add charm and functionality to any room!
This DIY mason jar organizer is not only an eco-friendly upcycling project but also a creative way to keep your essentials neatly arranged. Say goodbye to cluttered countertops and hello to a stylish and organized space!
Materials You’ll Need
- Mason jars (choose various sizes and quantities depending on your needs)
- Scrap wood board (large enough to hold the mason jars)
- Pipe clamps or hose clamps (one for each mason jar)
- Screws and a screwdriver
- Paint or spray paint (optional, for personalization)
- Strong adhesive or mounting tape (if not using screws)
Step-by-Step Guide
- Prepare the Board: Start by preparing your scrap wood board. Sand it down to smooth any rough edges and create a clean surface for your mason jars.
- Arrange the Jars: Lay out your mason jars on the board to determine their placement. You can arrange them in a row or create a fun and quirky pattern, depending on your taste.
- Secure the Jars: Once you’re happy with the arrangement, attach the mason jars to the board using pipe clamps or hose clamps. Wrap the clamps around the neck of the jars and tighten them securely to the board.
- Mount-It Up: Decide where you want to hang or display your DIY mason jar organizer. If you’re using screws, carefully mount the board on the wall using appropriate anchors. Alternatively, if you prefer not to drill into the wall, use strong adhesive or mounting tape to secure the board in place.
- Add a Personal Touch (Optional): Feeling artsy? Get creative and add a splash of color to the board or mason jars with paint or spray paint. You can choose a color that matches your room’s decor or creates a standout accent.
Endless Storage Possibilities
- Kitchen Command Center: In the kitchen, use mason jars to store utensils, cooking tools, or even fresh herbs. It’s a clever way to keep everything within reach while adding a touch of rustic charm to your cooking space.
- Bathroom Bliss: In the bathroom, use the mason jars to store cotton balls, Q-tips, or makeup brushes. Not only will it keep your essentials organized, but it’ll also lend a farmhouse chic vibe to your bathroom decor.
- Office Organization: In your home office or study area, use the mason jars to hold pens, pencils, paperclips, or small stationery items. It’s a fun and stylish way to keep your workspace tidy and inspiring.
Sustainable Style
One of the best things about this DIY mason jar organizer is that it’s a fantastic upcycling project. By repurposing mason jars and scrap wood, you’re reducing waste and adding sustainable style to your home.
So, get ready to impress your guests with your creative and eco-friendly DIY mason jar organizer. Say hello to a clutter-free, organized, and utterly charming space that reflects your unique personality and love for all things upcycled!
The Artistic Pegboard: DIY Craft and Tool Organizer
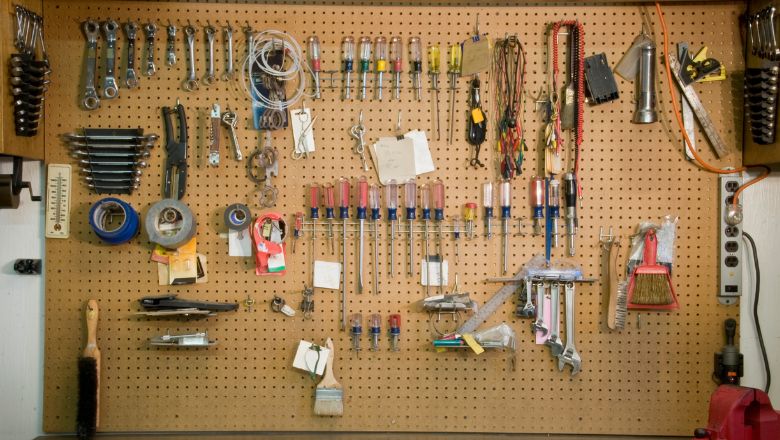
Get ready to turn your walls into a masterpiece of organization with this creative and practical DIY craft and tool organizer!
The pegboard is a versatile solution that not only keeps your crafting supplies and tools within arm’s reach but also adds an artistic flair to your workspace. Say goodbye to digging through drawers and hello to a beautifully organized and inspiring area!
Materials You’ll Need
- Pegboard (choose a size that fits your space)
- Wooden frame or trim (optional, for a finished look)
- Paint or spray paint (choose a color that complements your room)
- Pegboard hooks and accessories (various sizes and styles)
- Screwdriver and screws
- Level and measuring tape
Step-by-Step Guide
- Prepare the Pegboard: If your pegboard doesn’t come with a frame, you can create one using wooden trim. Attach the trim around the edges of the pegboard using screws or adhesive for a polished and finished appearance.
- Paint the Pegboard: Get creative with your color choice! Pick a paint or spray paint that matches your room’s decor or opt for a bold and eye-catching hue that brings your workspace to life. Let the paint dry completely before moving on to the next step.
- Mount-It Up: Decide where you want to hang your DIY pegboard organizer. Use a level and measuring tape to ensure it hangs straight and at the desired height. Secure the pegboard to the wall using screws and anchors, making sure it’s stable and secure.
- Accessorize Your Organizer: Time to have some fun! Add pegboard hooks, shelves, and other accessories to suit your specific needs. Use different hook sizes to accommodate various tools, scissors, or crafting supplies.
- Organize and Display: Now comes the most satisfying part – organizing your craft and tool essentials! Arrange your items on the pegboard, creating a visually pleasing and functional display. You’ll love the convenience of having everything right where you need it.
Let Your Creativity Soar
- Craft Corner Delight: Create a dedicated craft corner in your home or office with the pegboard organizer. Use it to store paintbrushes, ribbons, washi tapes, and other crafty goodies. Your creative space will be an inspiring oasis!
- Handy Garage Helper: In the garage or workshop, the pegboard becomes a versatile tool organizer. Hang hammers, wrenches, screwdrivers, and other tools for easy access. It’s a practical and efficient solution for any DIY enthusiast.
- Chic Jewelry Display: In your bedroom or dressing area, use the pegboard to showcase your favorite jewelry pieces. Add hooks and small shelves to hang necklaces and display rings, transforming your accessories into decorative art.
Unleash Your Inner Artist
With this DIY pegboard organizer, you’ve unlocked the key to a clutter-free and visually captivating workspace. Revel in the joy of having your crafting supplies and tools right at your fingertips, all while showcasing your artistic side.
So, get ready to organize in style and let your creativity soar to new heights with your very own artistic pegboard. Say hello to a well-ordered and inspiring space that sparks joy every time you step into it!
Your Small Space Savior: Recap of DIY Storage Tips and Tricks
Remember, the key is to make your space work for you, and these hacks will do just that! From hidden nooks to clever shelves and stylish storage solutions, you’ve got the tools to create a home that’s as functional as it is fabulous.
Now, don’t let the chaos creep back in – keep up the momentum and maintain the order you’ve worked so hard to achieve. With a little creativity and a dash of determination, you can stay on top of the clutter and embrace the peace and harmony of a tidy home.
So, roll up your sleeves, grab your toolbox, and let your imagination run wild. You’ve got this! Embrace the power of DIY storage and revel in the joy of a space that truly reflects your unique style and personality.
