Can you believe it’s almost that time of year again?
Yep, you guessed it – Christmas is just around the corner, and I don’t know about you, but I’m already feeling those festive vibes!
Now, I’m all about spreading holiday cheer and making my loved ones feel special.
And what better way to do that than with some delightful handmade candy gifts?
I know, I know, finding the perfect present can sometimes feel like a mission impossible. But fear not, because I’ve got a sweet solution for you. How about we dive into the world of 5 handmade candy gifts for Christmas?
Trust me, this isn’t your average run-of-the-mill gift list. Nope, we’re talking about unique, scrumptious treats that will make everyone’s taste buds dance with joy.
Ready to spread some sugary holiday magic? Well then, let’s get started – because these handmade candy gifts are waiting to dazzle you and your loved ones!
5 Handmade Candy Gifts for Christmas
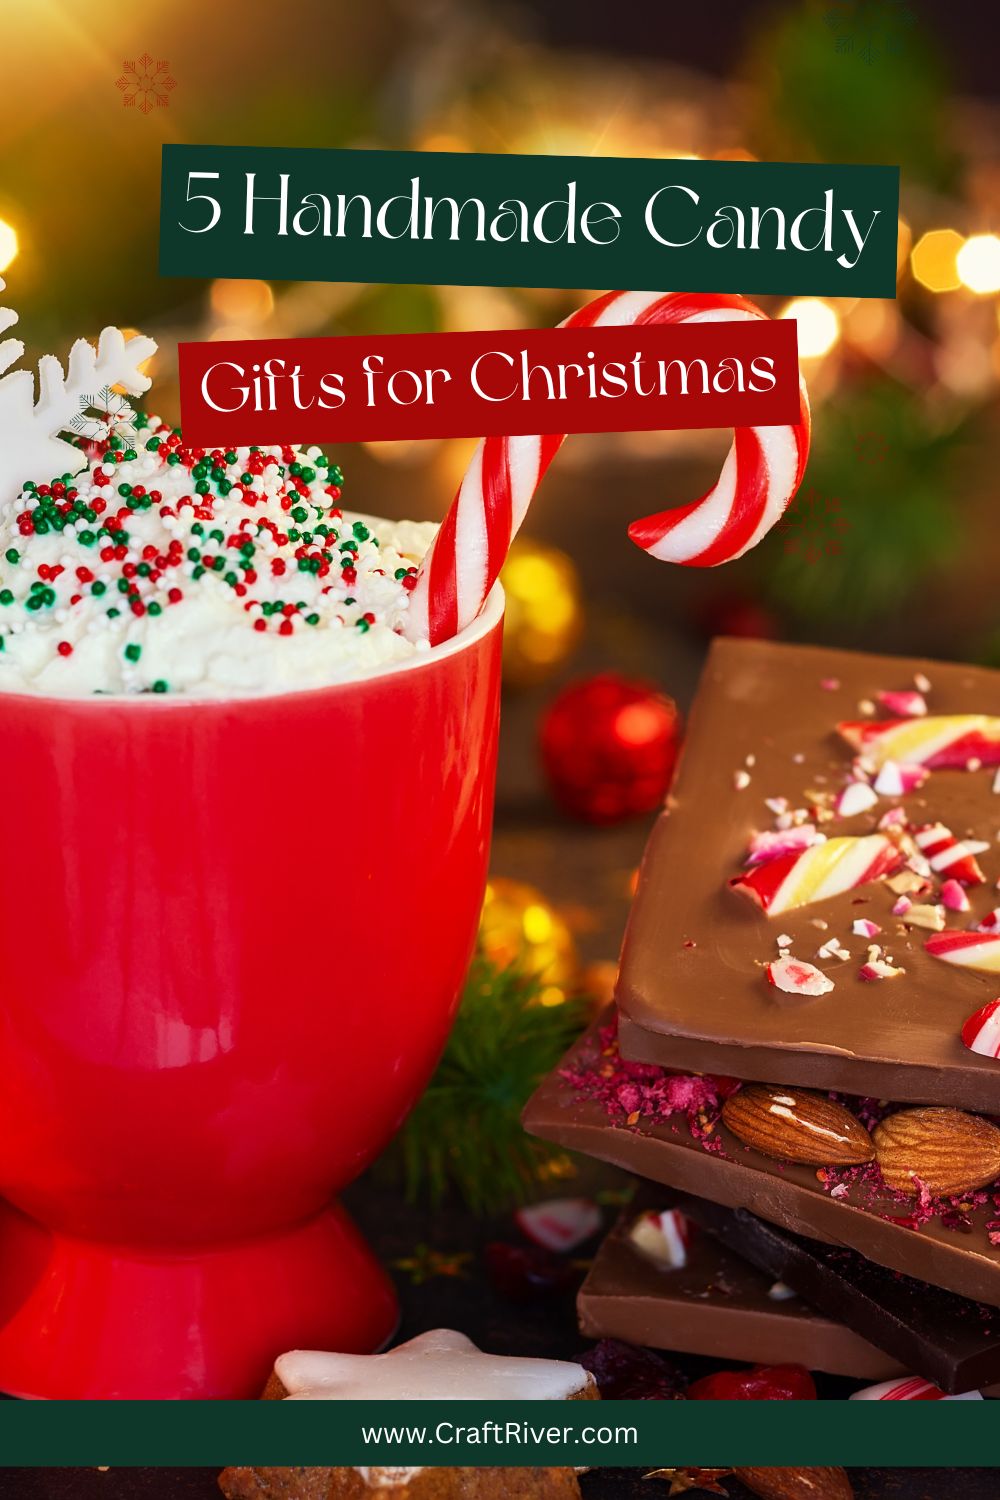
From the moment I stumbled upon these mouthwatering creations, I couldn’t wait to share them with you.
Imagine gifting your bestie a jar filled with artisanal peppermint bark that practically melts in their mouth.
Or picture your family’s faces lighting up when they unwrap a bundle of homemade gingerbread caramels – seriously, who could resist that kind of deliciousness?
So, if you’re on the hunt for gifts that are as heartwarming as they are tasty, you’re in for a treat (pun intended).
Stick around as we unwrap each delectable idea and learn how easy it is to create these handmade candy gifts.
I promise you won’t be disappointed, and by the end of this post, you’ll be armed with some seriously sweet inspiration to make this Christmas extra special.
Peppermint Perfection: Artisanal Peppermint Bark that Melts Hearts
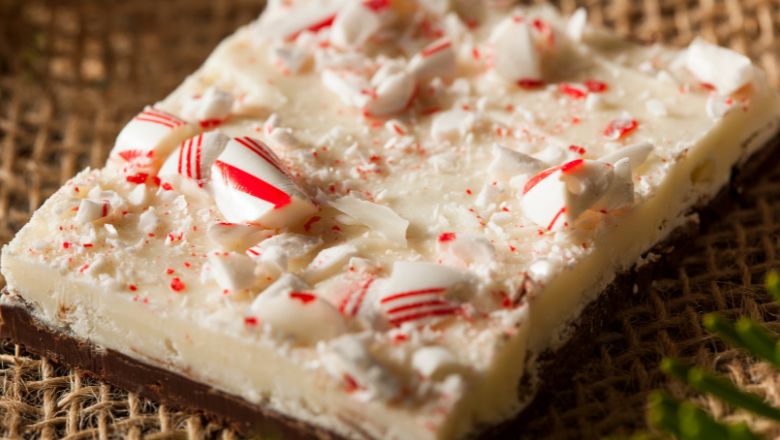
Get ready to tantalize those taste buds, because we’re diving straight into a world of peppermint perfection!
Get set to discover how you can create your very own Artisanal Peppermint Bark that will truly melt hearts this holiday season.
Crafting Holiday Magic with Peppermint
Ah, peppermint – the unmistakable flavor that screams “Christmas is here!” Whether it’s in your hot cocoa or adorning your desserts, peppermint is the MVP of holiday cheer.
And guess what? You’re about to be the maestro of this minty magic!
What You’ll Need
Before we jump into the candy-making fun, let’s gather our magical ingredients:
- High-quality dark or semi-sweet chocolate
- Creamy white chocolate
- Crushed candy canes or peppermint candies
- Peppermint extract (for that extra oomph!)
Let the Peppermint Magic Begin!
- Melt and Mingle: Melt your dark or semi-sweet chocolate with care. Whether you’re using a microwave or the trusty double boiler, ensure it’s smooth and dreamy.
- Spread the Joy: Pour that silky chocolate onto a baking sheet lined with parchment paper. Spread it evenly – this is the canvas for your masterpiece.
- Cool & Collect: Pop the sheet into the fridge for a bit. Not too long, just enough to let it firm up a bit. We’re getting ready for the next layer!
- A White Delight: Melt your white chocolate now. You know the drill – smooth and creamy is the name of the game.
- Peppermint Touch: Here comes the fun part! Add a drop or two of peppermint extract to your white chocolate. Watch that fragrance fill the air.
- Swirl It Up: Pour your minty creation over the cooled dark chocolate layer. Use a toothpick, skewer, or your artistic instincts to create lovely swirls.
- Crunch Time: Sprinkle those crushed candy canes or peppermint candies like confetti over the white chocolate. It’s not just about taste; it’s about that Christmassy charm!
- Chill Out: Pop your masterpiece back in the fridge. Wait patiently (or impatiently, we won’t judge) for the whole thing to set.
Unwrap the Joy
And there you have it, my candy-crafting connoisseur! A mouthwatering Artisanal Peppermint Bark that’s as stunning as it is delicious.
Now, you could break it into rustic chunks or cut it into neat squares – the choice is yours.
Whether you’re treating yourself or gifting this delight, know that you’ve just brought a sprinkle of holiday enchantment into your kitchen.
Are you feeling that excitement bubbling up? Hold onto it, because we’ve still got more candy creations to explore. Keep reading to unlock the magic of Gingerbread Caramels!
Gingerbread Goodness: Unwrap the Joy of Homemade Gingerbread Caramels
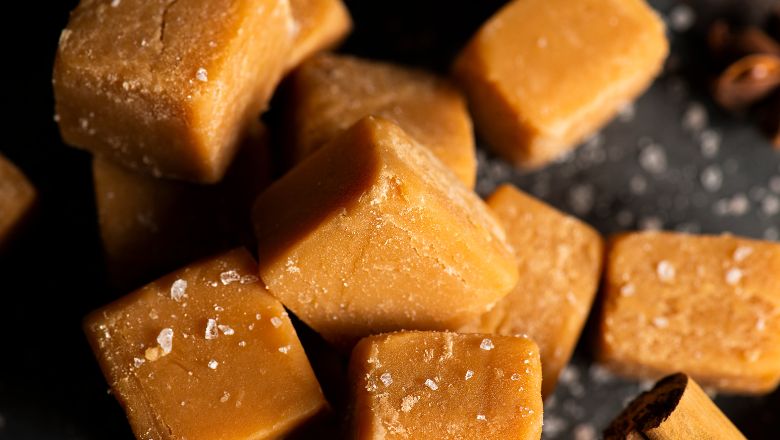
Get ready to dive into the world of Gingerbread Caramels – a fusion of classic holiday flavors and chewy caramel goodness that’ll have you craving more with every bite.
Embrace the Cozy Vibes
You know that feeling when you step into a cozy room filled with the scent of freshly baked gingerbread? Well, imagine that, but in the form of delectable caramels.
Yep, we’re talking about taking that gingerbread charm and wrapping it up in a delightful caramel package.
What You’ll Need
Let’s gather our gingerbread-inspired arsenal before we embark on this caramel adventure:
- Brown sugar (the caramel hero!)
- Unsalted butter
- Sweetened condensed milk (because creaminess is key)
- Molasses (hello, gingerbread flavor!)
- Ground ginger, cinnamon, nutmeg, and cloves (the gingerbread spice dream team)
- Vanilla extract (for that warm hug)
- A pinch of salt (to balance all the sweetness)
Caramel Crafting Magic
- Melt & Mix: Melt your butter in a saucepan and add in the brown sugar. Stir until it’s all lovely and smooth.
- Creamy Bliss: Pour in that sweetened condensed milk and let the magic of creaminess unfold. Keep stirring, my friend.
- Gingerbread Enchantment: Time to add those festive spices – ground ginger, cinnamon, nutmeg, and cloves. Imagine the aroma swirling around you. Bliss!
- Molasses Marvel: Introduce that molasses to the party. Not only does it give that deep flavor, but it’s also the essence of gingerbread.
- Vanilla Warmth: A dash of vanilla extract – it’s like giving your caramels a cozy hug. Stir it in and feel the warmth.
- Thicken & Tantalize: Cook the mixture until it thickens, and you’re almost there. Keep an eye on it – patience is rewarded!
- Pour & Set: Pour your caramel goodness into a lined pan. Let it set and cool. The anticipation is real!
- Unwrap the Magic: Once it’s all set, cut those caramels into squares. You see those beautiful swirls of spices? That’s the gingerbread magic!
The Gingerbread Caramel Magic Unveiled
These caramels are a testament to the magic that can happen when classic holiday flavors meet the art of candy-making.
So go ahead, savor each chewy bite, and relish in the fact that you’ve transformed simple ingredients into a festive delight that captures the essence of the season.
But hang on tight – we’re not done yet! The world of crafting candy wonders has more in store for you. Up next, let’s explore the enchanting realm of Jingle Bell Toffee!
Jingle Bell Toffee: Creating Crunchy Delights for a Sweet Christmas

Ready to add a little jingle to your holiday treats? Get ready to whip up a batch of Jingle Bell Toffee – a deliciously crunchy creation that’ll have you and your loved ones dancing with delight.
It’s time to infuse your Christmas celebrations with a touch of sweetness that comes with a satisfying crunch!
The Joy of Toffee-Making
There’s something uniquely satisfying about biting into a piece of toffee and experiencing that satisfying crackle and crunch.
Well, prepare to be the magician behind that very magic as we embark on this toffee-making journey!
What You’ll Need
Gather your toffee-making essentials before we dive in and create that sensational crunch:
- Unsalted butter (buttery goodness, oh yeah!)
- Granulated sugar (sweetness is our ally here)
- Salt (to balance the flavors)
- Vanilla extract (for a hint of warmth)
- Chopped nuts (because a little texture goes a long way)
- Chocolate chips (melty chocolate bliss)
Toffee Crafting Delight
- Butter Bliss: Melt your butter in a saucepan. Watch it transform from solid to liquid gold.
- Sugar Magic: Add in that granulated sugar and a pinch of salt. Stir it all in until it’s a beautiful caramel color.
- Vanilla Warmth: A splash of vanilla extract is like a cozy blanket for your toffee. Give it a good stir.
- Sizzle & Pop: The mixture will bubble and sizzle. Let it do its thing, and soon it’ll become rich and gorgeous.
- Temperature Check: A candy thermometer is your sidekick now. Keep an eye on that temperature – around 300°F (150°C) is the golden number.
- Nutty Crunch: Sprinkle those chopped nuts over the bubbling toffee. It’s all about that extra layer of texture.
- Pour & Set: Pour your toffee onto a baking sheet lined with parchment paper. Spread it out into an even layer.
- Chocolate Drizzle: While the toffee is still warm, sprinkle chocolate chips over the top. Let them sit for a minute, then spread the melty chocolate love.
- Cool & Break: Let the toffee cool and set. Once it’s firm, break it into pieces of crunchy perfection.
Unleash the Toffee Joy
Whether you’re serving this at your holiday party or wrapping it up as a heartfelt gift, know that you’ve just crafted something truly special.
The crackle of each toffee piece is like a jingle bell ringing in the holiday cheer.
So, go ahead, share the magic of Jingle Bell Toffee, and get ready to see faces light up with joy.
But guess what? The candy-making adventure doesn’t stop here. We’re about to dive into the realm of Candy Cane Dreams – oh yes, it’s time to create your very own striped sweets!
Candy Cane Dreams: Craft Your Striped Sweets with Love
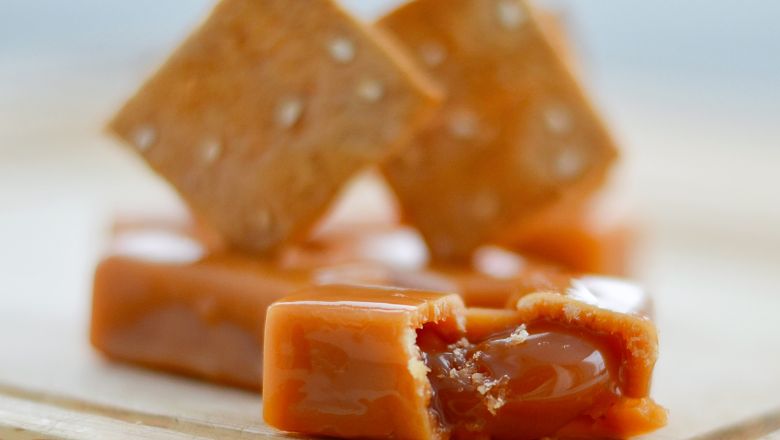
Step into a world of whimsical sweetness and holiday charm as we unveil the secrets to creating your very own Candy Cane Dreams.
Get ready to infuse the spirit of the season into delectable, handmade striped sweets that are as delightful to make as they are to enjoy!
The Magic of Candy Canes
Ah, candy canes – those iconic red and white stripes that adorn trees, stockings, and treats during the festive season.
But what if you could create your version of these classic delights?
Brace yourself, because you’re about to craft candy cane dreams that are as delicious as they are enchanting!
What You’ll Need
Let’s gather our candy cane crafting essentials before we dive into the creative process:
- Granulated sugar (sweetness galore!)
- Corn syrup (for that perfect texture)
- Water (a touch of moisture)
- Peppermint extract (hello, candy cane flavor!)
- Red food coloring (for that classic stripe)
Candy Cane Crafting Fun
- Sugar Magic: Combine your sugar, corn syrup, and water in a saucepan. Let the sugary magic begin as you cook it to the right temperature.
- Peppermint Infusion: Stir in that refreshing peppermint extract. The scent alone will transport you to a winter wonderland!
- Double the Fun: Split your mixture into two parts. Add red food coloring to one part, leaving the other delightfully white.
- Roll & Twist: Pour your red and white mixtures onto separate parchment-lined sheets. Roll them into long, thin strips – one red, one white.
- Twist & Turn: Lay the red and white strips side by side and gently twist them together. Imagine creating a sweet candy cane helix!
- Shape & Set: Now, it’s time to mold your candy canes. Shape them into that familiar curved form and let them set.
- Chill Out: Pop your candy canes in the fridge to cool and firm up. It’s the final countdown to candy cane delight!
Unwrap the Magic
You’ve just crafted your own Candy Cane Dreams that are ready to spread joy and holiday cheer. The mere sight of those red and white stripes is enough to evoke memories of Christmases past.
So, go ahead, share your Candy Cane Dreams with family and friends, and watch their faces light up with delight. It’s a reminder that sometimes the sweetest gifts are the ones made with love and a touch of creativity.
But wait, there’s more sugary magic to explore! Up next, let’s journey into the realm of Holiday Lollipops with a Twist – it’s time to add a pop of flavor to your celebrations!
Holiday Lollipops with a Twist: Adding a Pop of Flavor to Your Celebrations
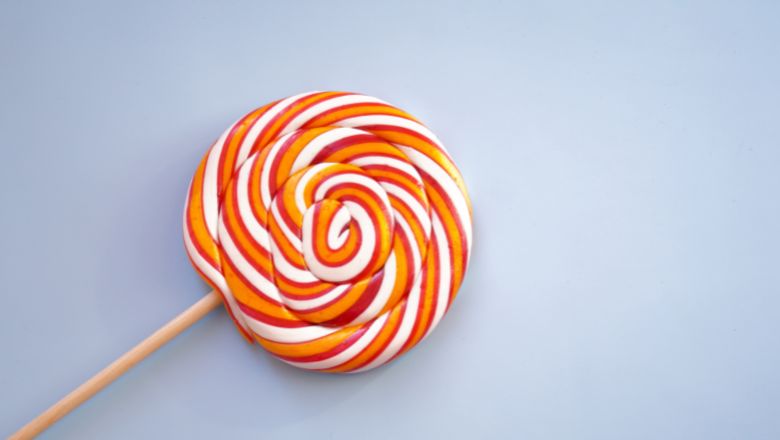
Get ready to elevate your holiday festivities with a burst of flavor, a dash of color, and a whole lot of fun!
We’re diving into the enchanting world of Holiday Lollipops with a Twist – a realm where creativity knows no bounds, and each lick is a journey of taste and delight.
Lollipops: A Canvas of Creativity
Lollipops are like edible canvases waiting to be transformed into delightful works of art.
And during the holidays, why settle for ordinary when you can craft lollipops that are as unique as the season itself?
What You’ll Need
Gather your lollipop-making essentials before we embark on this flavor-packed adventure:
- Granulated sugar (our sweet foundation)
- Corn syrup (for that glossy texture)
- Water (the hydrating hero)
- Flavor extracts (time to infuse that magic!)
- Food coloring (for that festive flair)
- Lollipop molds and sticks (your lollipop canvas)
Lollipop Crafting Magic
- Sugar Alchemy: Mix your sugar, corn syrup, and water in a saucepan. Let the sugary alchemy commence as you heat it to perfection.
- Flavor Explosion: Choose your favorite flavor extracts – vanilla, strawberry, raspberry, oh my! Stir them into your sugar mixture and watch the magic happen.
- Color Play: If you’re feeling adventurous, add a few drops of food coloring. Let your lollipops wear their holiday best!
- Boil & Bubble: Cook your mixture until it reaches the right temperature. Don’t forget that candy thermometer – it’s your trusty guide.
- Lollipop Artistry: Carefully pour your flavorful concoction into lollipop molds. Don’t forget to insert the sticks – they’re the handles to your masterpiece.
- Cool & Set: Let your lollipops cool and set. Patience is key here – the reward is worth it!
Unleash the Lollipop Joy
Whether you’re using these lollipops as edible ornaments for your tree, gifting them as quirky party favors, or simply enjoying them as a festive treat, you’ve brought a touch of creativity and flavor to your holiday season.
These lollipops are a reminder that joy comes in many forms, and sometimes it’s as simple as a swirl of sweetness on a stick.
Savor the Season: Making Memories with Handmade Candy Delights
So, here’s the scoop, my candy-loving friend: whether you’re a kitchen maestro or a newbie with a whisk, these five recipes have got your back.
From the irresistible charm of artisanal peppermint bark to the heartwarming nostalgia of gingerbread caramels, you’ve now got a candy arsenal that’s ready to dazzle and delight.
Picture this: your loved ones unwrapping these sugary treasures, their eyes lighting up with joy as they taste the magic you’ve crafted. It’s a bit like being Santa’s sweetest helper, wouldn’t you say?
And the best part? You’ve not only created edible wonders, but you’ve also crafted moments that’ll linger long after the last candy disappears.
So go ahead, channel your inner candy artist, embrace the holiday spirit, and share these sweet delights with the world.
Remember, it’s not just about the candies – it’s about the love and thoughtfulness you infuse into every batch.
As the snowflakes fall and the carols play, you’ve got the recipe for a Christmas that’s as heartwarming as it is delicious.
Wishing you a season filled with laughter, love, and all the sugary goodness your heart desires!
