Hey there, wedding wizards and penny-pinching pals! Are you like me, dreaming of a picture-perfect rustic wedding without the jaw-dropping price tag?
Well, let me tell you, I’ve been on that quest, and I’ve got some fantastic DIY ideas to share! So, if you’re ready to sprinkle some rustic charm on your big day without burning a hole in your pocket.
Keep reading! I promise you’ll find five budget-friendly DIY rustic wedding ideas that will make your heart skip a beat (in a good way, of course!).
From enchanting mason jar centerpieces to delightful burlap decor, we’ve got it all covered.
Get cozy and join me on this rustic adventure! Your dream wedding is just a few DIY tricks away! Let’s dive in and make your special day simply unforgettable!
5 Enchanting DIY Rustic Wedding Ideas on a Budget
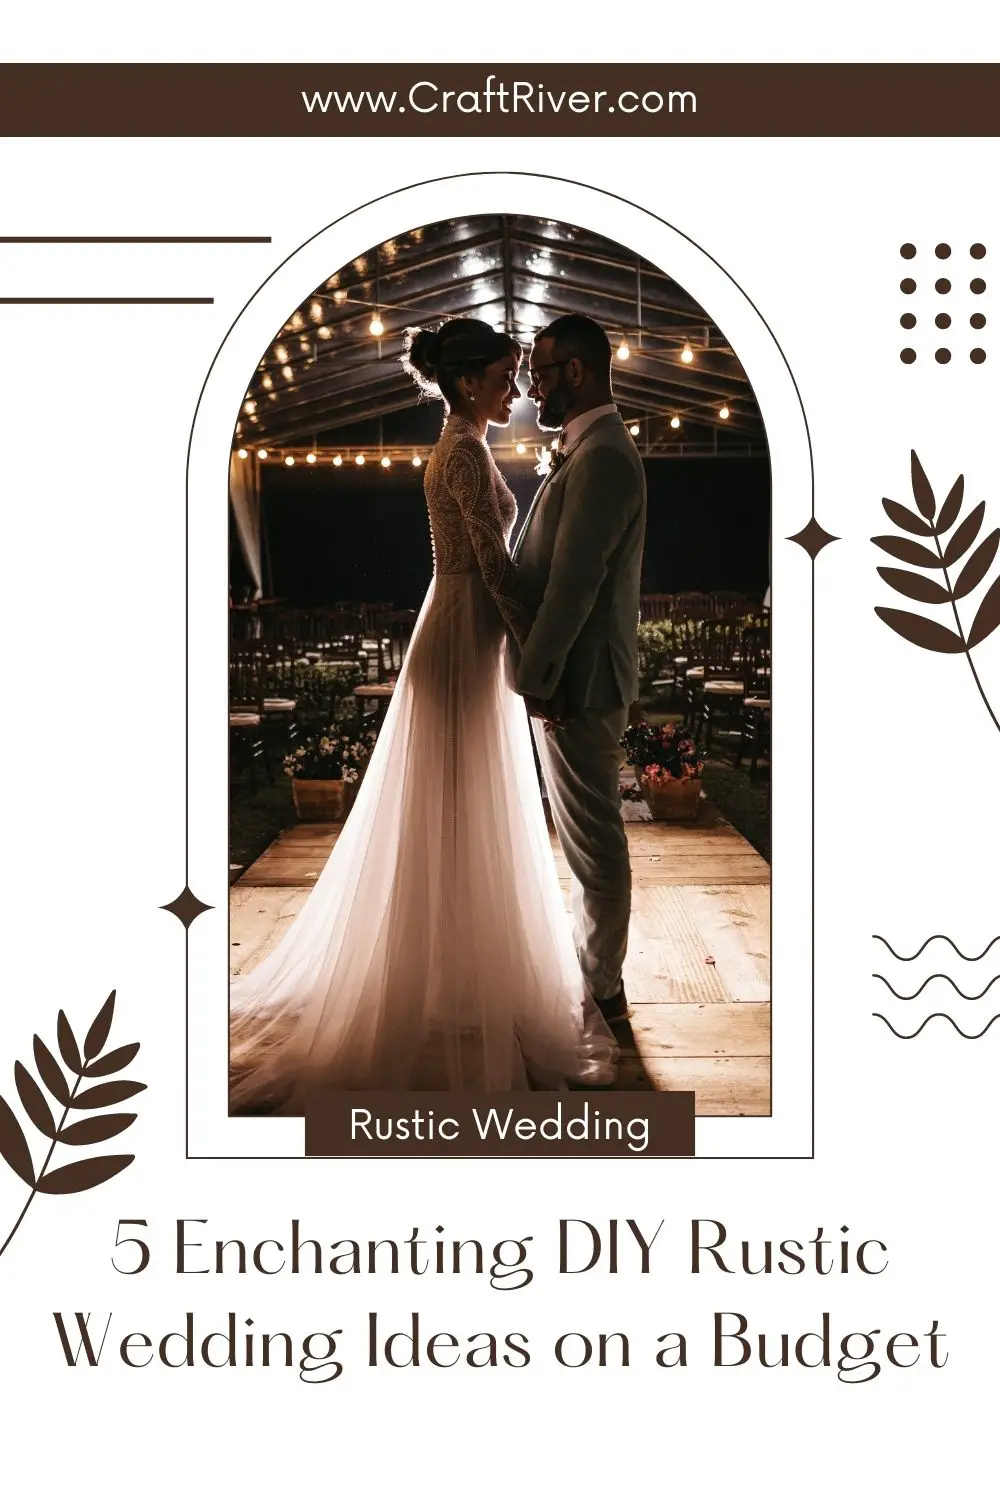
Imagine walking into a magical forest, sunlight filtering through the leaves and twinkling fairy lights illuminating the path. The air is filled with the scent of wildflowers and the soft sounds of acoustic guitar fill your ears.
As you make your way towards a picturesque clearing, you are greeted by a beautifully rustic wedding setup that looks like it came straight out of a fairytale. You can’t help but wonder how this enchanting scene was created, especially on a budget.
Well, fear not! Below are five captivating DIY rustic wedding ideas that will transport you and your guests to a whimsical wonderland without breaking the bank.
DIY Mason Jar Centerpieces
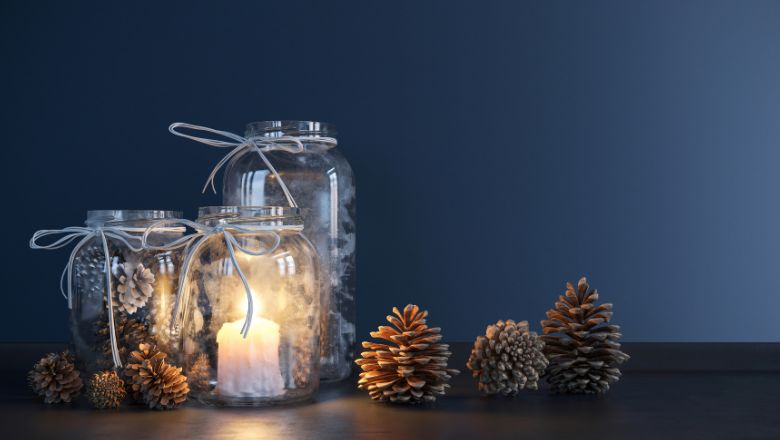
Mason jars are the superheroes of budget-friendly weddings – they can transform even the simplest of setups into something straight out of a fairytale.
Step 1: Gather Your Supplies
First things first, let’s gather the materials.
You’ll need some mason jars (of course!), twine or burlap ribbon, hot glue, and your choice of embellishments like lace, ribbons, or rustic tags.
Don’t forget the flowers! Opt for wildflowers, baby’s breath, or sunflowers for that rustic vibe.
Step 2: Wrap and Glue
Take your twine or burlap ribbon and wrap it snugly around the neck of the mason jar. Secure it in place with a bit of hot glue at the back.
This will give your centerpiece that classic rustic look that we all adore!
Step 3: Embellish with Love
Now comes the fun part – let your creativity run wild!
Add lace trim around the twine, tie a charming bow with a rustic ribbon, or attach a cute wooden heart-shaped tag with your initials.
Feel free to personalize it to your heart’s content!
Step 4: Flowers, Please!
No rustic centerpiece is complete without flowers.
Fill the mason jars with your chosen blooms, and voila – you’ve got yourself a gorgeous centerpiece that will have your guests swooning.
Pro Tip: For an extra magical touch, add some battery-operated fairy lights inside the jars before filling them with flowers. The soft glow will create a mesmerizing ambiance, especially during the evening festivities.
And there you have it – your DIY Mason Jar Centerpieces are ready to steal the show at your wedding! Simple, charming, and cost-effective – what more could you ask for?
Burlap Decor: From Drab to Fab
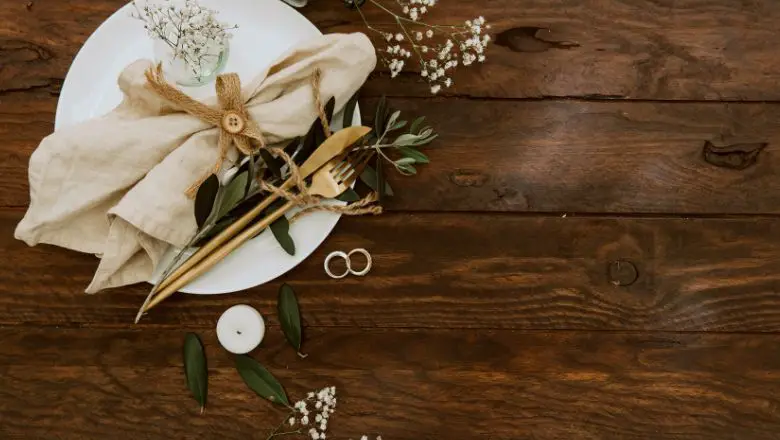
Are you ready to elevate your wedding decor from drab to fab with the rustic goodness of burlap?
It’s time to give this humble fabric a chance to shine and bring that warm, cozy feeling to your big day.
Step 1: Burlap Basics
Before we dive into the fun stuff, let’s get to know Burlap a little better.
It’s affordable, durable, and oh-so-versatile! Burlap’s natural, earthy texture makes it a perfect match for rustic-themed weddings.
Plus, it’s a breeze to work with, even for crafting beginners.
Step 2: Table Runners with Rustic Flair
Upgrade your reception tables with burlap table runners that scream rustic elegance.
Measure the length of your tables, cut burlap accordingly, and let the edges fray slightly for that rustic touch.
Lay them down, and watch as they transform your tables into rustic wonders!
Step 3: Chair Sashes with Style
Give your chairs a burlap makeover with charming chair sashes.
Cut burlap strips, tie them around the backs of the chairs in a loose knot, and add a sprig of greenery or sunflower to complete the look.
Your guests will be admiring those seats almost as much as you!
Step 4: Rustic Aisle Decor
Let’s not forget about the ceremony aisle! Sprinkle some burlap down the aisle, and place mason jars with wildflowers along the way.
It’s the perfect blend of rustic and romance as you walk toward your forever together.
Step 5: Burlap-Wrapped Candle Holders
Now, let’s shed some light on the matter – burlap-wrapped candle holders! Grab some plain glass votives or mason jars, wrap them with burlap, and secure them with a dab of hot glue.
Pop in tea lights or LED candles, and let the warm glow set the mood for an enchanting evening.
Pro Tip: Don’t limit yourself to just burlap – you can mix and match it with lace, ribbon, or twine for a delightful rustic fusion. Let your creativity flow and add personal touches that speak to your unique love story.
There you have it, a burlap decor that went from drab to fab in no time! It’s amazing how this simple, unassuming fabric can bring so much rustic charm to your wedding.
Handmade Rustic Wedding Signs
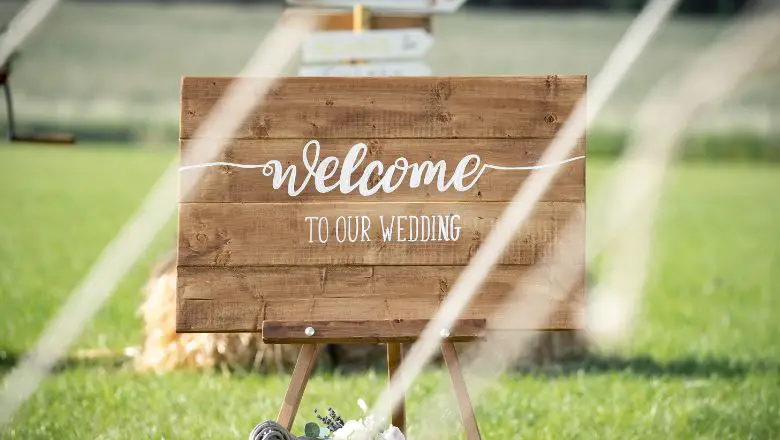
Now it’s time to add a dash of rustic charm to your wedding with some handmade wedding signs.
Let your personalities shine through these delightful creations, as they guide your guests and sprinkle some love along the way.
Step 1: Rustic Sign Inspiration
Let your imagination soar as you brainstorm rustic sign ideas.
Think of sweet welcome signs with your names and wedding date, direction signs pointing guests to the ceremony, reception, and dance floor, and heartwarming love quotes to tug at those heartstrings. The options are endless!
Step 2: Materials and Design
For that authentic rustic feel, go for wooden boards or pallets as your sign base.
You can find them at a local hardware store or even repurpose old wooden pieces. Sand them down for a smooth surface, and you’re ready to create magic!
Step 3: Paint with Love
Time to unleash your inner artist! Grab some acrylic paint in your wedding colors, or stick to classic white for an elegant touch.
Use stencils for a neat look or freehand your designs for a more organic feel. Remember, imperfections only add to the rustic charm!
Step 4: Rustic Lettering
If you’re feeling fancy, you can add rustic lettering to your signs. Opt for calligraphy-style fonts or try your hand at faux calligraphy – it’s easier than it looks!
Alternatively, you can print your designs on transparent paper and trace them onto the sign for a professional finish.
Step 5: Embrace Natural Elements
To truly enhance that rustic vibe, incorporate natural elements into your signs.
Wrap twine or burlap around the edges, add dried flowers, or attach small pinecones for a woodland touch. These little details will make your signs stand out and tie everything together.
Pro Tip: Involve your partner and wedding party in the sign-making process. It’s a great way to bond and create special memories together before the big day!
Handmade rustic wedding signs that speak straight to your hearts! From directing your guests with love to sharing your favorite quotes, these signs will add an extra layer of magic to your wedding day.
DIY Rustic Wedding Invitations
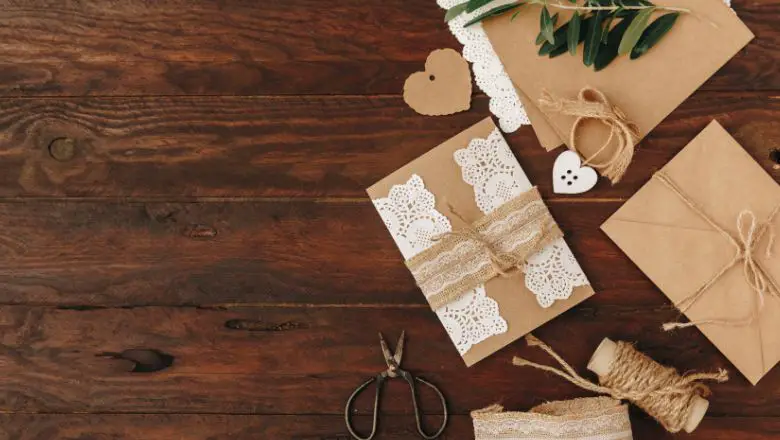
Now that your venue is decked out in rustic glory, it’s time to spread the charm to your invitations.
Get ready to craft heartfelt invitations that will set the tone for your rustic dream wedding!
Step 1: Choose Your Theme
Before you dive into the DIY world of wedding invitations, decide on your rustic theme.
Whether it’s a vintage barn, a woodland wonderland, or a country chic vibe, let your theme guide the design of your invitations.
Step 2: Gather Your Supplies
Now that you’ve got your theme in mind, it’s time to gather your crafting supplies.
You’ll need quality cardstock or craft paper, rustic-themed stamps or stencils, twine or ribbon, and some creative embellishments like dried leaves or small wooden accents.
Step 3: Rustic Watercolor Background
Set the rustic mood with a watercolor background. Get your watercolor paints out, and create a soft, pastel-hued background on your cardstock.
Let it dry, and watch your invitations come to life with a touch of rustic elegance.
Step 4: Custom Calligraphy
Elevate your invitations with custom calligraphy. If you have the skills, go ahead and write the details in a beautiful calligraphy style.
If not, don’t fret! You can find rustic-themed calligraphy fonts online and print them directly onto your invitations.
Step 5: Personalize with Twine and Accents
Now, let’s add some rustic flair! Wrap twine or ribbon around the invitation, tying it in a charming bow.
Add dried leaves or small wooden accents to complement the rustic theme. These simple touches will leave a lasting impression on your guests.
Pro Tip: If you’re inviting guests to an outdoor or rustic venue, consider enclosing a little sprig of lavender or dried flowers inside each invitation for a delightful sensory surprise!
Rustic wedding invitations that are as unique as your love story! Your guests will be impressed with the personalized touches and the effort you’ve put into each invitation.
Rustic Floral Arrangements on a Budget
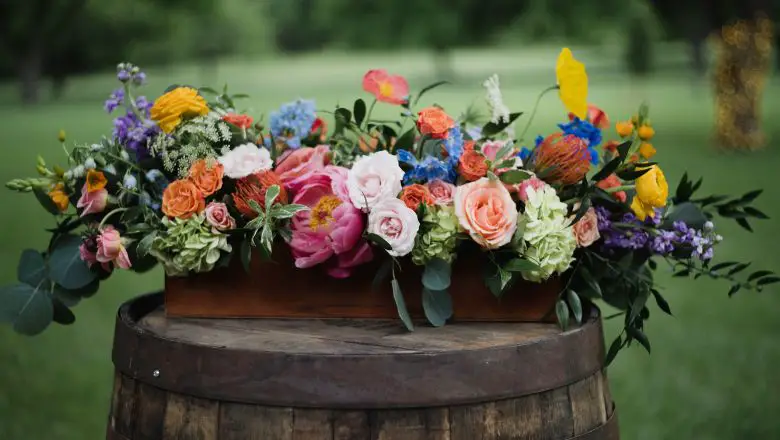
It’s time to let nature’s beauty take center stage at your wedding with rustic floral arrangements that won’t break the bank.
From bouquets to centerpieces, we’ve got your blooming dreams covered!
Step 1: Blooms on a Budget
Let’s be savvy and choose affordable flowers that still exude rustic charm.
Opt for flowers like daisies, sunflowers, baby’s breath, or wildflowers. These beauties are not only easy on the wallet but also perfect for a rustic-themed celebration.
Step 2: DIY Bouquet Brilliance
Channel your inner florist and craft your rustic bouquet.
Gather your chosen flowers, trim the stems to your desired length, and arrange them in a loose, hand-tied style. Wrap the stems with twine or burlap for that extra rustic touch.
Step 3: Boutonnieres with Heart
For the groom and groomsmen, create charming boutonnieres using the same flowers as in the bouquet.
A simple cluster of blooms tied together with twine will add a touch of rustic elegance to their outfits.
Step 4: Mason Jar Magic
Remember those mason jars we used for centerpieces? Let’s repurpose them as rustic vases for your floral arrangements.
Fill them with a mix of wildflowers, and place them on your reception tables for a countryside feel that’ll warm everyone’s hearts.
Step 5: Petal Pathway
Guide your guests to your love-filled ceremony with a petal-covered pathway.
Collect fallen leaves or petals from your flower arrangements and scatter them along the aisle. It’s a simple yet effective way to infuse rustic romance into your ceremony.
Pro Tip: If you’re feeling adventurous, try your hand at dried flower arrangements. You can hang them from the chairs or use them as unique centerpieces that will last long after the wedding.
Rustic floral arrangements that won’t put a dent in your wedding budget! Nature’s beauty is the best backdrop for your special day, and with a little creativity, you can make it truly your own.
Saying ‘I Do’ to DIY: Your Rustic Wedding Adventure Concludes
By now, you’ve seen how easy it is to add that touch of rustic charm to your special day without blowing your budget.
From those adorable mason jar centerpieces that make your heart flutter to the burlap decor that’s as cozy as your favorite blanket, you’ve discovered the magic of creating your dream wedding with your own two hands.
Remember, it’s not just about saving a few bucks, but about infusing your wedding day with your unique love story. Your DIY rustic touches are like whispers of your personalities, making each moment even more special.
As you walk down the aisle, hand in hand, surrounded by the warmth of family and friends, take a moment to appreciate the love and effort poured into every DIY detail.
Your guests will marvel at the enchanting atmosphere you’ve crafted, and your love will shine even brighter amidst the rustic splendor.
And so, with hearts full of joy and wallets happy, you embark on this new chapter, knowing that your love story began with creativity, thrifty brilliance, and a dash of rustic flair.
So, keep nurturing that DIY spirit, and remember, love is in the details. Your wedding was just the beginning of a lifetime of beautiful memories waiting to be crafted. Cheers to your rustic love story, and here’s to the many chapters yet to unfold.
