Are you tired of your makeup collection turning into a chaotic mess every time you try to find that perfect shade of lipstick?
Trust me, I’ve been there too! But worry not, because I’ve got some awesome DIY makeup storage ideas that will not only keep your cosmetics organized but also add a touch of creativity to your space.
In this blog post, I’ll share five fantastic and easy-to-make storage solutions that won’t break the bank. Whether you’re a makeup newbie or a seasoned pro, these ideas are sure to make your beauty routine a breeze!
Let’s dive into these genius DIY makeup storage solutions and get ready to revolutionize your beauty space.
Get your creativity flowing, grab your crafting supplies, and let’s make your makeup area a fabulous haven you’ll never want to leave!
Ready to explore these exciting ideas? Let’s get started!
Beauty Bliss: Transform Your Makeup Space with These 5 DIY Ideas
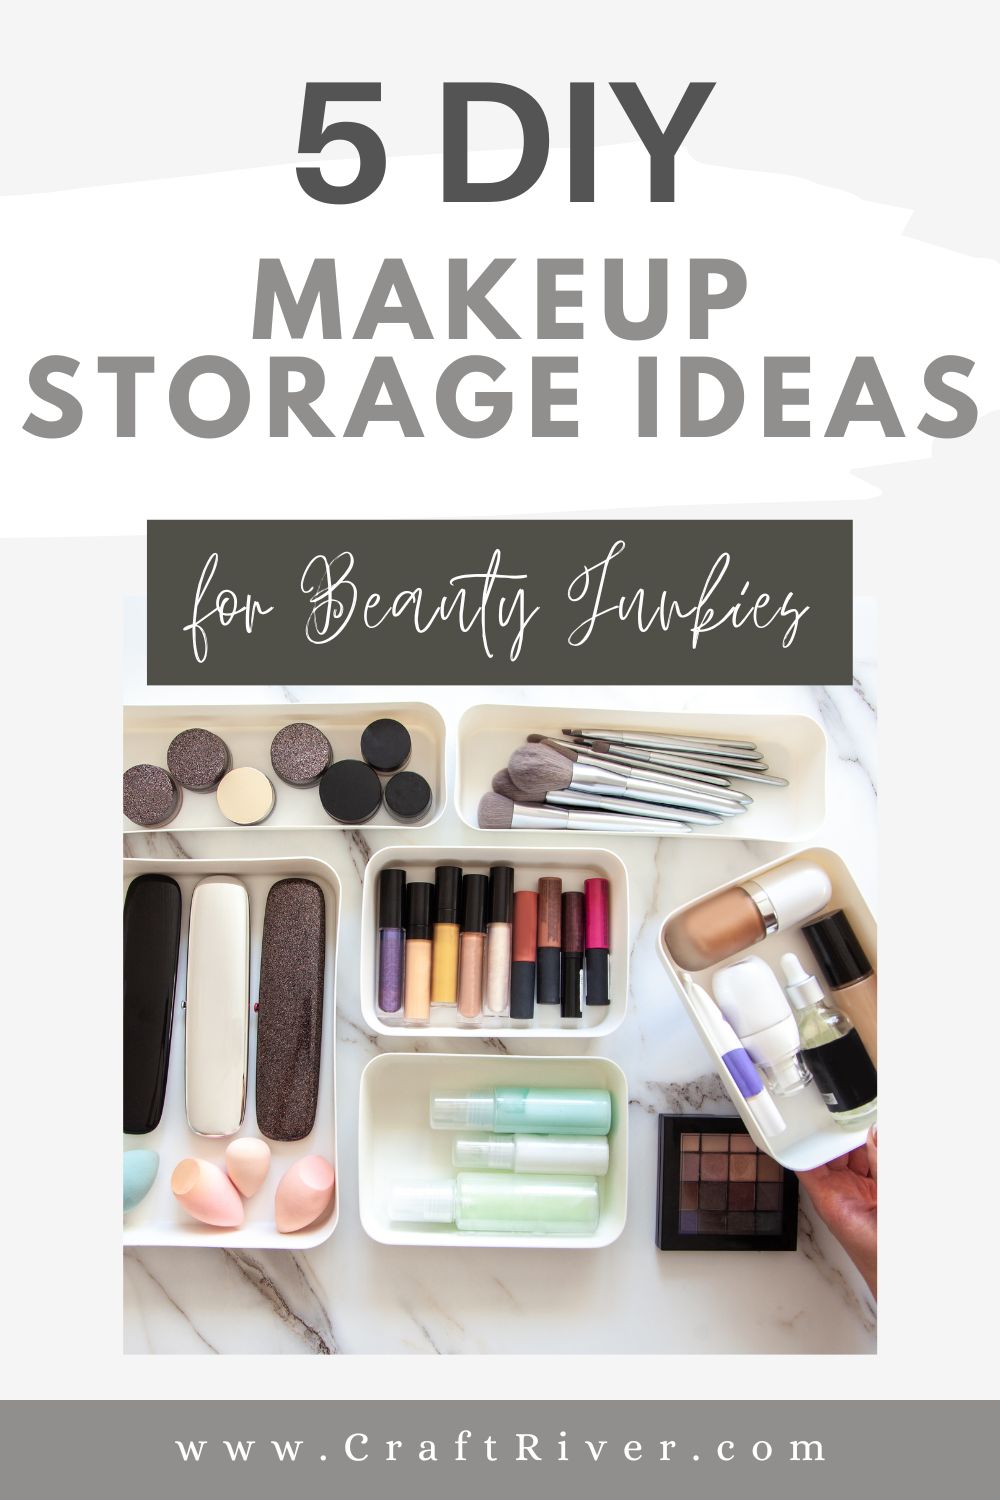
Imagine having all your makeup essentials neatly arranged, ready for you to grab and go, without the hassle of rummaging through drawers or bags. Picture yourself effortlessly finding your favorite eyeshadow palette or that trusty mascara without any fuss.
From stylish to quirky and colorful, these DIY storage ideas cater to every taste and personality. Whether you’re a minimalist or love all things glitzy and glamorous, there’s something here for you.
DIY Makeup Storage Idea #1: Mason Jar Makeup Brush Holder
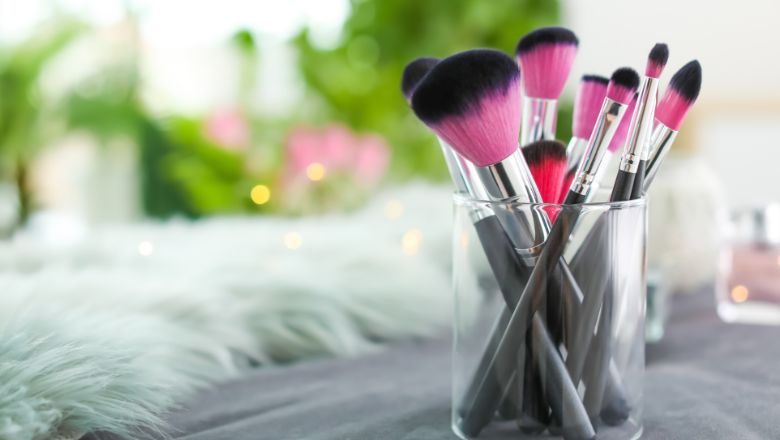
Looking for a fun and stylish way to keep your makeup brushes organized?
Look no further because you’re about to dive into the magical world of the Mason Jar Makeup Brush Holder!
Materials needed
- Mason jar(s)
- Decorative ribbon or washi tape (optional)
- Adhesive or hot glue gun
- Makeup brushes
Step-by-step instructions
- First things first, let’s make sure your mason jar is sparkling clean and dry. We want your makeup brushes to have a cozy and tidy home!
- Now, here comes the fun part! If you’re feeling crafty and want to add a dash of personality, wrap some decorative ribbon or washi tape around the exterior of the jar. Customize it to your heart’s content – you’re the designer here!
- Gather all your beloved makeup brushes, and stand them upright inside the jar. Play around with the arrangement until you’re satisfied with the display.
- Once you’ve got the perfect setup, let’s lock it in place! Use adhesive or get your hot glue gun ready (careful with those fingers!) to secure the brushes in their designated spots. We wouldn’t want any runaway brushes, right?
- Give it a little time to dry completely, and voilà! Your Mason Jar Makeup Brush Holder is ready to dazzle on your vanity or makeup area. Your brushes will never feel more loved and organized!
Benefits of using a mason jar for makeup brushes
- Charming and Rustic: Mason jars add a touch of rustic charm to any space. It’s like giving your makeup brushes a cozy little farmhouse retreat!
- Clear and Convenient: The transparent glass of the jar allows you to see all your brushes at a glance. No more hunting for that one particular brush – it’s all right there, winking back at you!
- Budget-Friendly and Easy: Mason jars are affordable and readily available. No need to break the bank for some chic organization!
- Prevents Brush Mishaps: By keeping your brushes upright and separated, the jar ensures they won’t get squished or lose their shape. Happy brushes, happy makeup routine!
So, what are you waiting for? Gather those mason jars and let your makeup brushes experience the elegance and order they deserve. Get creative, get crafty, and let the Mason Jar Makeup Brush Holder add a sprinkle of magic to your beauty space!
DIY Makeup Storage Idea #2: Magnetic Makeup Board
Are you ready to level up your makeup organization game with a touch of magnetism? Get ready to be amazed by the fabulous Magnetic Makeup Board!
Materials needed
- Large picture frame
- Sheet metal or magnetic board
- Fabric or decorative paper
- Scissors
- Adhesive or glue
- Magnets
- Makeup items
Step-by-step instructions
- First, let’s prep our canvas! Remove the glass and backing from the picture frame, leaving just the frame itself. We’re about to turn this frame into an organizing masterpiece!
- Now, let’s add some magnet magic! Cut the sheet metal or grab a magnetic board and fit it perfectly inside the frame. This is where your makeup items will find their new magnetized home.
- Get creative with some fabric or decorative paper! Cover the metal or board with your chosen fabric or paper, securing it snugly with adhesive. Embrace your style and pick a design that speaks to your beautiful soul!
- Once the covering is set, gently place it back into the frame and secure it in place. Ta-da! The stage is set for your makeup organization extravaganza.
- Now, let’s give your makeup items a little magnet power! Attach small magnets to the back of your beloved makeup goodies. These magnets will work like magic, holding your items securely to the board.
- Time for the grand finale! Hang your Magnetic Makeup Board on a wall near your vanity or makeup area. Stand back and admire the masterpiece you’ve created!
Benefits of using a magnetic board for makeup storage
- Elegance on Display: The Magnetic Makeup Board offers a visually stunning way to showcase your makeup collection. It’s like having your very own beauty gallery!
- Easy Peasy Organization: No more rummaging through drawers or bags. With magnetic magic, you can easily rearrange and reorganize your makeup items to perfection.
- Save that Space: By utilizing vertical storage, this magnetic wonder saves precious counter space and keeps your beauty area neat.
- Quick Glam Access: Need that perfect lipstick or fabulous eyeshadow? Your Magnetic Makeup Board has got your back. Find and access your makeup quickly with a glance!
So, magnetic marvels, unleash the charm of the Magnetic Makeup Board and turn your beauty space into a stunning display of organization. It’s time to make your makeup items feel like the stars they truly are!
DIY Makeup Storage Idea #3: Repurposed Spice Rack
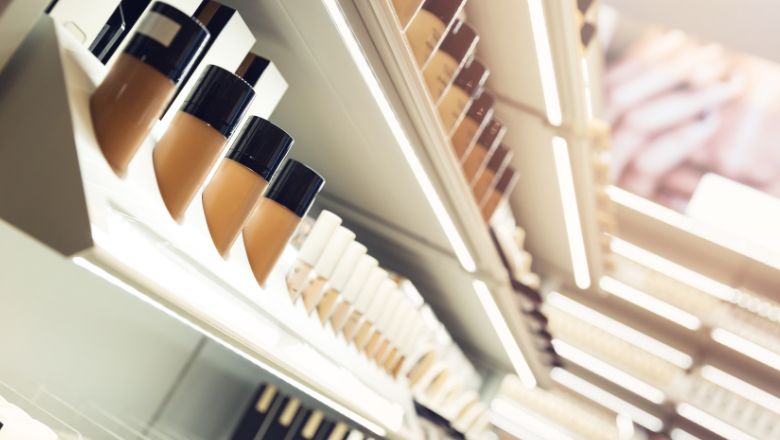
Are you ready to sprinkle some spice rack magic into your beauty storage routine? Get ready to repurpose and revamp with the fabulous Repurposed Spice Rack!
Materials needed
- Spice rack with shelves
- Paint (acrylic or spray) and brush (optional)
- Makeup items
Step-by-step instructions
- First, let’s clear the spice rack’s spice party! Clean the spice rack and remove any existing spice containers. We’re about to give it a whole new purpose!
- Now, let your creative colors shine! If you’re feeling artsy, consider giving the spice rack a fresh coat of paint. Choose a hue that matches your beauty space and complements your makeup items. Let those creative juices flow!
- Once the paint is dry (patience, my friend!), it’s time to embrace organizational joy. Place your makeup items on the shelves of the repurposed spice rack. Group them by type or color for an aesthetically pleasing display.
- Voilà! Your repurposed spice rack is now a chic and practical makeup storage solution. Spice up your beauty routine with easy access to all your favorite products!
Benefits of repurposing a spice rack for makeup storage
- Already Divided: The shelves of the spice rack are conveniently divided, creating separate spaces for different makeup items. Say goodbye to clutter and hello to the organization!
- Eco-Chic: Repurposing the spice rack is a sustainable way to give it a new lease on life. Mother Earth will surely give you a nod of approval!
- Compact and Space-Saving: The spice rack’s compact design takes up minimal space on your vanity or counter, making it a smart choice for smaller beauty areas.
- Beauty At a Glance: With your makeup items neatly arranged on the shelves, you can easily see and access your collection with a single glance. It’s a beautiful sight to behold!
So, spice rack wizards, bring out the creativity and let your makeup items find their home in the Repurposed Spice Rack. Give your beauty routine a dash of spice and a sprinkle of style!
DIY Makeup Storage Idea #4: PVC Pipe Lipstick Organizer
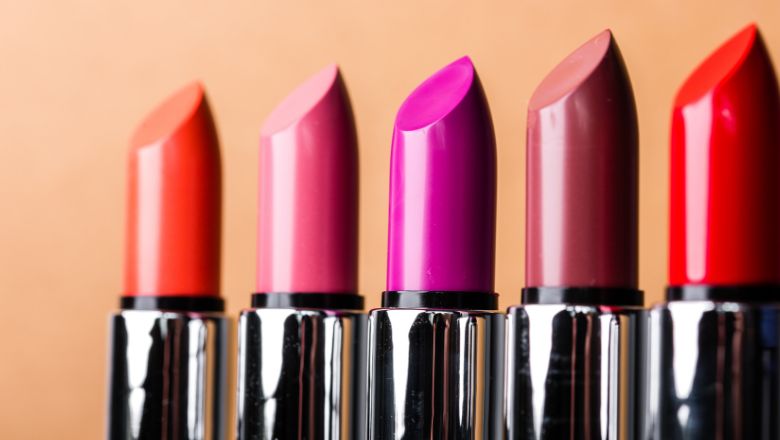
Are you ready to put a playful twist on lipstick storage? Get ready to pucker up with the fantastic PVC Pipe Lipstick Organizer!
Materials needed
- PVC pipes (different diameters)
- PVC pipe cutter or hacksaw
- Sandpaper
- Paint (acrylic or spray) and brush (optional)
- Makeup items
Step-by-step instructions
- First, let’s gather our PVC pipes for this lipstick adventure! Measure and mark the pipes at your desired length, keeping in mind the size of your lipsticks. We want them to fit like a glove!
- Time to wield some power tools! Use a PVC pipe cutter or a trusty hacksaw to cut the pipes at the marked points. Safety first, folks!
- Smooth it all out! Grab some sandpaper and smooth the cut edges to avoid any roughness. Your lipsticks deserve royal treatment!
- Ready for a pop of color? If you want to add a personal touch, paint the PVC pipes in vibrant shades or your favorite colors. Make this organizer a true reflection of your style!
- Once the paint has dried (patience, patience!), let’s get your lipstick organizer party started. Stand your lipsticks inside the PVC pipe compartments. Look at those lip beauties, all lined up and ready for action!
Benefits of using a PVC pipe for lipstick storage
- Tailored to Perfection: The PVC pipes can be cut to your desired length, making this organizer fully customizable for your lipstick collection. It’s like having a bespoke storage solution!
- Show and Tell: Say goodbye to digging through makeup bags in search of that perfect shade. With the PVC Pipe Lipstick Organizer, you can easily display and choose your lipsticks at a glance.
- Colorful Delight: Painting the PVC pipes lets you add a splash of color to your beauty space. Why settle for dull when you can have a rainbow of lipsticks?
- Neat Freak Approved: Keep your lipsticks organized and prevent them from rolling around in your drawer or vanity. The PVC pipes ensure every lipstick finds its designated spot.
So, lipstick enthusiasts, pucker up and get ready to embrace the PVC Pipe Lipstick Organizer! Let your lipsticks stand tall and proud, ready to bring beauty to your lips with a simple twist. Let your lip game be strong and organized!
DIY Makeup Storage Idea #5: Drawer Dividers
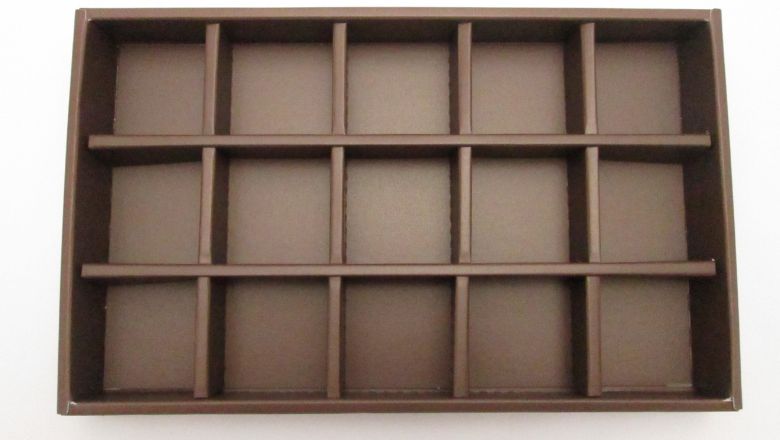
Are you dreaming of a world where your makeup drawer stays immaculately organized? Say hello to the game-changer – Drawer Dividers!
Materials needed
- Drawer dividers (adjustable or DIY)
- Makeup items
Step-by-step instructions
- First things first, let’s assess the situation! Measure the dimensions of your makeup drawer and get an idea of how much space you have to work with.
- Time to get your hands on some fabulous drawer dividers! You can choose adjustable dividers that can be configured to fit your specific drawer size, or get creative and craft your own using materials like cardboard or foam board.
- Organize like a pro! Arrange the dividers in the drawer to create separate compartments for different types of makeup items. Imagine having a special section for your lipsticks, eyeshadows, brushes, and more!
- Place your makeup items into their designated compartments. There’s nothing quite like the satisfaction of seeing your beauty collection perfectly sorted and ready to shine.
Benefits of using drawer dividers for makeup organization
- Maximize That Space: Drawer dividers work their magic by optimizing your drawer space. No more wasted empty spaces – every inch will be put to good use!
- No More Clutter Chaos: Dividers keep your makeup items from getting jumbled together, so say goodbye to the dreaded clutter monster. It’s a neat freak’s dream come true!
- Customized to Your Needs: Whether you choose adjustable dividers or DIY your own, the beauty of drawer dividers is their flexibility. Tailor them to fit any drawer size or makeup collection.
- Efficient Access: With everything neatly sorted and in its place, you can easily find and access your makeup collection. No more searching high and low for that one elusive eyeliner!
So, makeup moguls, let Drawer Dividers be your secret weapon to maintaining an organized and blissful makeup drawer. Revel in the joy of knowing exactly where your favorite products are every time you open that drawer. It’s time to become a makeup organization master!
Ready, Set, Beautify! Implement These DIY Ideas Now!
Whew! What a journey it’s been! I hope you’re as excited as I am about the fantastic DIY makeup storage ideas we’ve explored together.
Now, let’s take a moment to bask in the glory of your newfound makeup sanctuary and what it means for your beauty routine.
Remember those chaotic days when you couldn’t find your favorite lipstick or that oh-so-perfect blush brush?
Admit it; we’ve all been there! But fear no more, for with these crafty and creative storage solutions, you’ve transformed your beauty space into a haven of organization and style.
I know firsthand how liberating it feels to have everything in its rightful place. No more stress or delays when getting ready for that special event or just an everyday outing.
So whether you opted for a sleek and minimalist setup or went all out with quirky and colorful creations, you’ve unleashed your inner makeup guru. And don’t forget, this is just the beginning of your beauty journey!
Continue exploring, crafting, and refining your space as your makeup collection grows.
