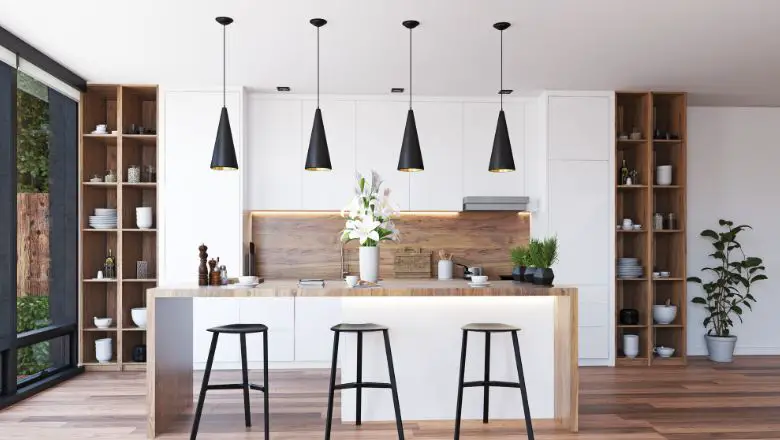
Are you ready to spice up your cooking space without breaking the bank? I’ve got something special in store for you!
Today, I’m dishing out 5 unbelievably easy and budget-friendly DIY kitchen decorating ideas that will have your friends wondering if I hired a professional designer!
Whether you’re a seasoned DIY guru or just starting to dip your toes into the world of crafting, these ideas are tailor-made for everyone.
Who said you need a fancy renovation to give your kitchen a fresh, trendy look? With a sprinkle of creativity and a dash of imagination, I’ll show you how to turn your kitchen from “meh” to “OMG!”
So, if you’re tired of staring at those plain walls and dull countertops, stick with me. Trust me, by the time you finish reading, you’ll be itching to roll up your sleeves and get your hands dirty with these awesome projects!
Ready to unleash the inner designer in you? Let’s get started on our fabulous journey of DIY kitchen decorating bliss! Y
our kitchen’s about to get a whole lot more appetizing — let’s dive in!
Transform Your Kitchen with These 5 Budget-Friendly DIY Decorating Projects!
Are you tired of looking at the same old kitchen every day? Well, it’s time to give your kitchen a much-needed makeover without breaking the bank!
With these 5 budget-friendly DIY decorating projects, you can transform your kitchen into a space that reflects your style and creativity.
DIY Kitchen Decorating Idea #1: Chalkboard Painted Cabinets
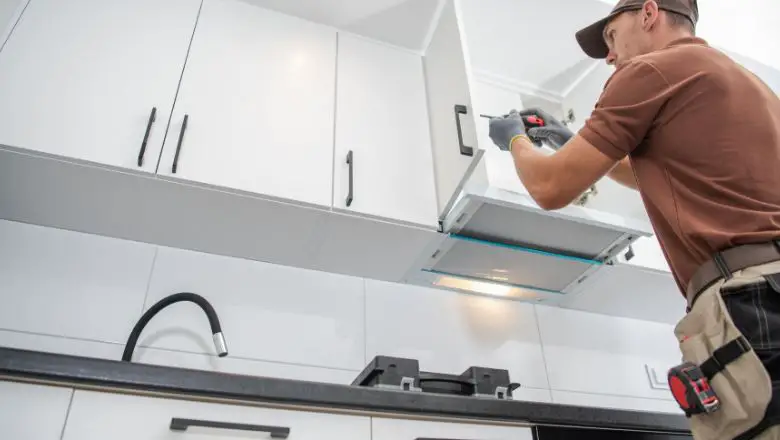
Tired of looking at your plain and ordinary kitchen cabinets? Well, get ready to embrace the ultimate transformation with a touch of enchantment!
Say hello to the magical world of chalkboard-painted cabinets – the perfect DIY solution to breathe new life into your kitchen space.
Imagine having cabinets that not only store your culinary treasures but also serve as a creative canvas for your imagination to run wild.
Whether you’re jotting down grocery lists, doodling fun designs, or leaving sweet messages for your loved ones, these chalkboard cabinets add a delightful twist to your everyday routine.
Get ready to sprinkle some kitchen magic!
Preparing the Cabinets for Painting
Before we dive into the artistic process, let’s get those cabinets all prepped up for their makeover adventure!
You don’t need any fairy dust for this – just some good old-fashioned cleaning and sanding will do the trick.
Start by giving your cabinets a thorough wipe-down to remove any grease, grime, or kitchen mishaps that might have taken residence over time.
Once they’re spick and span, gently sand the surface to create a smooth canvas for the chalkboard paint to adhere to.
It’s like giving your cabinets a spa day before their big transformation!
Applying Chalkboard Paint Step-by-Step
Now comes the moment you’ve been waiting for – the enchanting process of painting your cabinets with chalkboard magic!
Grab your trusty paintbrush and, with each stroke, watch the cabinets turn into captivating chalkboard surfaces.
Remember, patience is your best friend here, so allow each coat to dry before applying the next.
Oh, and don’t forget to let out your inner artist by personalizing the cabinets with fun designs, patterns, or even quotes that inspire you.
It’s time to let your creativity roam free in the realm of chalkboard wonderland!
Decorating and Organizing Your Chalkboard Cabinets
Voilà! Your chalkboard-painted cabinets have emerged from their magical makeover, and now it’s time to make them both stylish and functional.
You can hang cute baskets on the doors to store kitchen essentials or add quirky labels to make organizing a breeze.
And don’t be shy to flaunt your creative side by decorating the cabinets with charming magnets, kitchen-themed stickers, or adorable chalk holders.
Get ready to fall in love with your kitchen all over again, as the chalkboard-painted cabinets add a sprinkle of wonder to your daily culinary adventures.
DIY Kitchen Decorating Idea #2: DIY Mason Jar Herb Garden
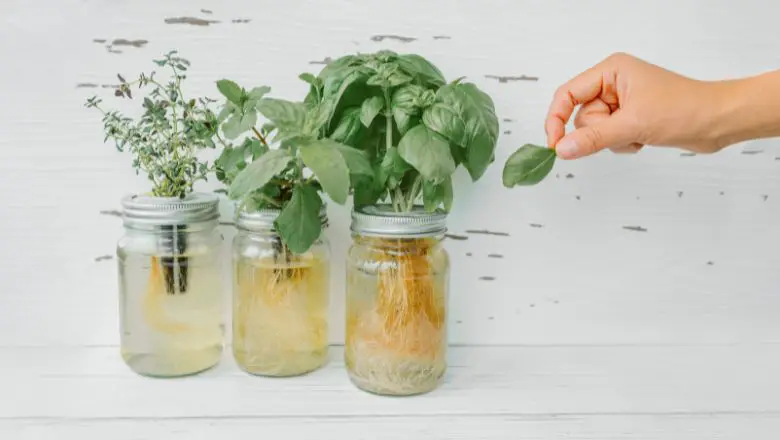
Ah, the delightful aroma of fresh herbs wafting through your kitchen – it’s like bringing a piece of nature’s charm indoors!
With a DIY Mason Jar Herb Garden, you can immerse yourself in the joy of cultivating your very own culinary wonders.
Not only do these little green beauties elevate the flavors of your meals, but they also infuse your cooking space with a touch of natural magic.
Get ready to embark on a journey of green-thumb greatness!
Creating Your Own Mason Jar Herb Planters
No need to wave a magic wand for this enchanting DIY project! Creating your Mason Jar Herb Planters is as easy as it is rewarding.
Start by gathering a few mason jars – they’re the perfect homes for your herb babies.
Next, add a layer of small rocks at the bottom to ensure proper drainage and prevent your herbs from feeling waterlogged.
Fill the jars with nutrient-rich soil, plant your herb seeds or baby plants, and gently water them.
Voilà! You’ve just created your very own herb kingdom!
Designing a Space-Efficient Herb Garden
Even if you don’t have a sprawling garden, fear not! A Mason Jar Herb Garden can thrive in even the coziest of kitchen spaces.
You can get creative with vertical displays, attaching the mason jars to a wooden board or wall-mounted shelf.
Alternatively, you can arrange them on a sunny windowsill, transforming it into a charming herb oasis. Not only will your mini garden save space, but it’ll also add a touch of rustic charm to your kitchen decor.
It’s a win-win for both your culinary pursuits and your interior design!
Harvesting and Using Your Homegrown Herbs
Now comes the most satisfying part of your Mason Jar Herb Garden adventure – harvesting and using your homegrown herbs!
As your little green friends flourish, you’ll notice their leaves growing plump and vibrant.
When it’s time to harvest, simply snip the leaves with scissors, and they’re ready to add their magic to your meals!
Whether you’re seasoning a savory pasta dish with fresh oregano or brewing a soothing cup of herbal tea, your homegrown herbs will elevate every culinary creation with a burst of flavor and love.
Embrace the wonder of gardening in your kitchen, as the Mason Jar Herb Garden takes your culinary skills to a whole new level!
DIY Kitchen Decorating Idea #3: Repurposed Cutting Board Wall Art
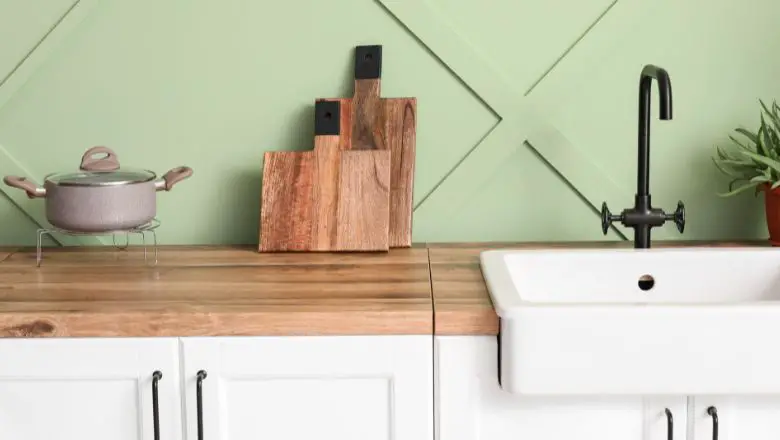
Don’t you just love the idea of turning something old and forgotten into a piece of art that steals the spotlight? Well, get ready to unlock the magic of repurposed cutting-board wall art!
With a touch of creativity and a sprinkle of imagination, you’ll breathe new life into these forgotten kitchen essentials. It’s time to give those cutting boards a chance to shine as unique and eye-catching wall art!
Cleaning and Refurbishing the Cutting Boards
Before the artistic enchantment begins, let’s give those cutting boards a little TLC.
Start by giving them a gentle scrub and wash to remove any stubborn stains and grime. Once they’re fresh and clean, inspect the boards for any cracks or chips.
Fear not! These imperfections can add character to your wall art. If needed, a quick sanding will ensure a smooth canvas for your creativity to unfold. Now, your cutting boards are all set for their magical makeover!
DIY Techniques for Painting and Decorating
Here comes the moment when you can unleash your inner artist!
The canvas is ready, and the paintbrush is eager to dance across the surface of your cutting boards. You can opt for a classic approach and paint your boards with charming pastel colors for a rustic farmhouse vibe.
Or why not go bold with vibrant shades that pop against your kitchen walls?
If you prefer a more whimsical touch, consider using stencils to create intricate patterns and designs. The possibilities are as limitless as your imagination!
Arranging a Striking Cutting Board Gallery Wall
Now that your repurposed cutting board wall art is ready, it’s time to display your masterpieces like the works of art they truly are!
Arrange them in a stunning gallery wall to make a captivating statement in your kitchen. Mix and match different shapes and sizes for an eclectic look, or line them up in a neat row for a clean and modern touch.
Whichever arrangement you choose, your cutting board wall art will be the focal point of your kitchen, earning admiration from all who set foot in it!
DIY Kitchen Decorating Idea #4: DIY Painted Tile Backsplash
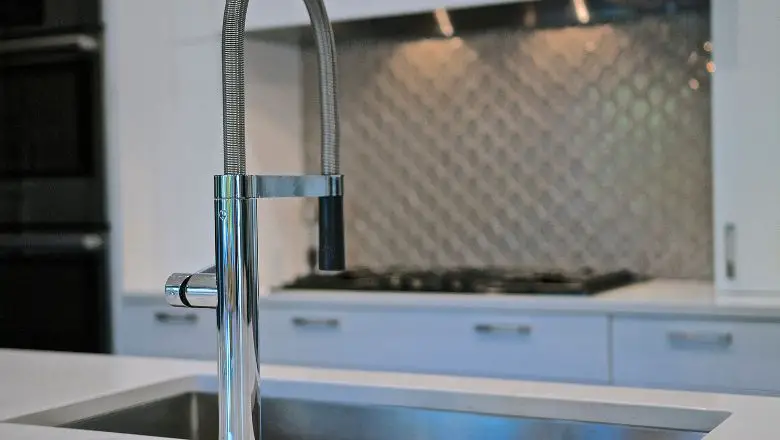
Dreaming of a kitchen transformation that won’t break the bank? Look no further than the magic of a DIY-painted tile backsplash!
Say goodbye to your plain, lackluster tiles, and get ready to infuse your kitchen with a burst of color and personality.
Get ready to savor the enchantment of your newly painted tile backsplash, turning your kitchen into the heart of your home!
Preparing and Cleaning the Existing Tiles
Before you dive into the world of painting, it’s essential to prepare your existing tiles for their magical makeover.
Give them a good scrub and wash to remove any dirt, grease, or residue that might hinder the paint’s adhesion.
Sanding the tiles lightly will create a smooth surface and help the paint adhere better.
Make sure to wipe away any dust after sanding, leaving you with the perfect canvas for your artistic flair!
Step-by-Step Guide to Painting Your Tile Backsplash
Now comes the exciting part – painting your tile backsplash with a dash of creativity!
Begin by applying a coat of primer to the tiles; this will ensure that the paint adheres well and lasts for the long haul.
Once the primer is dry, it’s time to unleash your inner artist. Choose your color palette and start painting! Whether you go for bold and vibrant hues or soft and soothing tones, let your imagination guide your brush strokes.
Remember, this is your masterpiece, and there are no wrong choices in the world of DIY magic!
Sealing and Protecting the Painted Tiles
Congratulations, kitchen artist! Your painted tile backsplash is looking fabulous.
But hold on – there’s one last step to ensure that your hard work stands the test of time. Seal the painted tiles with a clear, waterproof sealant.
This protective layer will guard against stains and spills, making it easy to wipe clean whenever your kitchen creations get a little messy. With this final touch, your DIY-painted tile backsplash will be ready to shine for years to come!
Prepare to be amazed as your DIY painted tile backsplash breathes new life into your kitchen. This budget-friendly project proves that a little paint and a lot of imagination can work wonders!
DIY Kitchen Decorating Idea #5: Vintage Kitchen Utensil Display
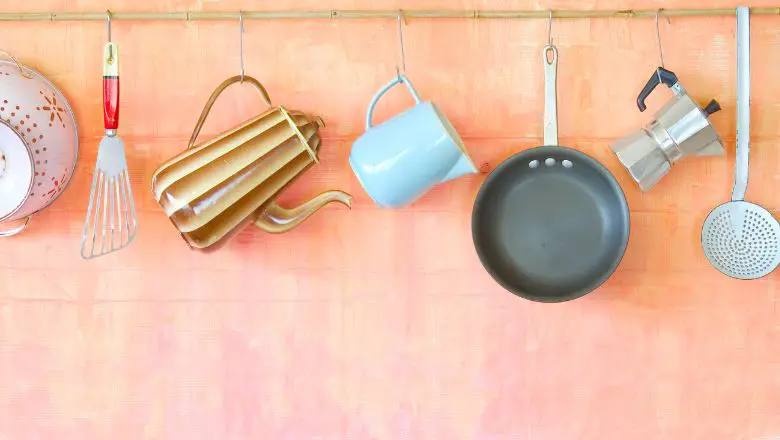
Are you a lover of all things vintage? Then get ready to embark on a journey down memory lane with a charming vintage kitchen utensil display!
Step into the world of nostalgia as you unearth timeless kitchen treasures from days gone by.
Those vintage kitchen utensils, once tucked away in forgotten drawers, are about to reclaim their rightful place as stars of your kitchen decor.
From old-fashioned egg beaters to classic rolling pins, each piece carries a story of culinary history, ready to add a touch of vintage charm to your modern-day kitchen.
Thrift Store Treasures: Finding Vintage Utensils
Embarking on the quest for vintage kitchen utensils is an adventure in itself!
Visit local thrift stores, flea markets, or even family attics – you never know where you might stumble upon these hidden gems. Keep an eye out for wooden spoons with graceful carvings, charming enamelware, or rustic metal ladles with patina.
Each find is like uncovering a treasure trove of culinary nostalgia. Once you’ve collected your vintage beauties, give them a gentle clean to reveal their true glory, and they’ll be all set to take center stage in your kitchen.
Creating a Unique Display on Your Kitchen Wall
Now that you’ve gathered your vintage kitchen utensils, it’s time to showcase them in all their retro glory!
Designing a display that exudes vintage charm is simple and fun. Arrange your utensils on a kitchen wall in a pattern that delights your eyes – you can go for a symmetrical display or create an eclectic arrangement that tells its own story.
Adding a rustic wooden shelf or a vintage picture frame as a backdrop will enhance the display’s charm even further. This kitchen gallery of yesteryears will surely warm your heart and add a touch of nostalgia to your cooking space!
Preserving and Showcasing the Vintage Charm
Your vintage kitchen utensil display isn’t just a mere decoration; it’s a tribute to the culinary heritage of the past.
To preserve the vintage charm of your treasured utensils, handle them with care and avoid exposing them to excessive moisture or heat.
A gentle cleaning from time to time will maintain their timeless appeal, ensuring they remain as enchanting as the day you discovered them.
As you cook and create with these vintage wonders, you’ll feel a connection to the generations of cooks who came before you – a true testament to the magic of nostalgia in your kitchen!
Prepare to be transported to a bygone era as your vintage kitchen utensil display turns your cooking space into a charming time capsule.
Mission Accomplished: Your Kitchen’s Decor DIY Makeover!
Well, my fellow kitchen decorators, we’ve reached the grand finale of our DIY extravaganza, and boy, what a journey it’s been!
Remember how I mentioned spicing up your cooking space without breaking the bank? Oh, we’ve accomplished that mission with flying colors!
Crafting my way through these 5 budget-friendly kitchen decorating ideas felt like unlocking a hidden magic within my kitchen.
From turning dull walls into captivating canvases to transforming old furniture into trendy masterpieces, I’ve experienced the thrill of being both a magician and an artist!
Embracing the DIY spirit opened up a world of possibilities, and I must say, I am utterly amazed by the results. You don’t need a professional designer to create a space that reflects your unique style. All it takes is a little imagination, a sprinkle of creativity, and a pinch of daring!
So, are you ready to unleash your inner designer and witness the jaw-dropping transformation?
Well, don’t wait any longer; let’s make your kitchen a stunning masterpiece, one DIY project at a time!
