Are you ready to transform your home into a boo-tiful masterpiece that’ll have your little ones giggling with delight?
Oh, you’re in for a treat (no tricks, I promise!) because I’ve got some spook-tacular DIY Halloween decorating ideas that are guaranteed to make your kids’ eyes light up like jack-o’-lanterns!
As a proud parent and crafting enthusiast, I’ve had my fair share of haunted home transformations, and I can’t wait to share these creative and easy decorating ideas with you.
So, dust off those cobwebs and get ready to dive into a world of ghoulishly good fun as we explore 5 DIY Halloween decorating ideas that’ll have everyone bewitched!
Boo-tiful Home Makeover: 5 Easy Halloween Decorating Ideas Kids Will Love!
Get ready to spookify your home this Halloween with these 5 easy and kid-friendly decorating ideas! From creepy crawlies to glowing pumpkins, there’s something for every little monster in the family.
So gather your ghouls and witches, and let’s dive into the world of Halloween decorations that will make your kids scream with delight!
DIY Halloween Decorating Ideas for Kids #1: Friendly Ghost Garlands
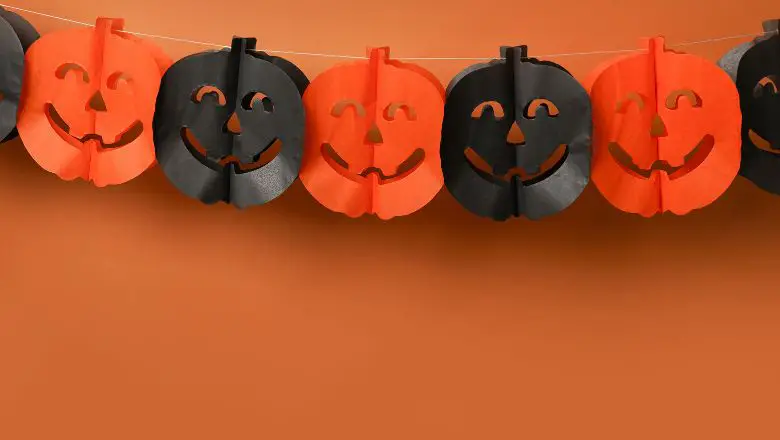
Get ready for some ghostly fun as I share one of my all-time favorite DIY Halloween decorating ideas for kids: the super adorable Friendly Ghost Garlands!
Let me tell you, there’s nothing spookier and cuter than these little friendly ghosts floating around your home during Halloween. Plus, making them is a total scream for kids of all ages!
Materials Needed
- White construction paper or cardstock
- Scissors
- Black marker or pen
- String or yarn
- Tape or glue
Step-by-Step Guide
1. Cut Out the Ghost Shapes:
Grab that white construction paper or cardstock, and start cutting out ghost shapes. Don’t worry about perfection – the more imperfect, the better! Each ghost can have its quirky personality.
2. Add the Friendly Faces:
Now comes the fun part – giving these ghosts their friendly faces! I like to use a black marker to draw big, happy eyes and a playful grin. But you can get creative here and give each ghost its unique expression!
3. Decorate with Details:
To make these friendly ghosts even more delightful, we can add some extra details. How about drawing on tiny bows, hats, or bowties? Anything goes in the world of DIY Halloween crafting!
4. String ‘Em Up:
It’s time to bring these adorable spirits to life! Take a string or yarn of your choice, and carefully attach the ghosts by either taping or gluing them onto the string. Make sure to leave some space between each ghost to let them dance freely.
Tips to Make It Extra Special
- Let your little ones pick out the colors and design their ghosts. It’s a surefire way to spark their creativity!
- Hang the garlands in unexpected places – like the corner of a room or across a mirror – to add a touch of Halloween charm everywhere.
- If you want to make the garland sturdier, you can laminate the ghosts or use thicker cardstock.
Now, here’s a unique twist: how about making “ghost family” garlands? You can create larger ghosts to represent mom, dad, and siblings, and smaller ghosts for pets or little friends! It’s a boo-tiful way to celebrate the Halloween spirit and family togetherness.
DIY Halloween Decorating Ideas for Kids #2: Pumpkin Patch Window Display
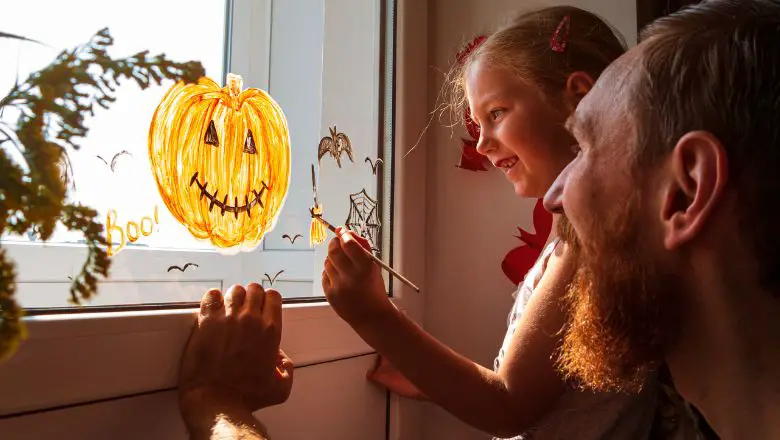
Here, I’m thrilled to share one of my all-time favorite DIY Halloween decorating ideas for kids: the enchanting Pumpkin Patch Window Display! Brace yourself for a burst of pumpkin-y goodness that’ll transform your window into a spooktacular sight!
Materials Needed
- Orange, green, and brown construction paper or cardstock
- Scissors
- Tape or glue
- Black marker or pen
Step-by-Step Guide
1. Pumpkin Assembly Line:
Get those little hands ready, because it’s pumpkin-making time! Cut out pumpkin shapes from the orange construction paper. Make them big, small, and everything in between – just like a real pumpkin patch!
2. Pumpkins in Full Bloom:
Now, let’s bring those pumpkins to life with some leafy green stems! Cut out stems from the green construction paper and attach them to each pumpkin with tape or glue.
3. Patch It Up:
Lay a brown construction paper strip along the bottom of your window to create the “ground” for your pumpkin patch. Then, start arranging the pumpkins on the “ground” to form a charming patch.
4. Add Smiles and Expressions:
Here comes the fun part – give each pumpkin its personality! Use a black marker to draw on happy faces, silly grins, and even spooky expressions. These pumpkins are ready to welcome all trick-or-treaters with glee!
5. Pumpkin Patch Window Magic:
Now, tape or glue the pumpkins onto the window. Arrange them creatively, and don’t forget to leave some space between them to allow your window display to truly shine!
Enhancements to Make It Extra Special
- Add paper autumn leaves around the pumpkins to give your pumpkin patch a touch of fall magic.
- Use orange tissue paper or crepe paper to create a sun setting behind the pumpkins, setting a perfect Halloween scene!
- Have your little ones decorate the pumpkins with glitter, stickers, or even draw funny costumes on them – creativity knows no bounds!
But wait, there’s a unique twist: why stop at pumpkins? You can expand your window display by including other Halloween elements like ghosts, bats, and cats! Let your imagination run wild and create an entire spooky world right there on your window.
DIY Halloween Decorating Ideas for Kids #3: Spooky Spider Web Hoops
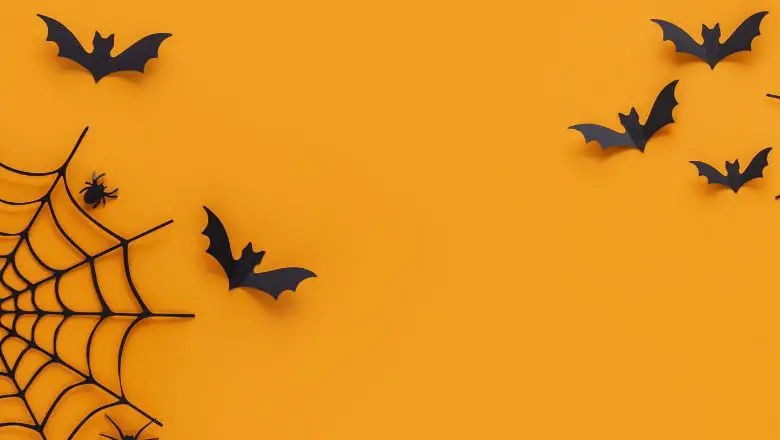
I’m spinning some web-tastic magic with one of my all-time favorite DIY Halloween decorating ideas for kids: the spine-chilling Spooky Spider Web Hoops! Get ready to create a web of spookiness that’ll have everyone tangled in excitement!
Materials Needed
- Embroidery hoops (various sizes)
- Yarn (black or white for the classic look, but you can choose any color you fancy!)
- Plastic spiders (the more, the merrier!)
- Glue or tape
Step-by-Step Guide
1. Round Up Your Hoops:
Start by gathering those embroidery hoops of different sizes – the secret to making the coolest spider webs!
2. Weave the Web:
Choose your yarn color and tie a knot on one of the hoops. Now, start weaving your yarn in a criss-cross pattern to form the web. No need to be perfect – after all, spiders’ webs aren’t!
3. Embrace the Tangles:
Once you’re satisfied with your web, secure the yarn end on the hoop with glue or tape. Spiders love tangled webs, so don’t worry about the messiness – it adds to the charm!
4. Spooky Spider Time:
Now comes the fun part – adding those creepy-crawly spiders! Glue or tape the plastic spiders onto the web, making sure they’re peeking out from different angles.
Tips to Make It Extra Special
- Experiment with glow-in-the-dark yarn for an extra eerie effect during Halloween nights.
- Hang your spooky spider web hoops near a lamp or string fairy lights around them for a hauntingly beautiful glow.
But here’s a unique twist: Instead of just hanging your spider web hoops on the wall, how about suspending them from the ceiling? Create a spider’s den with multiple webs overhead, and watch as your guests get caught up in a tangled web of delight!
DIY Halloween Decorating Ideas for Kids #4: Haunted House Lanterns
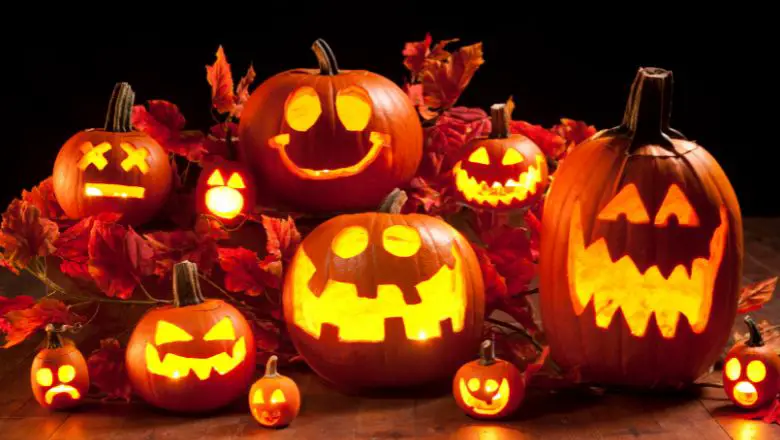
One of my all-time favorite DIY Halloween decorating ideas for kids: the mesmerizing Haunted House Lanterns! Get ready to cast an eerie glow that’ll send shivers down your spine and light up your Halloween nights!
Materials Needed
- Black or dark-colored construction paper or cardstock
- Scissors
- Glue or tape
- LED candles (safety first!)
Step-by-Step Guide
1. Creepy House Design:
Grab that black construction paper or cardstock and let’s get crafty! Cut out the shapes of spooky haunted houses – the darker, the better!
2. Create the Haunted House Silhouettes:
Fold the haunted house shapes in half and cut out small windows and doors. When you unfold them, you’ll have ghostly silhouettes that are perfect for the lanterns.
3. Assemble the Lanterns:
Now, form the lanterns by attaching the edges of the haunted house shapes with glue or tape. Make sure to leave an opening at the top for your LED candle.
4. Unleash the Spooky Glow:
Place the LED candles inside the haunted house lanterns. Turn off the lights, and witness the enchanting glow as the haunted houses come to life!
Safety Tip: Remember, we’re using LED candles to avoid any real flames – safety always comes first!
Enhancements to Make It Extra Special
- Use different colors of construction paper to create a haunted village with various colored lanterns.
- Cut out tiny bats or ghosts from white paper and stick them on the lanterns for added spookiness.
- Hang your haunted house lanterns outdoors to create a ghostly pathway to your front door.
But here’s a unique twist: Instead of using just one haunted house per lantern, try combining multiple haunted house shapes to create a spooky haunted mansion lantern! It’ll be a showstopper in your Halloween decorations!
DIY Halloween Decorating Ideas for Kids #5: Wicked Witch Broomsticks
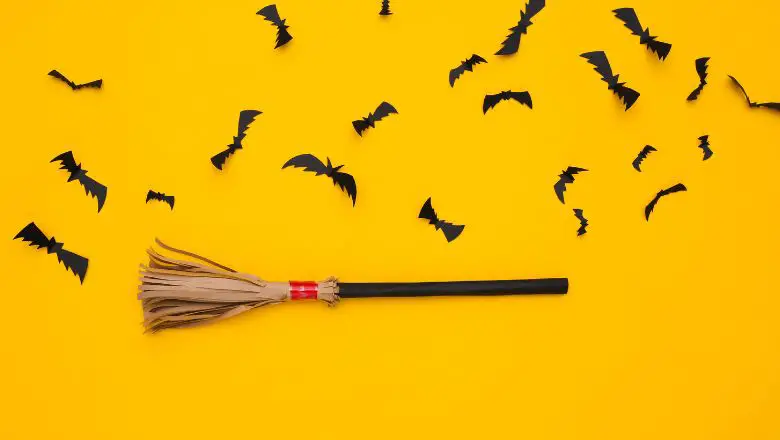
Here, I’m thrilled to share one of my all-time favorite DIY Halloween decorating ideas for kids: the magical Wicked Witch Broomsticks! Get ready to soar through the spooky skies on these crafty creations!
Materials Needed
- Sturdy sticks or branches (let’s find the perfect “broomstick” handles!)
- Broomcorn, straw, or twigs (for the broom bristles)
- String or twine
- Ribbons, raffia, or fabric scraps for decoration
Step-by-Step Guide
1. Pick Your Broomstick Handles:
Venture into the enchanted forest (or your backyard) and find those perfect sticks or branches to be the handles of your wicked witch broomsticks. The more twisted, the better – it adds to the magic!
2. Add the Broom Bristles:
Now, gather your broomcorn, straw, or twigs, and tie them securely to the bottom of each stick to create the broom bristles. Make sure they’re nice and tight!
3. Bewitching Decorations:
Let your creativity run wild as you decorate your witch broomsticks! Use colorful ribbons, raffia, or fabric scraps to add a touch of charm. The more enchanting, the better!
4. Ready to Fly:
Your wicked witch broomsticks are now ready to take flight! Hold onto the top of the stick, jump on, and get ready for a magical Halloween adventure!
Safety Tip: Make sure the sticks are sturdy and free of splinters for a safe and magical journey!
Enhancements to Make It Extra Special
- Create personalized broomsticks for each family member, complete with their favorite colors and decorations.
- Use glow-in-the-dark materials to make your broomsticks shine under the moonlight.
But here’s a unique twist: Set up a magical broomstick-making station at your Halloween party! Let all your little witch and wizard guests craft their broomsticks to take home as party favors. It’ll be a bewitching hit!
Crafting Memories: DIY Halloween Decorations with Kid-Friendly Magic!
And there you have it, my fellow Halloween enthusiasts – a bewitching array of 5 DIY Halloween decorating ideas that have transformed my home into a spook-tacular wonderland!
These DIY decorations have added a sprinkle of magic to our Halloween celebrations. The joy on my kids’ faces as they proudly showed off their handcrafted masterpieces warmed my heart like a cozy cauldron.
We’ve laughed, we’ve crafted, and we’ve made memories that’ll last a lifetime. The enchantment of Halloween is not just about store-bought decorations; it’s about the creative journey shared with my little ones.
As you embark on your haunted home makeover, remember that it’s not about perfection, but about embracing the spooky fun and the imaginative chaos. Let your kids’ creativity run wild, and watch as your home transforms into a Halloween wonderland.
So, grab your glue, your paint, and your laughter, and get ready to create some Halloween magic that’ll leave your little ones squealing with delight.
Wishing you a spook-tacular and craft-filled Halloween season, my friends!
