Are you looking for a fun and creative way to decorate your home? Do you want to add a touch of elegance to your living space without breaking the bank?
Look no further than DIY glass crafts! With just a few simple materials and some creativity, you can transform ordinary glass objects into stunning home decor.
As someone who loves to decorate their home on a budget, I’ve found that DIY glass crafts are a fantastic way to add personality and charm to any room.
Whether you’re a seasoned crafter or a beginner, these five DIY glass craft ideas are easy to make and will make a big impact on your home.
So why spend a fortune on expensive home decor when you can make your own beautiful and unique pieces with just a few simple steps?
In this article, I’ll be sharing my favorite DIY glass craft ideas that will inspire you to get creative and transform your home into a cozy and stylish retreat.
So grab your glue gun and let’s get started!
5 Stunning DIY Glass Crafts to Elevate Your Home Decor
Are you looking for a creative way to add some personality to your home decor?
Look no further than these 5 stunning DIY glass crafts that are sure to elevate any room.
Stained Glass Mason Jars
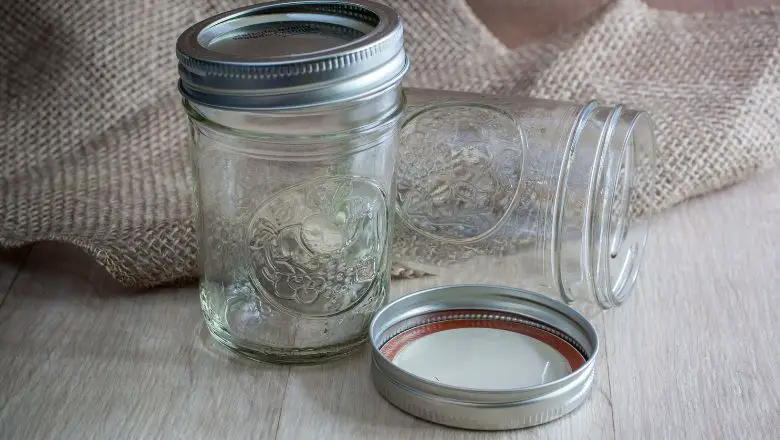
If you’re looking for a way to add some color and charm to your home, stained glass mason jars are a great option.
They’re simple to make and can be customized to fit your style. Here’s how you can create your own stained glass mason jars:
Materials needed
- Mason jars
- Tissue paper
- Glue
- Paintbrushes
Steps to Create
- Cut the tissue paper into small pieces. You can use a variety of colors to create a vibrant look.
- Brush a layer of glue onto the outside of the jar.
- Place the tissue paper onto the glue, overlapping the pieces. Make sure to cover the entire surface of the jar.
- Brush another layer of glue over the tissue paper to seal it in place.
- Allow the jar to dry completely before using it.
Tips for Perfecting the Look
- Use a variety of colors to create a vibrant look. You can choose colors that complement your home decor or go for a more eclectic look.
- Apply a layer of white paint to the jar before adding the tissue paper for a more opaque finish. This will help the colors of the tissue paper stand out more.
- Use a clear sealant spray to protect the finished product. This will help prevent the tissue paper from peeling off and make the jar more durable.
In my personal experience, stained glass mason jars have been a fun and creative way to add some personality to my home. I love experimenting with different colors and patterns to create unique designs. They’re also great for adding a pop of color to outdoor events or parties.
With just a few simple materials and some creativity, you can create your own stained glass mason jars to brighten up your space. Give it a try and see what you can come up with!
Decorative Glass Bottles
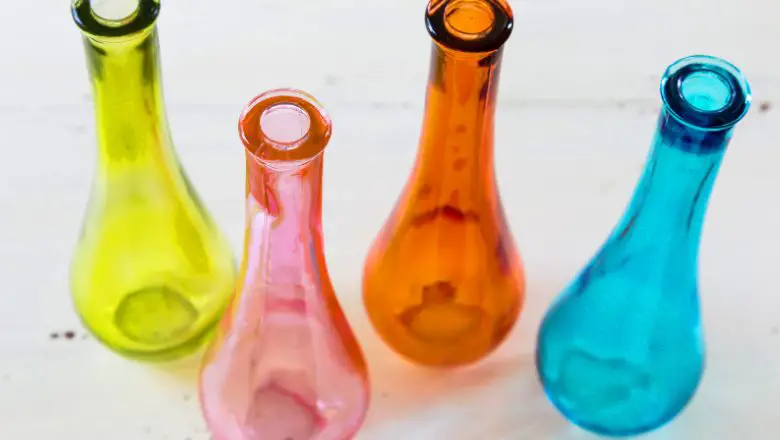
Decorative glass bottles can be a beautiful and simple addition to your home decor.
They’re easy to make and can be customized to fit your style. Here’s how you can create your decorative glass bottles:
Materials needed
- Glass bottles
- Paint
- Paintbrushes
- Painter’s tape
Steps to Create
- Clean the glass bottles thoroughly and let them dry completely.
- Use painter’s tape to create a design or pattern on the bottle. This can be anything from stripes to polka dots to a geometric design.
- Paint the bottle with your desired color. You can use spray paint or brush on the paint with a paintbrush.
- Allow the paint to dry completely.
- Carefully remove the painter’s tape to reveal the design.
Tips for Perfecting the Look
- Choose colors that complement your home decor or go for a contrasting look to make the bottle stand out.
- Experiment with different designs and patterns using painter’s tape. You can create a unique look by layering different types and colors.
- Use a clear sealant spray to protect the finished product. This will help prevent the paint from chipping and make the bottle more durable.
In my personal experience, decorative glass bottles have been a fun and easy way to add a pop of color to my home. I’ve used them as vases for flowers, as decorative pieces on shelves, and even as candle holders.
They’re a great way to repurpose old glass bottles and add some personality to your space. Give it a try and see what creative designs you can come up with!
Etched Glass Picture Frames
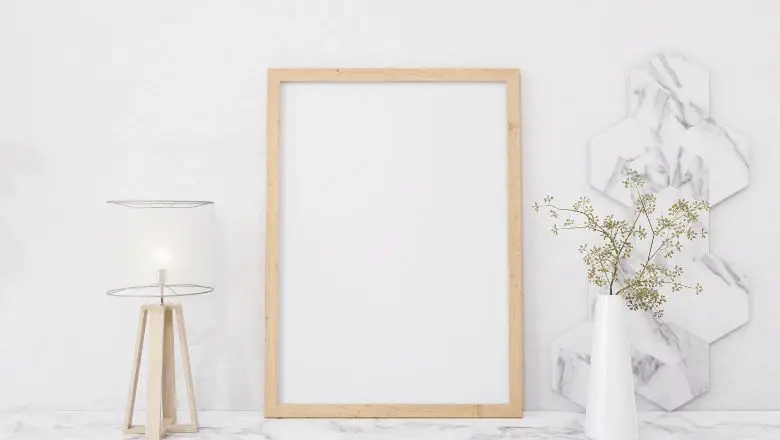
Etched glass picture frames are a unique and elegant way to display your favorite photos.
They can be personalized to fit your style and make for a thoughtful gift. Here’s how you can create your own etched glass picture frames:
Materials needed
- Glass picture frames
- Etching cream
- Paintbrushes
- Stencils or vinyl cutouts
- Gloves
- Protective eyewear
Steps to Create
- Clean the glass picture frame thoroughly and let it dry completely.
- Apply the stencil or vinyl cutout to the glass where you want the design to be etched.
- Put on gloves and protective eyewear before applying the etching cream.
- Apply a thick layer of etching cream to the exposed glass areas. Follow the instructions on the etching cream container carefully.
- Let the cream sit for the recommended amount of time.
- Rinse off the cream with water and remove the stencil or vinyl cutout.
- Dry the glass picture frame completely.
Tips for Perfecting the Look
- Choose a design or phrase that has a special meaning to you or the person you’re gifting the frame to.
- Experiment with different fonts and designs for a unique look.
- Use a clear sealant spray to protect the finished product. This will help prevent the etching cream from wearing off and make the frame more durable.
In my personal experience, etched glass picture frames have been a thoughtful and personalized gift for special occasions. I’ve used them as wedding gifts with the couple’s names and wedding dates etched onto the glass.
They’re also a great way to add a personal touch to your home decor. Give it a try and see what unique designs you can come up with!
Painted Glass Vases
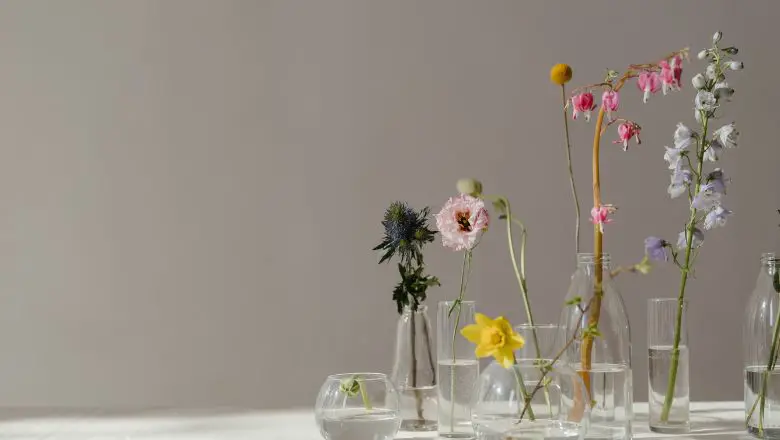
Painted glass vases can be a beautiful and budget-friendly way to add some color to your home decor.
They’re easy to make and can be customized to fit your style. Here’s how you can create your own painted glass vases:
Materials needed
- Glass vases
- Acrylic paint
- Paintbrushes
- Water
Steps to Create
- Clean the glass vase thoroughly and let it dry completely.
- Dilute the acrylic paint with water to create a watercolor-like consistency.
- Paint the diluted paint onto the glass vase with a paintbrush. You can create a gradient effect by painting lighter colors at the top and gradually painting darker colors toward the bottom.
- Let the paint dry completely before adding additional layers of paint.
- Once you’ve achieved your desired look, let the vase dry completely.
Tips for Perfecting the Look
- Experiment with different color combinations to find the perfect match for your home decor.
- Use painter’s tape to create a design or pattern on the vase before painting. This can create a unique and modern look.
- Fill the vase with flowers or greenery that complement the colors of the paint.
In my personal experience, painted glass vases have been a fun and easy way to add some color and personality to my home decor.
They’re perfect for creating a centerpiece for a special occasion or just adding some interest to a bookshelf.
Give it a try and see what creative designs you can come up with!
Glittered Glass Candle Holders
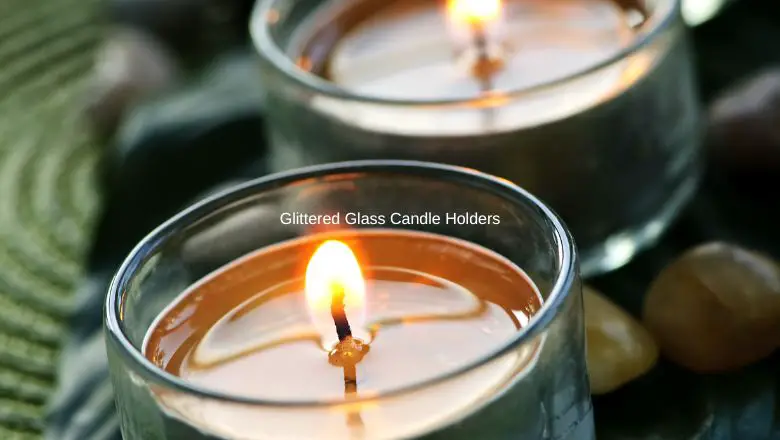
Glittered glass candle holders can add some sparkle and glam to your home decor. They’re perfect for special occasions or just adding some interest to a room. Here’s how you can create your own glittered glass candle holders:
Materials needed
- Glass candle holders
- Glitter
- Mod Podge
- Paintbrushes
Steps to Create
- Clean the glass candle holder thoroughly and let it dry completely.
- Apply a thin layer of Mod Podge to the outside of the candle holder with a paintbrush.
- Sprinkle glitter over the Mod Podge, making sure to cover the entire surface. You can use one color of glitter or mix and match it for a unique look.
- Tap off any excess glitter and let the Mod Podge dry completely.
- Apply a second layer of Mod Podge over the glitter to seal it in and let it dry.
Tips for Perfecting the Look
- Experiment with different colors and types of glitter to create a unique look that matches your style.
- Try using painter’s tape to create a design or pattern on the candle holder before applying the Mod Podge and glitter.
- Use a clear sealant spray to protect the finished product and prevent the glitter from flaking off.
In my personal experience, glittered glass candle holders have been a fun and easy way to add some glam to a special occasion or just add some sparkle to a room.
They make great centerpieces for weddings or holiday gatherings or just a pretty accent on a bookshelf. Give it a try and see how you can add some sparkle to your home decor!
Spruce Up Your Home with These 5 Unique DIY Glass Crafts
There you have it, five DIY glass craft ideas that are sure to add a touch of elegance and creativity to your home decor.
Not only are these crafts easy and fun to make, but they’re also an affordable way to add personality and charm to any room.
Whether you’re a seasoned crafter or just starting, these ideas are sure to inspire your creativity and help you create beautiful and unique pieces for your home.
So why wait? Get started on your next DIY glass craft project today and see the amazing results for yourself!
Thank you for taking the time to read this article, and I hope you found it informative and inspiring.
Happy crafting!
