Are you tired of the same old store-bought Christmas cards every year?
Why not add a personal touch to your holiday greetings this season with some fun and easy DIY Christmas card ideas?
As someone who loves to get crafty during the holiday season, I can tell you that making your cards is not only a great way to save money but also a fun and creative activity for the whole family.
In this article, I’m going to share with you 5 DIY Christmas card ideas that will make your loved ones’ hearts skip a beat.
With simple materials and easy-to-follow steps, you can create unique and personalized cards that will stand out from the rest.
From cute and whimsical to elegant and sophisticated, there’s a card idea for everyone.
So, whether you’re looking to impress your friends and family with your crafting skills or just want to add a personal touch to your holiday greetings, keep reading to discover 5 DIY Christmas card ideas that will help you spread some holiday cheer.
Get ready to get creative and have some fun!
Get Crafty: 5 Creative DIY Christmas Card Ideas
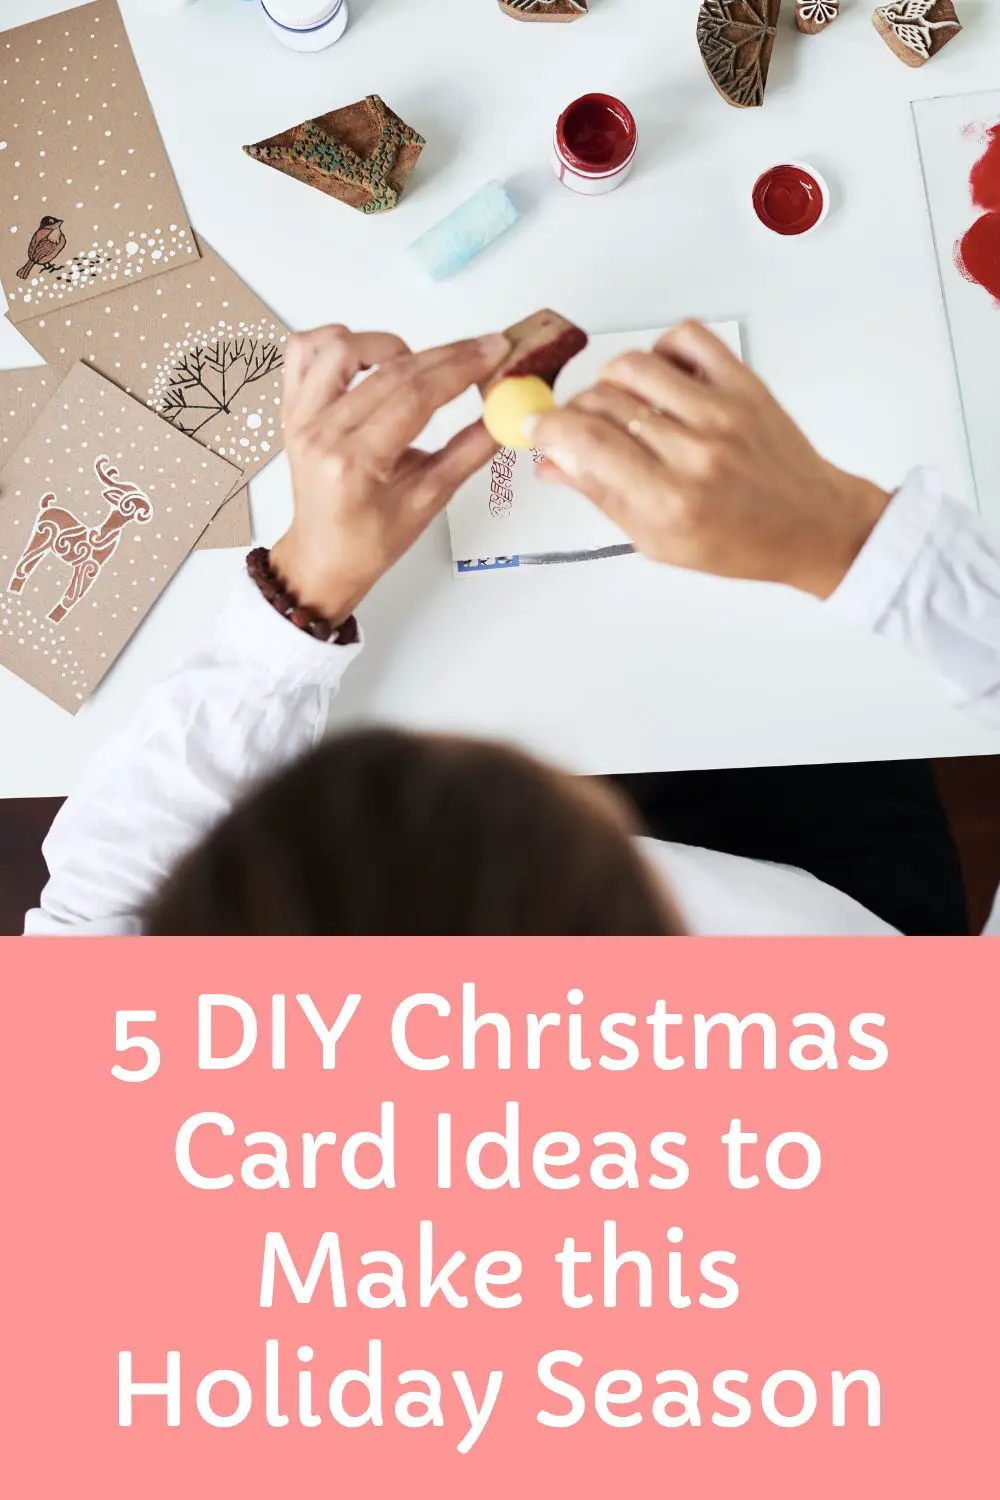
Get ready to spread some holiday cheer with these 5 creative DIY Christmas card ideas!
Nothing beats a personalized card that’s made with love, so why not put your crafting skills to the test this season?
These ideas are perfect for adding a special touch to your cards and showing your loved ones how much you care.
DIY Christmas Card Idea 1: Handmade Pop-Up Cards
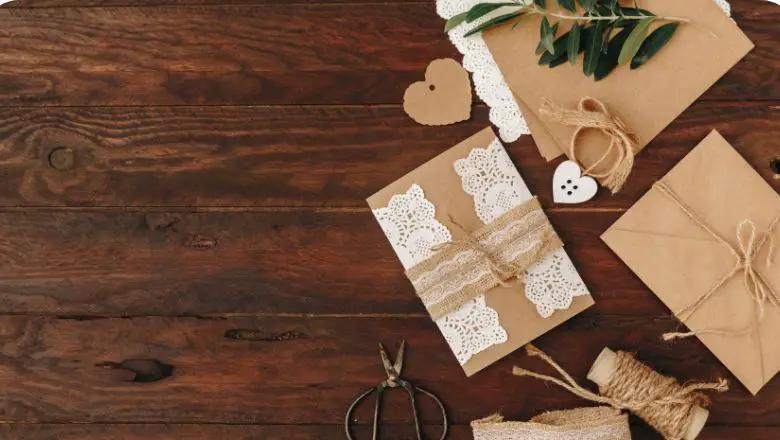
Handmade pop-up cards are a unique and creative way to spread holiday cheer.
They allow you to add a 3D element to your card and surprise your loved ones with a special message.
Materials needed:
- Cardstock paper
- Scissors
- Glue
- Markers, colored pencils, or other decorative items
- Ruler
Step-by-step instructions:
- Begin by folding a piece of cardstock paper in half to create the base of your card.
- Cut two parallel lines on the folded side of the card, leaving a small tab at the top and bottom of the card.
- Push the tab inwards and fold the card in half, making sure the tabs pop up when the card is opened.
- Cut out various holiday-themed shapes such as snowflakes, Christmas trees, or ornaments from colored paper.
- Glue the shapes onto the tabs, making sure they are positioned to pop up when the card is opened.
- Add a personalized message or holiday greeting with markers, colored pencils, or other decorative items.
- Allow the glue to dry and your pop-up card is ready to be sent!
Creative ideas for handmade pop-up cards:
- Create a winter wonderland scene with a pop-up Christmas tree and snowflakes.
- Make a pop-up card featuring Santa Claus with his reindeer flying across the sky.
- Use cut-out shapes of presents and ornaments to make a festive pop-up card.
- Design a pop-up card with a snowman and snowflakes for a whimsical touch.
- Make a holiday pop-up card featuring a menorah or dreidel for a Hanukkah celebration.
- Handmade pop-up cards are a fun and unique way to spread holiday cheer.
With just a few simple materials and some creativity, you can make a special card that will delight your loved ones.
Try out different holiday themes and designs to make your pop-up cards truly one-of-a-kind.
DIY Christmas Card Idea 2: Watercolor Cards

Watercolor cards are a beautiful and unique way to send your holiday greetings.
They are easy to make and allow you to add your personal touch to each card.
Materials needed:
- Watercolor paper or cardstock
- Watercolor paints
- Paintbrushes
- Water
- Pencil
- Ruler
- Scissors
- Glue
- Envelopes
Step-by-step instructions:
- Start by cutting the watercolor paper or cardstock to your desired size for the card.
- The standard size is 5×7 inches.
- Use a pencil and ruler to lightly mark the fold line down the center of the card.
- Choose your color palette and begin painting your design on the front of the card.
- You can paint holiday scenes such as snowflakes, trees, or ornaments, or you can paint a simple abstract design.
- Allow the paint to dry completely before moving on to the next step.
- Once the paint is dry, add details to your design using a fine-tipped paintbrush or a marker.
- You can add details such as text or small designs.
- Write your message inside the card using a pen or marker.
- Fold the card in half along the center line and use a bone folder or your fingernail to crease it sharply.
- Add any additional embellishments or decorations to the card, such as ribbon or glitter.
- Place the card in an envelope and send it off to your loved ones!
Benefits of using watercolor for Christmas cards:
- Using watercolors for your Christmas cards allows you to create unique and personalized designs that cannot be replicated with printed cards.
- The colors and textures of the paint create a special, handcrafted feel that is sure to impress the recipients of your cards.
Creative ideas for watercolor Christmas cards:
- Use a simple design and paint each card with a different color scheme to create a set of cards that are cohesive but unique.
- Create a snowy landscape scene using shades of blue and white watercolors.
- Paint a watercolor wreath and add the recipient’s name in calligraphy in the center.
- Use metallic watercolor paints to add a special touch of shimmer to your designs.
Watercolor Christmas cards are a fun and creative way to send your holiday greetings.
With just a few supplies and a little bit of artistic skill, you can create beautiful, one-of-a-kind cards that your friends and family will love to receive.
DIY Christmas Card Idea 3: Embossed Cards
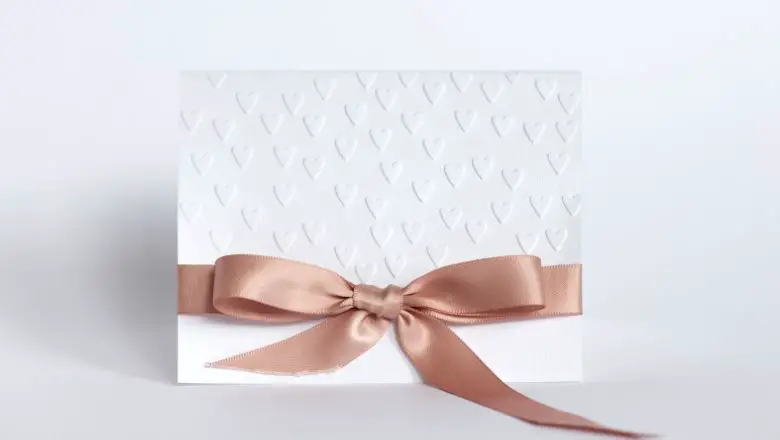
Embossed cards are a beautiful and unique way to add texture and dimension to your Christmas cards.
Embossing involves pressing an image or design onto paper, creating a raised impression.
With a few simple tools, you can create elegant and professional-looking embossed Christmas cards that are sure to impress your friends and family.
Materials needed:
- Blank cards and envelopes
- Embossing folder (with desired design)
- Embossing machine (such as a Sizzix or Cuttlebug)
- Embossing powder
- Heat tool
- Stamps and ink (optional)
Step-by-step instructions:
- Begin by selecting your embossing folder and blank cards.
- Cut your paper to fit the size of your folder and position it inside the folder with the design facing up.
- Place the folder and paper between the two plates of your embossing machine and run it through the machine.
- This will press the design onto the paper, creating a raised impression.
- Once you have embossed all of your cards, sprinkle embossing powder over the design.
- Use a small brush to remove any excess powder.
- Use a heat tool to melt the embossing powder, creating a smooth and glossy finish.
- If desired, add stamped designs or sentiments to your cards using ink and stamps.
Benefits of using embossed cards for Christmas:
- Embossed cards add an elegant and professional touch to your Christmas greetings.
- The raised design creates a beautiful texture and dimension that is sure to impress.
- Embossed cards are versatile and can be customized to fit any style or theme.
Creative ideas for embossed Christmas cards:
- Use a snowflake or holly leaf embossing folder to create a festive winter scene.
- Emboss a Christmas tree or ornament design and add glitter for a touch of sparkle.
- Emboss a simple, elegant design and use metallic embossing powder for a luxurious finish.
- Embossed cards are a beautiful and unique way to add texture and dimension to your Christmas greetings.
With a few simple tools, you can create elegant and professional-looking cards that are sure to impress.
Whether you choose a festive winter scene or a simple, elegant design, embossed cards are a versatile and stylish option for your Christmas greetings.
DIY Christmas Card Idea 4: Recycled Cards
For those who want to reduce waste and create something unique this holiday season, making recycled Christmas cards is a great option.
This DIY Christmas card idea allows you to repurpose old cards, wrapping paper, and other materials that would otherwise be thrown away.
Materials needed:
- Old Christmas cards or other cardstock paper
- Wrapping paper scraps
- Scissors
- Glue or double-sided tape
- Ribbon or twine (optional)
- Hole punch (optional)
Step-by-step instructions:
- Begin by collecting old Christmas cards or other cardstock paper that you can repurpose.
- Look for cards with simple designs or blank spaces that you can easily cut and use for your new cards.
- Cut out the parts of the cards that you want to use, such as the front cover or a decorative border.
- You can also cut out shapes or designs from wrapping paper scraps to add to your cards.
- Use glue or double-sided tape to attach the cut-out pieces to a blank cardstock base.
- You can also layer the pieces to create a unique design.
- Add any additional embellishments, such as ribbon or twine, to your cards.
- If you want to add a personal touch, use a hole punch to create a hole in the corner of your card and attach a handwritten tag or label.
Creative ideas for recycled Christmas cards:
- Cut out shapes or designs from old Christmas cards to create a collage on a new card.
- Use wrapping paper scraps to create a festive border or add a pop of color to your cards.
- Use the inside of old Christmas cards to create a new card.
- Cut out the message or design, and attach it to a new cardstock base.
- Personalize your cards by using a family photo or other sentimental image as the focal point.
- Recycled Christmas cards are a great way to reduce waste and create something unique this holiday season.
By repurposing old cards and wrapping paper, you can create beautiful cards that are eco-friendly and personal.
With a little creativity, you can make each card a one-of-a-kind masterpiece.
DIY Christmas Card Idea 5: Printable Cards
Printable cards are an excellent option for those who don’t have much time to spend making handmade cards.
They are easy to make, cost-effective, and can be customized to suit any occasion.
Printable cards come in various designs and can be downloaded from the internet or created using a computer program.
Materials needed:
- To make printable cards, you’ll need a printer, cardstock paper, scissors or a paper cutter, and a design template.
- You can find free or paid design templates online, or you can create your own using a computer program like Microsoft Word or Adobe Photoshop.
Step-by-step instructions:
- Choose a design template: Search for free or paid Christmas card templates online or create your own using a computer program.
- Ensure that the design is suitable for printing on cardstock paper and includes enough space for a personalized message.
- Download and print the template: Download the chosen design template and print it on cardstock paper.
- Ensure that the printer is set to the highest quality setting for the best results.
- Cut and fold the card: Use scissors or a paper cutter to cut out the printed card along the outline.
- Fold the card in half along the crease line and smooth it out.
- Personalize the card: Write a personal message on the inside of the card, decorate the front with stickers, or add a family photo to make the card unique.
Creative ideas for printable cards:
- Customized photo card: Use a family photo as the design template and add a personalized message to create a unique and memorable Christmas card.
- Coloring card: Create a card with a black and white design that can be colored in by the recipient for a fun and interactive experience.
- Minimalist card: Use a simple design template with a minimalistic approach, adding a few small details to create an elegant and sophisticated card.
Benefits of using printable cards:
- Cost-effective: Printable cards are a budget-friendly option, especially if you have many people to send cards to.
- Convenient: Printable cards can be easily downloaded and printed from the comfort of your home.
- Customizable: Printable cards can be customized to suit any occasion and personalized with your message.
Printable cards are an excellent option for those who want to make Christmas cards quickly and efficiently.
They are easy to make, cost-effective, and can be customized to suit any occasion.
You can choose from a wide range of designs, download them online or create your own using a computer program.
Printable cards are perfect for those who want to save time and money without compromising on the quality of their Christmas cards.
Wrap It Up: Spread Some Cheer with These DIY Christmas Card Ideas
In conclusion, making your DIY Christmas cards is a great way to add a personal touch to your holiday greetings.
With the 5 DIY Christmas card ideas shared in this article, you can create unique and memorable cards that will spread some holiday cheer to your loved ones.
Not only is crafting your cards a fun and creative activity, but it also allows you to save money and avoid generic store-bought cards.
From whimsical to elegant designs, there’s a DIY Christmas card idea for everyone to enjoy.
So, don’t be afraid to get creative and put your spin on these ideas.
Your loved ones will appreciate the time and effort you put into making a card just for them.
Happy crafting and happy holidays!
