Are you tired of your plain walls and boring home decor? Do you want to add a touch of creativity and uniqueness to your living space?
Look no further!
I recently discovered the magic of DIY chalkboard paint and it has completely transformed my home.
Not only is it easy to make, but the possibilities for its use are endless.
In this article, I’ll be sharing with you 5 DIY chalkboard paint ideas that are brilliantly creative and will inspire you to get crafty.
Trust me, these ideas are simple, affordable, and will completely revamp your home decor game.
So, grab a paintbrush, and some chalkboard paint, and let’s get started!
DIY Chalkboard Paint Ideas: 5 Fun and Easy Projects You Can Do at Home
If you’re looking for a fun and easy way to transform your home decor, look no further than DIY chalkboard paint projects!
With just a few simple supplies and some creativity, you can turn any surface into a functional and stylish chalkboard.
DIY Chalkboard Paint Idea 1: Chalkboard Painted Plant Pots
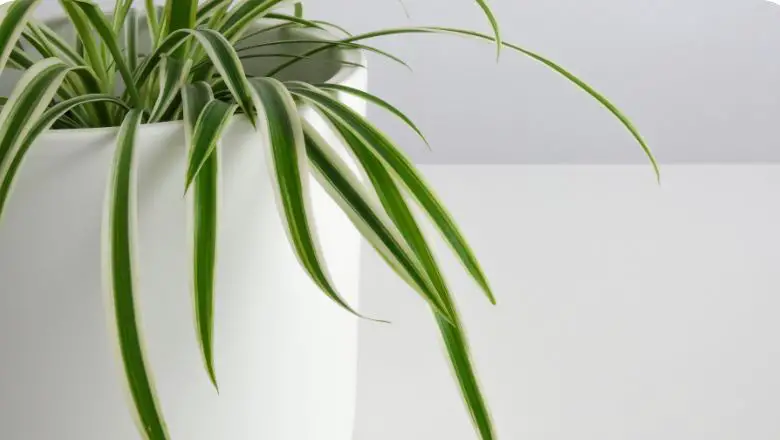
Looking for a creative way to bring some life to your plants? Look no further than chalkboard-painted plant pots!
This DIY project is not only practical, but it also adds a unique touch to your home decor.
Here’s how to do it:
Materials:
- Terracotta plant pots
- Chalkboard paint
- Paintbrush
- Chalk
Steps:
- Start by cleaning your plant pots thoroughly.
- Remove any dirt or debris from the surface, and let them dry completely.
- Once the pots are dry, use a paintbrush to apply a layer of chalkboard paint to the surface.
- Be sure to cover the entire pot evenly with the paint.
- Let the paint dry for at least an hour, and then apply a second coat of paint.
- This will ensure that the chalkboard surface is smooth and even.
- Once the second coat of paint has dried, use chalk to write the name of the plant or any other message you’d like on the pot.
- You can also draw a design or pattern on the pot with the chalk.
- Finally, add your plant to the pot and enjoy your new chalkboard-painted plant pot!
Pro tips:
- For a more rustic look, you can use sandpaper to distress the edges of the pot after painting.
- If you plan on using your chalkboard-painted plant pot outdoors, be sure to seal it with a clear spray sealant to protect it from the elements.
Chalkboard-painted plant pots are a great way to add some personality to your plant collection.
They make great gifts for friends and family and can be customized to fit any decor style.
Give this DIY project a try and see how it can bring some life to your home!
DIY Chalkboard Paint Idea 2: Chalkboard Painted Mason Jars
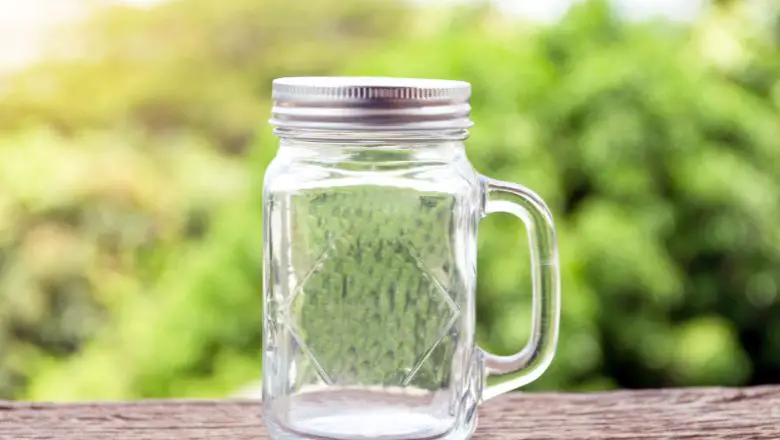
Are you tired of plain old glass jars? Do you want to add some personality and functionality to your mason jars?
Look no further than chalkboard paint! Chalkboard-painted mason jars are a fun and easy way to add a unique touch to your home decor or party decor.
Materials Needed
- Mason jars
- Chalkboard paint
- Paintbrush
- Sandpaper (optional)
Steps to Follow
- Clean the surface of the jars with soap and water, and let them dry completely.
- Apply chalkboard paint to the jars with a paintbrush.
- You can apply one or two coats depending on how opaque you want the chalkboard surface to be.
- Let the jars dry completely.
- The drying time may vary depending on the type of paint used, but it’s usually around 24 hours.
- Optional step: Sand the edges of the jars with sandpaper to give them a distressed look.
- Once the jars are completely dry, you can write on them with chalk.
Use them to label items in your pantry, create unique vases for flowers, or as creative storage solutions for small items.
Tips and Tricks
- You can use any size of a mason jar for this project, depending on your needs.
- To create a more permanent label on the jars, use a chalkboard marker instead of regular chalk.
- You can also use chalkboard spray paint for a faster application process.
- To add some color to your jars, you can paint the lids or add a colorful ribbon around them.
Chalkboard-painted mason jars are a versatile and affordable way to add some personality to your home decor.
They are perfect for labeling items, organizing your pantry, or adding some charm to a party or wedding decor.
Get creative and enjoy the process of transforming plain glass jars into unique pieces of decor.
DIY Chalkboard Paint Idea 3: Chalkboard Painted Furniture
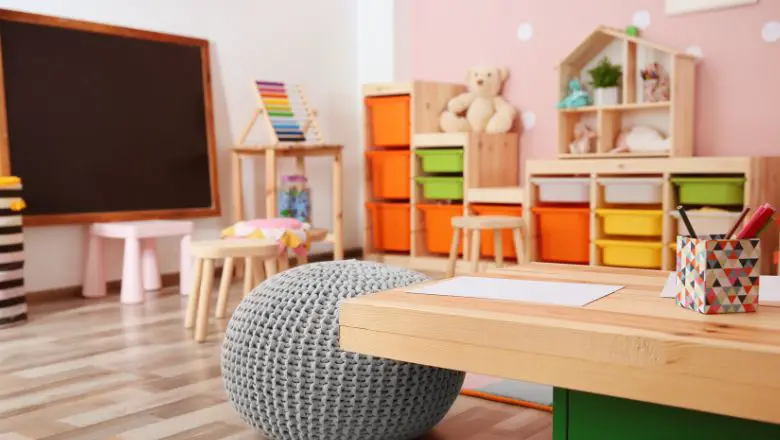
Are you tired of looking at the same old furniture every day? Give your furniture a new lease on life by painting them with chalkboard paint.
Not only will it add a unique touch to your furniture, but it will also allow you to change its look whenever you want.
Here’s a step-by-step guide on how to paint your furniture with chalkboard paint:
1. Choose the furniture:
Start by selecting the furniture you want to paint. It can be anything from a table to a dresser to a cabinet. Keep in mind that the furniture should be clean and free from any dirt or grease.
2. Prepare the surface:
Sand the furniture’s surface lightly to create a rough surface for the paint to adhere to. Clean it again to remove any dust or debris.
3. Apply primer:
Use a primer to create a base for the paint. This step is optional but highly recommended, as it will help the paint to adhere better to the furniture.
4. Apply the chalkboard paint:
Shake the chalkboard paint can well and apply it with a brush or roller. Make sure to apply the paint evenly and cover the entire surface. You may need to apply several coats, depending on the furniture’s surface and the thickness of the paint.
5. Let it dry:
Allow the paint to dry for at least 24 hours before using it. Avoid touching or using the furniture during this time.
6. Season the surface:
Once the paint is dry, you need to season the surface by rubbing a piece of chalk over the entire surface and then wiping it off with a dry cloth. This step is important as it will create a base for the chalk to stick to.
7. Start drawing:
Now, you’re ready to start drawing on your new chalkboard-painted furniture. Use regular chalk to create your designs, and erase them as needed.
With these easy steps, you can transform your old furniture into a fun and functional chalkboard-painted masterpiece.
DIY Chalkboard Paint Idea 4: Chalkboard Painted Kitchen Cabinets
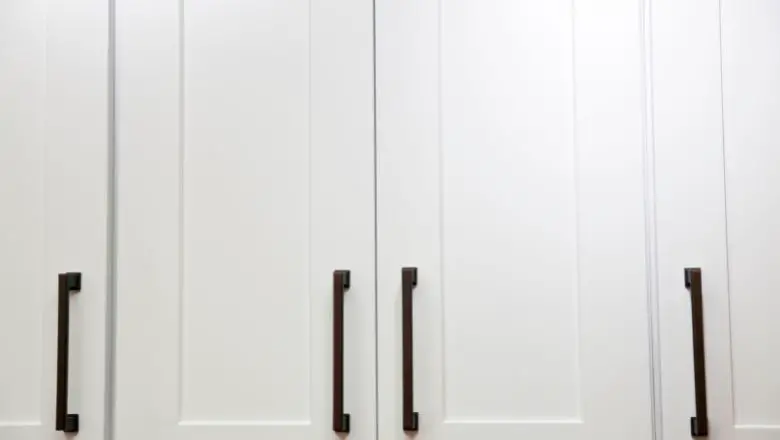
Chalkboard-painted kitchen cabinets are a creative way to add a unique touch to your kitchen décor.
By painting your cabinets with chalkboard paint, you can turn them into functional surfaces that you can write on and erase easily.
This allows you to jot down notes, grocery lists, recipes, or even just doodles, without the need for extra paper or clutter on your countertops.
Materials needed:
- Chalkboard paint
- Paintbrush or roller
- Sandpaper or a sanding block
- Cleaning supplies (water, soap, and a rag)
- Painter’s tape (optional)
- Drop cloth or newspaper
Step-by-step instructions:
- Remove all cabinet doors and hardware, and clean the surfaces thoroughly with soap and water.
- Let them dry completely.
- Lightly sand the surfaces you want to paint, making sure to remove any glossy finish.
- Clean the surfaces again with a damp cloth to remove any dust or debris.
- Apply painter’s tape to the areas you want to protect from the paint.
- Apply the chalkboard paint using a brush or roller.
- Make sure to apply thin, even coats, and let each coat dry completely before applying the next one.
- You may need to apply 2-3 coats, depending on the coverage you want.
- Once the final coat is dry, remove the painter’s tape and reattach the hardware and doors.
Advantages of having chalkboard-painted kitchen cabinets:
- Easy organization:
With chalkboard-painted cabinets, you can easily keep track of your grocery list, meal plan, and recipes without having to use extra paper or sticky notes.
This can help you stay organized and save time.
- Customization:
Chalkboard-painted cabinets allow you to express your creativity and add a unique touch to your kitchen décor.
You can choose the color of the chalkboard paint that best suits your style, and change your designs or messages as often as you want.
- Budget-friendly:
Painting your cabinets with chalkboard paint is a cost-effective way to update your kitchen without having to replace your cabinets entirely.
Ideas for organizing with chalkboard-painted cabinets:
- Use the cabinets to write down your grocery list, and take a photo of it before heading to the store.
- Write down your meal plan for the week, and use the cabinets to remind you of what you need to prepare for each day.
- Use the cabinets to jot down your favorite recipes, and have them easily accessible when you need them.
- Let your kids use the cabinets to draw and express their creativity while you cook.
With these simple steps, you can turn your ordinary kitchen cabinets into functional, fun, and personalized surfaces.
Chalkboard-painted kitchen cabinets are a great way to add a touch of creativity and organization to your kitchen, without breaking the bank.
DIY Chalkboard Paint Idea 5: Chalkboard Painted Wall Art

Chalkboard-painted wall art is a creative and versatile way to decorate your home.
With chalkboard paint, you can turn any wall into a canvas for your imagination.
Whether you want to create a unique piece of art or a functional message board, chalkboard-painted wall art is a fun and easy DIY project.
Materials needed:
- Chalkboard paint
- Paintbrush or roller
- Sandpaper
- Painter’s tape
- Chalk or chalk markers
Step-by-step instructions:
- Choose the wall you want to paint with chalkboard paint and clean it thoroughly.
- Use painter’s tape to mask off any areas you don’t want to paint.
- Apply the chalkboard paint using a paintbrush or roller, following the manufacturer’s instructions.
- Allow the paint to dry completely and then sand it lightly to create a smooth surface.
- Apply a second coat of chalkboard paint and let it dry completely.
- Once the paint is dry, you can start creating your chalkboard art.
- Use chalk or chalk markers to draw your designs or write messages on the wall.
Creative ideas for chalkboard-painted wall art:
- Create a chalkboard mural by painting an entire wall with chalkboard paint and drawing a large-scale design, such as a cityscape or nature scene.
- Use chalkboard paint to create a unique headboard for your bed.
- Paint a large rectangle or square behind the bed and use it as a canvas for your art.
- Paint a small section of a wall with chalkboard paint and use it to write your grocery list or menu plan.
- Use chalkboard paint to create a fun and interactive space in a child’s room.
- Paint a wall or section of a wall with chalkboard paint and let them use their imagination to draw and write.
- Create a gallery wall using chalkboard paint.
- Paint several frames with chalkboard paint and use them as a canvas for your art.
Chalkboard-painted wall art is an easy and fun DIY project that can add a creative touch to any room.
With just a few materials and some imagination, you can create a unique piece of art or a functional message board.
Try out some of these creative ideas and see how you can incorporate chalkboard paint into your home decor.
Chalk it Up: Let Your Creativity Run Wild with DIY Chalkboard Paint!
These DIY chalkboard paint ideas are a game-changer when it comes to home decor.
It’s affordable, easy to make, and offers endless possibilities for creativity.
Whether you want to use it for organizing, writing inspiring quotes, or unleashing your inner artist, the ideas shared in this article will surely get your creative juices flowing.
By following these simple and fun DIY chalkboards paint ideas, you can transform any room in your home into a unique and inspiring space.
So, don’t be afraid to get your hands dirty and let your imagination run wild.
With a little bit of paint and some chalk, the possibilities are truly endless!
