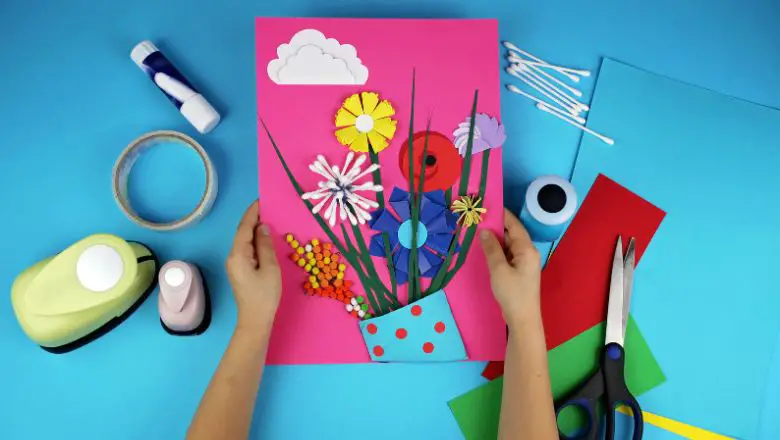
Spring has finally sprung, and you know what that means—it’s time to get creative with some awesome DIY crafts for the little ones!
I don’t know about you, but I’m always on the lookout for fun and easy projects to keep the kids entertained, especially during the beautiful days of spring.
So, if you’re searching for exciting activities to spark their imagination and keep them happily engaged, you’ve come to the right place! In this blog post, I’ll be sharing five fantastic DIY spring crafts that kids will love making.
From vibrant flower pots to adorable bunny masks, these crafts are not only loads of fun but also great for fostering their creativity and motor skills.
And the best part? You don’t need to be a crafting pro to join in on the fun!
Get ready to add a splash of color and joy to the season.
Are you excited? I know I am! Let’s dive in and discover these awesome crafts that will make this spring truly memorable for you and the kids.
Spring Has Sprung: 5 Colorful DIY Spring Crafts for Kids
With the arrival of spring, it’s time to ditch those winter blues and embrace the vibrant colors and blooming flowers.
And what better way to celebrate this season of new beginnings than by engaging in some delightful DIY crafts with your little ones?
I’ve rounded up five engaging spring crafts that are guaranteed to unleash your child’s imagination while providing endless hours of fun.
So grab your crafting supplies and let’s jump right into these exciting projects that will keep both you and your children entertained all season long!
DIY Spring Craft for Kids #1: Colorful Flower Pot Creations
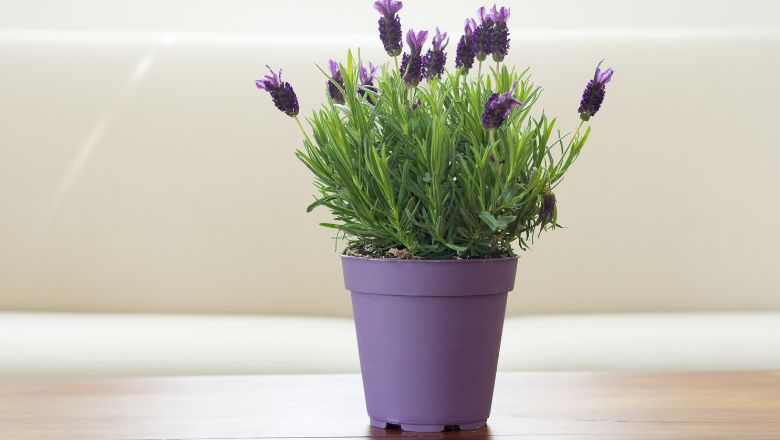
Get ready for a burst of colors and creativity as we dive into the world of colorful creations! It’s time to put on your crafting hats and let your imagination bloom like never before.
In this section, I’ll show you how to transform plain terracotta pots into vibrant masterpieces that will brighten up any space.
Materials
- Terracotta pots in various sizes
- Acrylic paints in a rainbow of colors
- Paintbrushes
- Water dish for rinsing brushes
Let’s get started on this delightful journey of crafting magic:
Step 1: Prepare Your Workspace
Find a comfortable spot where you can unleash your creativity without any worries about making a mess.
Lay down some old newspapers or a plastic tablecloth to protect your work surface. Grab your materials, and you’re all set!
Step 2: Choose Your Colors
Take a moment to ponder which colors you’d like to use. You can go for a monochromatic look with shades of the same color or mix it up with contrasting hues for a bold effect.
Remember, there are no rules in art, so let your heart guide your color choices.
Step 3: Paint with Passion
Dip your paintbrush into the first color, and gently stroke it onto the surface of the terracotta pot. As you paint, you’ll notice how the pot soaks up the paint, creating a beautiful matte finish.
Feel free to experiment with brushstrokes, patterns, and even splatters—this is where the real fun begins!
Step 4: Embrace the Unique
Each pot will take on its personality, and that’s the beauty of this craft. You might see some brushstrokes blending, creating new shades, and unexpected textures emerging.
Embrace these happy accidents, as they add character to your creation.
Step 5: Dry and Display
Allow your pots to dry completely before moving them to their new homes. Once they’re ready, find the perfect spot to showcase your colorful flower pot creations.
Whether it’s a windowsill, a patio, or a cozy corner in your garden, they’ll bring a touch of joy to any space.
Bonus Tip: Personalize with Patterns
If you want to take your flower pots to the next level, try adding some patterns. Use smaller brushes to paint polka dots, stripes, hearts, or even little flowers.
Let your imagination run wild, and don’t be afraid to mix and match patterns on different pots.
The secret to crafting colorful flower pot creations that will make you smile every time you see them. Get started on this fun project with your little ones, friends, or family, and enjoy the process of making something truly unique and special.
DIY Spring Craft for Kids #2: Bunny Mask Madness
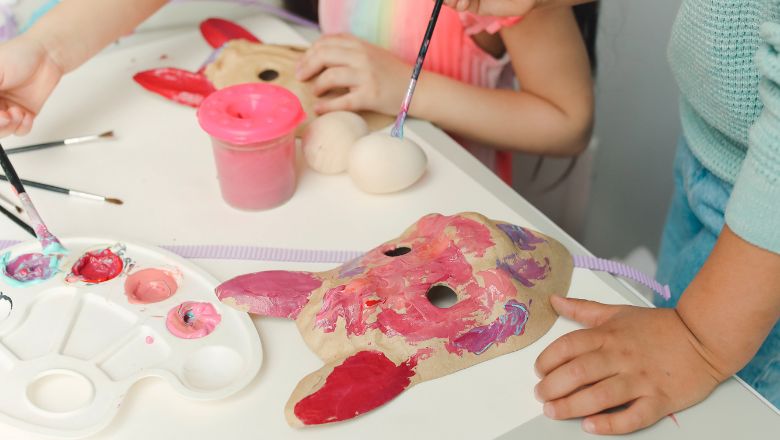
Hop into the whimsical world of bunny mask madness where fun and laughter await!
This craft is perfect for unleashing your inner bunny and bringing the magic of spring to life. Let’s grab our supplies and get ready to create adorable bunny masks that will turn any day into a playful adventure.
Materials
- Sturdy paper plates
- Construction paper in various colors
- Markers or crayons
- Scissors
- Glue or tape
- Elastic or ribbon for securing the masks
Now, let’s dive into the creative process:
Step 1: Bunny Ears Extravaganza
Start by cutting out a pair of bunny ears from the construction paper. You can make them tall and floppy or short and perky—the choice is yours!
Use different colors to add a touch of flair to each mask. Once the ears are ready, set them aside for later.
Step 2: Crafty Face Time
Take a paper plate and flip it over, so the backside faces you. This will serve as the base for your bunny mask.
Use markers or crayons to draw a cute bunny face on the plate — big eyes, a twitchy nose, and a big, friendly smile! Feel free to get creative and give your bunnies unique expressions.
Step 3: Stick It All Together
Now comes the fun part — attach the bunny ears to the top of the paper plate. Secure them in place using glue or tape.
As you do this, imagine your bunny masks coming to life and preparing for a day of mischief and delight.
Step 4: Secure with Style
To make sure your bunny masks stay in place, attach a piece of elastic or ribbon to each side of the paper plate.
You can also use a stick or a wooden dowel instead, turning your mask into a fun handheld prop for pretend play.
Step 5: Bunny Adventures Begin!
Once your bunny masks are complete, put them on and let the bunny adventures unfold.
Hop around, play hide-and-seek, or put on a little bunny play. Invite friends or family to join in the fun and create a whole gang of hopping bunnies!
Bonus Tip: Themed Bunny Party
Organize a bunny-themed crafting party where everyone can create their unique bunny masks.
You can also plan games like a bunny parade, an Easter egg hunt, or a carrot munching contest. Such a party is sure to be filled with laughter and joy.
The enchanting world of bunny mask madness. These adorable masks will spark your imagination and whisk you away to a land of bunny tales and springtime wonders.
DIY Spring Craft for Kids #3: Cheerful Springtime Wind Chimes
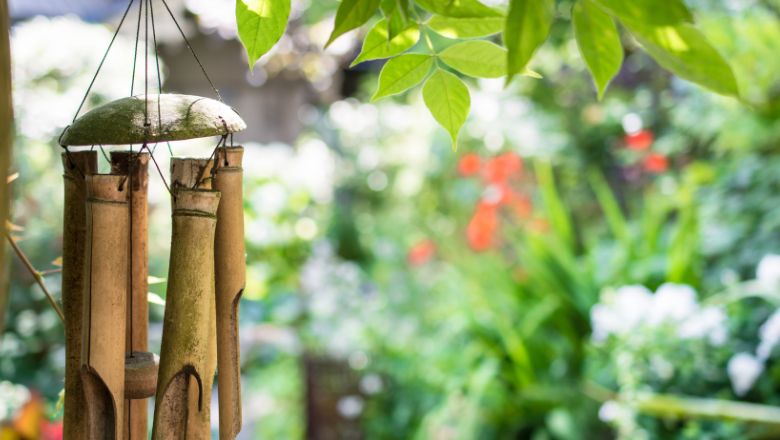
Get ready to bring the soothing sounds of spring into your world with cheerful springtime wind chimes!
These delightful wind chimes will dance with the breeze, filling your surroundings with music and merriment. Let’s gather our materials and embark on a musical crafting adventure!
Materials
- Recycled cans (cleaned and with no sharp edges)
- Colorful beads or buttons
- Colorful yarn or string
- Small bells or jingle bells
- Scissors
- Hole puncher or nail and hammer
Now, let’s create some musical magic:
Step 1: Tin Can Transformation
Begin by transforming your cleaned and dried recycled cans into charming chime bases.
Using a hole puncher or a nail and hammer, make small holes near the rim of each can. You can arrange the holes in a symmetrical pattern or go for a more playful, random look.
Step 2: Stringing the Symphony
Cut colorful yarn or string into various lengths — these will be the “strings” that hold the chimes together.
Thread one end of the yarn through a hole in the can and tie a secure knot on the inside. Leave enough yarn to hang the chime at your desired length.
Step 3: Bell and Bead Bonanza
Now, it’s time to add the musical elements! Thread colorful beads or buttons onto the yarn, right above the can, creating a cheerful tinkling effect when the wind blows.
Add small bells or jingle bells to the yarn as well, ensuring they hang freely and create delightful sounds with each movement.
Step 4: Secure and Stylish
After adding the beads and bells, tie a knot at the end of each string to keep everything in place.
Trim any excess yarn to give your wind chimes a tidy and polished appearance.
Step 5: Wind Chime Wonderland
Hang your springtime wind chimes in a spot where they can catch the breeze — patios, porches, and trees are excellent choices.
As the wind gently plays with the chimes, you’ll be serenaded by the enchanting sounds of spring.
Bonus Tip: Themed Wind Chime Set
To make your wind chimes even more special, consider creating a themed set. Use different-sized cans or vary the colors and types of beads and bells for each chime.
You can have a rainbow-themed chime, a floral-inspired one, or even one with a mix of cute animal charms.
With your cheerful springtime wind chimes gently chiming in the wind, your outdoor space will become a symphony of joy and relaxation.
DIY Spring Craft for Kids #4: Butterfly Garden Stakes
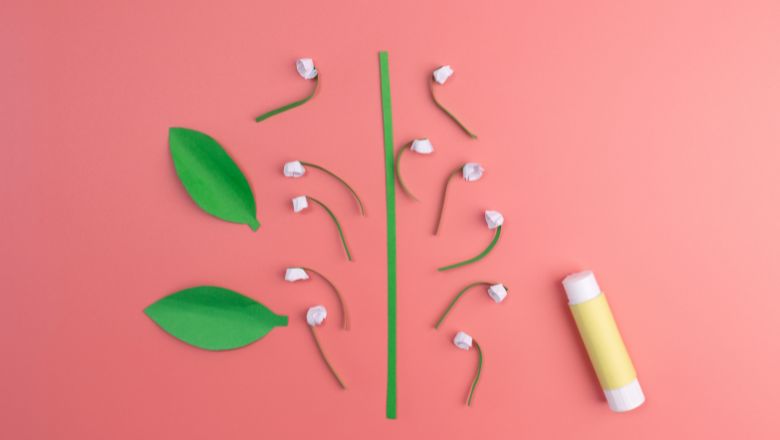
Flutter into the world of butterfly garden stakes where imagination takes flight!
These whimsical garden stakes will add a touch of magic to your outdoor space, turning it into a butterfly haven. Let’s gather our supplies and embark on a creative journey filled with colors and charm.
Materials
- Wooden sticks or dowels
- Foam sheets in assorted colors
- Pipe cleaners in various hues
- Googly eyes
- Scissors
- Glue or double-sided tape
Now, let your creativity take flight as we craft these adorable butterfly garden stakes:
Step 1: Blooming Butterflies
Start by cutting out colorful butterfly shapes from the foam sheets. You can make them big, small, or in between—just like real butterflies!
Feel free to mix and match different colors to create a vibrant butterfly collection.
Step 2: Pipe Cleaner Antennae
To give your butterflies that whimsical touch, twist pipe cleaners into cute antennae shapes.
Attach them to the back of each foam butterfly using glue or double-sided tape. Let your butterflies show off their playful personalities with different antenna styles.
Step 3: Eyes That Sparkle
Add googly eyes to the front of each foam butterfly, giving them an adorable and endearing expression.
Position the eyes on the upper part of the butterfly’s body, making it look as if they are curiously exploring their surroundings.
Step 4: Wooden Stake Wings
Take the wooden sticks or dowels and attach the foam butterflies to the top of each stake.
Glue or tape the butterfly’s body to the stick, ensuring it stays firmly in place. Now, your butterflies are ready to take flight in your garden!
Step 5: Delightful Garden Display
Plant the butterfly garden stakes among your flowers or line them up along a garden pathway.
As they sway in the breeze, these charming butterflies will add a touch of enchantment to your outdoor space, attracting smiles and wonder from anyone who sets eyes on them.
Bonus Tip: Themed Butterfly Collection
To create a captivating display, consider designing a themed butterfly collection.
Craft butterflies with different patterns, colors, and sizes, inspired by real butterfly species or your fantastical creations. You can even name each butterfly and create a butterfly identification chart for added fun.
With your butterfly garden stakes dancing gracefully in your garden, you’ll create a haven for these whimsical creatures and a space that celebrates the beauty of nature.
DIY Spring Craft for Kids #5: Springtime Flower Crown
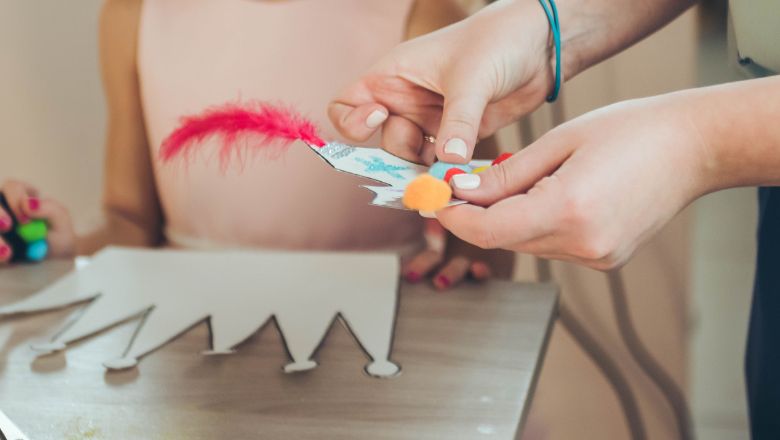
It’s time to embrace the beauty of nature with a springtime flower crown fit for royalty!
This craft will whisk you away to a world of blooming flowers and endless creativity. Let’s gather our supplies and adorn ourselves with delightful floral crowns that capture the spirit of spring.
Materials
- Faux flowers in various colors and sizes
- Floral wire or a flexible headband
- Ribbon or floral tape
- Scissors
Now, let the floral fun begin as we create these enchanting flower crowns:
Step 1: Flower Selection
Start by selecting an assortment of faux flowers. Choose a mix of blooms in different colors and sizes to add visual interest to your flower crown.
Look for flowers that evoke the essence of spring—roses, daisies, tulips, and lavender are excellent choices.
Step 2: Wiring the Blooms
Trim the stems of your faux flowers to your desired length. Next, wrap each flower’s stem with floral wire or use floral tape to secure them together.
The wired stems will make it easier to attach the flowers to the crown base.
Step 3: Building the Crown
Take your flexible headband or floral wire and shape it into a circle that fits comfortably around your head.
If you’re using floral wire, twist the ends together to create a secure loop. Now, it’s time to add the flowers!
Step 4: Blooming Beauty
Start attaching the wired flowers to the crown base by wrapping the floral wire around the headband or twisting it onto the crown.
Be playful with your flower arrangement — mix and match colors and sizes to create a whimsical and balanced look.
Step 5: Finishing Touches
Once all the flowers are in place, you can add extra touches to enhance your crown’s beauty.
Use ribbon to tie a bow at the back, adding a charming detail to your creation. You can also leave some stems longer to create a flowing and natural look.
Bonus Tip: Nature’s Treasures
If you’re feeling adventurous, consider adding natural elements to your crown, such as small twigs, leaves, or even tiny pine cones.
These additions will give your crown an earthy touch and celebrate the wonders of the great outdoors.
With your springtime flower crown adorning your head, you’ll become the queen or king of spring. Wear your crown proudly during picnics, spring celebrations, or even just while enjoying a stroll in nature.
Crafty Adventures: Spring DIY Projects We’ll Cherish Forever
As you dive into each craft project, you’re going to see your kids’ eyes light up with excitement, and their smiles grew wider with every stroke of paint or snip of paper.
It’s in these moments that you realize the true essence of parenthood: fostering imagination, bonding over crafts, and creating memories that will last a lifetime.
The colorful flower pots now proudly displaying their blooms, the adorable bunny masks that led to giggles and pretend play, and the joy of crafting together — it’s all a testament to the power of simple yet delightful activities.
So, the next time the warm spring breeze gently whispers its invitation, remember these crafting adventures. Dust off the craft supplies, clear a space for your creative escapades, and let the crafting magic bloom again.
Embrace the mess, savor the laughter, and cherish those little masterpieces made with love!
