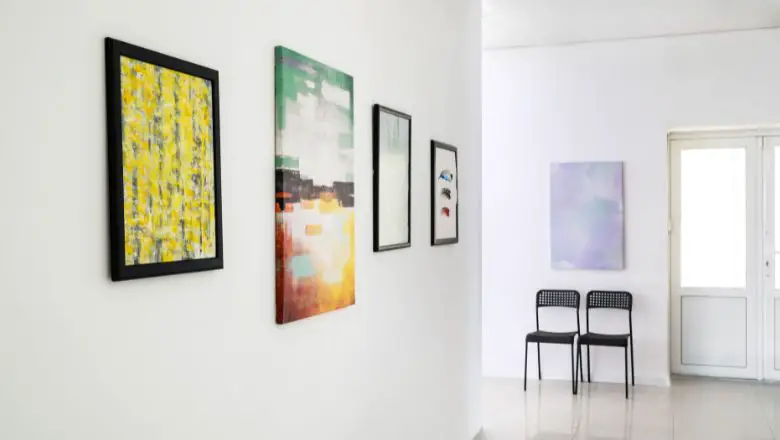
Hey there, fellow decor aficionados and art enthusiasts! If you’re anything like me, your home isn’t just a place; it’s a canvas where creativity and personal expression come to life.
In this blog, I’ll take you on a colorful journey through five of the easiest and most delightful wall art ideas that have transformed my living space from ordinary to extraordinary.
Ready to embark on this artistic adventure with me? Let’s dive in!
5 Easy Wall Art Ideas for Your Home

Imagine walking into a room where the walls speak volumes about your personality, tastes, and passions.
Welcome to an article that promises to turn this fantasy into reality – 5 Easy Wall Art Ideas for Your Home.
Get ready to dive deep into a world of colors, textures, and designs that will not only amplify your living space but also mirror who you are!
Fabric Wall Hanging
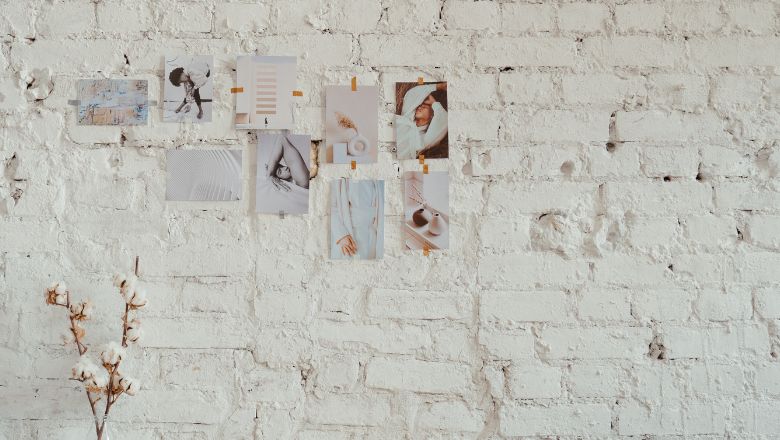
Ever thought about adorning your walls with a splash of textiles? It’s a fantastic way to add warmth, color, and texture to your space, and it’s my go-to when I’m aiming for a cozy and inviting atmosphere.
Materials and Tools You’ll Need
- A wooden dowel or a sturdy tree branch (nature-inspired, right?)
- A piece of your favorite fabric, large enough for your design
- A pair of scissors
- Twine or yarn
- A hot glue gun (I love this tool!)
Let’s Get Crafty
- Start by cutting your chosen fabric into the desired shape and size. You can go for a classic rectangle, or get funky with triangles, circles, or even abstract shapes – it’s your canvas!
- Fold the top edge of your fabric over the dowel or branch and secure it with some hot glue or by stitching it in place. That’s your top hanger.
- To add some extra flair, cut fringe or tassels into the bottom edge of your fabric. Don’t worry; there’s no right or wrong here. The more imperfect, the more unique!
- Now, tie a length of twine or yarn to each end of your dowel or branch, creating a hanging loop. This will help you display your masterpiece with pride.
- Find the perfect spot on your wall, hammer a nail, or use a command hook, and hang your fabric art. Voilà! You’ve just added a touch of boho-chic to your space, and it was as easy as pie!
Don’t be afraid to play with colors, patterns, and textures when choosing your fabric. Mix and match to suit your style. And if you’re feeling extra creative, you can paint on the fabric or even add some fabric dye for an even more personalized touch. Enjoy the process, and let your imagination run wild!
Geometric Canvas Art
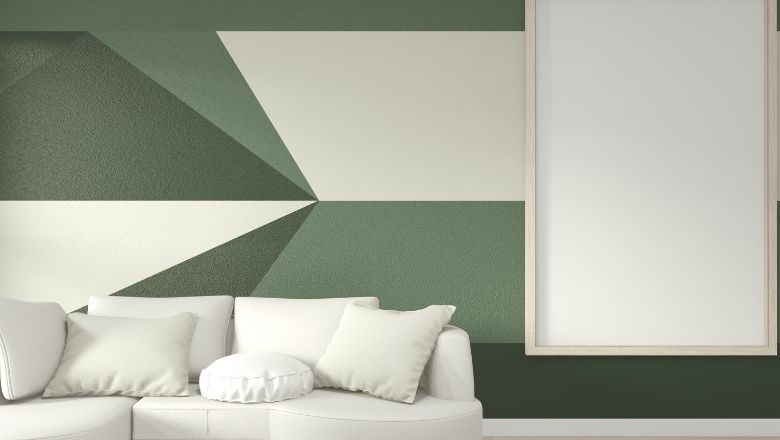
Who doesn’t love a bit of modern flair on their walls? Geometric canvas art is the way to go when you’re aiming for a sleek and contemporary vibe, and it’s a blast to create!
Materials and Tools You’ll Need
- A blank canvas (pick your preferred size)
- Acrylic paint in your favorite colors (let your imagination soar!)
- Painter’s tape
- Paintbrushes in various sizes (let’s get artsy!)
- A palette or a paper plate for mixing colors
Let’s Get Crafty
- Start by laying out your canvas on a protected surface, ready to be transformed into a geometric wonderland.
- Use the painter’s tape to create the geometric shapes you desire. It can be triangles, squares, hexagons, or any other shape that tickles your fancy. Make sure the tape is firmly pressed down to prevent any sneaky paint leaks.
- Now, it’s time to bring out those paintbrushes! Choose your colors and paint each section created by the tape with your selected hues. Feel free to experiment with different color combinations and patterns. This is your chance to let your inner artist shine!
- Once you’ve achieved your desired look, let the paint dry completely. Don’t rush it; good things come to those who wait.
- Carefully peel off the painter’s tape to reveal the crisp lines of your geometric masterpiece. Admire your work, revel in the satisfaction of creating something unique, and proudly display your modern art in the perfect spot on your wall.
If you want to add some extra dimension, consider using metallic or glitter paints to make certain elements pop. And remember, there’s no right or wrong way to express yourself through geometric shapes and colors. Have fun and let your creativity flow!
Botanical Print Gallery
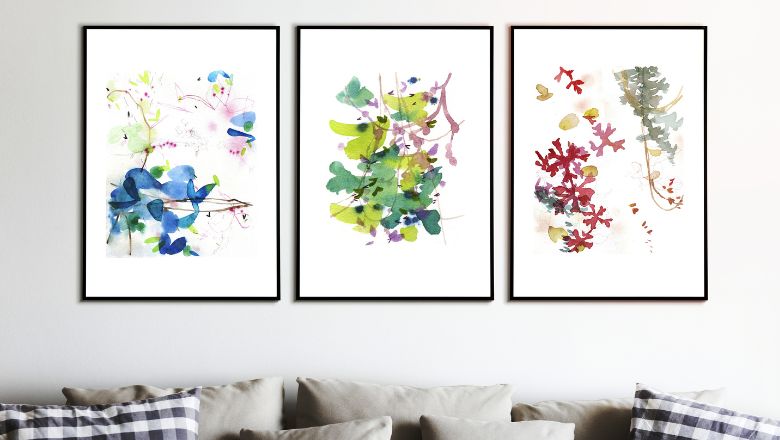
Bringing a touch of nature indoors can instantly breathe life into your living space. Creating a botanical print gallery is a delightful way to add a refreshing and serene ambiance to your walls, and it’s one of my favorite ways to incorporate the beauty of the great outdoors into my home.
Materials and Tools You’ll Need
- A collection of botanical prints (you can find these in books, online, or create your own!)
- Picture frames in various sizes and styles (mix it up for visual interest)
- Scissors or a paper cutter
- Command strips or nails for hanging
- Optional: real plants or dried flowers for an added organic touch
Let’s Get Crafty
- Begin by gathering your botanical prints. You can choose a theme, such as tropical leaves, delicate flowers, or even herbs and spices. The world is your garden!
- Select an assortment of frames that complement the prints and your existing décor. Remember, mixing and matching frames can create an eclectic and charming gallery wall.
- Carefully trim the prints to fit each frame perfectly, ensuring they’re centered and aligned for that polished look.
- Arrange the framed prints on the floor or a large table to find the perfect layout before hanging them on your wall. Play around with different combinations until you discover the arrangement that speaks to you.
- Use command strips or nails to secure each frame in its designated spot, creating a stunning botanical oasis that will surely bring a breath of fresh air to your room.
To take it up a notch, consider incorporating real plants or dried flowers on shelves or tables near your botanical print gallery. This will create a seamless connection between your wall art and the natural elements within your space, providing a calming and harmonious atmosphere. Enjoy your indoor garden!
Washi Tape Wall Decor
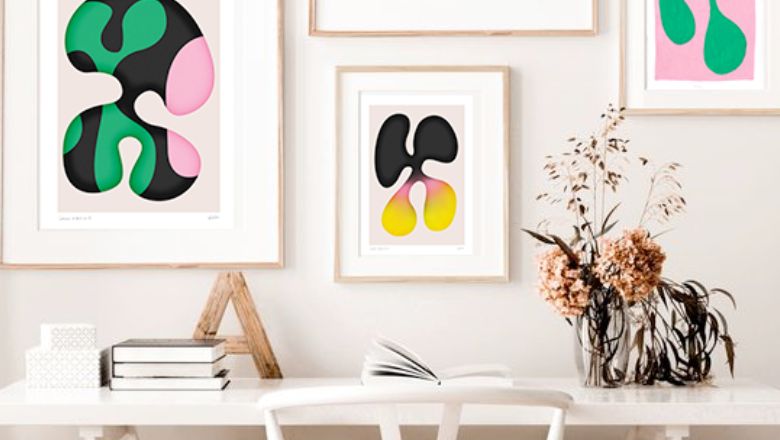
Looking for a temporary yet charming way to add some color and pattern to your walls? Washi tape is your new best friend! It’s an incredibly versatile and fun tool that allows you to get creative without the commitment of permanent wall changes.
Materials and Tools You’ll Need
- Assorted washi tape rolls in various colors and patterns (let your imagination run wild!)
- Scissors (for cutting the tape, of course)
- Level or ruler (to ensure your designs are straight if that’s your thing)
- Your fantastic imagination!
Let’s Get Crafty
- Start by brainstorming the design you want to create. It could be as simple as geometric patterns, a whimsical mural, or even abstract shapes. Let your imagination be your guide!
- Using your chosen washi tape, carefully apply it to the wall, following your predetermined design. The beauty of washi tape is that you can easily reposition it if you change your mind, so don’t be afraid to experiment.
- Mix and match different colors and patterns to add depth and visual interest to your creation. Don’t shy away from bold combinations; this is your chance to make a statement!
- Stand back and admire your handiwork. Revel in the fact that you just created a stunning wall design without any fear of commitment. Change it up whenever you please!
- Feel free to add some other elements like photographs, postcards, or even string lights to your washi tape masterpiece to make it truly your own.
Washi tape is a fantastic tool for creating an accent wall, sprucing up a dull corner, or adding a unique touch to furniture. Get playful with different textures and shapes, and don’t hesitate to experiment with different ways to use this colorful tape. Have fun and let your creativity run free!
Upcycled Wall Art
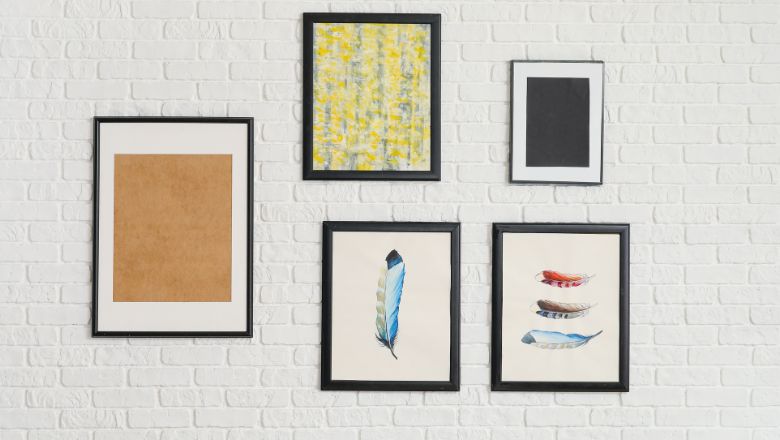
If you’re a fan of sustainable living and have a soft spot for creative DIY projects, upcycled wall art is the way to go! It’s an eco-friendly and budget-friendly way to add a personal touch to your space while reducing waste and giving new life to old items.
Materials and Tools You’ll Need
- Recyclable materials such as old newspapers, magazines, or cardboard
- Unused or outdated household items that can be repurposed (think bottle caps, old keys, or even broken jewelry)
- Glue, scissors, and other basic crafting supplies
- A dash of imagination and a sprinkle of resourcefulness
Let’s Get Crafty
- Start by scavenging your home for items that could be transformed into unique wall art. This could be anything from old newspapers to unused buttons or fabric scraps.
- Once you’ve gathered your materials, brainstorm the kind of art you’d like to create. You can make a collage, a mosaic, or even a sculpture – the possibilities are endless!
- Cut, glue, and arrange your materials to form your desired design. Let your intuition guide you as you piece together your upcycled masterpiece.
- Consider incorporating sentimental items or personal mementos into your creation for an extra touch of nostalgia and uniqueness.
- Once your artwork is complete, find the perfect spot on your wall to display your eco-friendly creation proudly. Feel that sense of accomplishment knowing that you’ve not only added character to your space but also contributed to a more sustainable lifestyle.
Upcycled wall art isn’t just about reducing waste; it’s about infusing your living space with a story. Every repurposed item carries its history, and by incorporating these items into your wall art, you’re adding a personal touch that can’t be replicated. So, let your creativity flow and turn those forgotten items into cherished pieces of art!
Ready to Embark on an Artistic Journey?
As I bid adieu, my walls stand as a testament to the transformative power of simple yet engaging wall art ideas.
Each brushstroke, photograph, and botanical accent has infused my home with a personalized touch that reflects my journey, passions, and creative spirit.
With these five easy and captivating techniques, I’ve not only adorned my walls but also curated a space that breathes life and exudes the warmth of personal expression.
