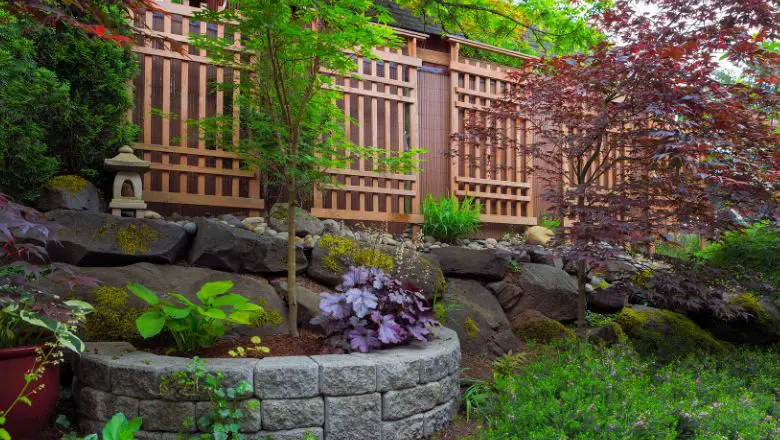
Have you ever looked at your garden and thought, “Hmm, it could use a little something extra”?
Well, guess what? I’ve got something exciting in store for you.
Today, I’m diving into a world where creativity meets nature – we’re talking about 5 DIY Stone Planter Garden Ideas that will rock your gardening game!
So are you ready to discover how to transform ordinary stones into extraordinary garden treasures?
Buckle up, because we’re about to embark on a DIY journey that will have you planning, planting, and proudly showing off your stone planter creations in no time.
5 DIY Stone Planter Garden Ideas
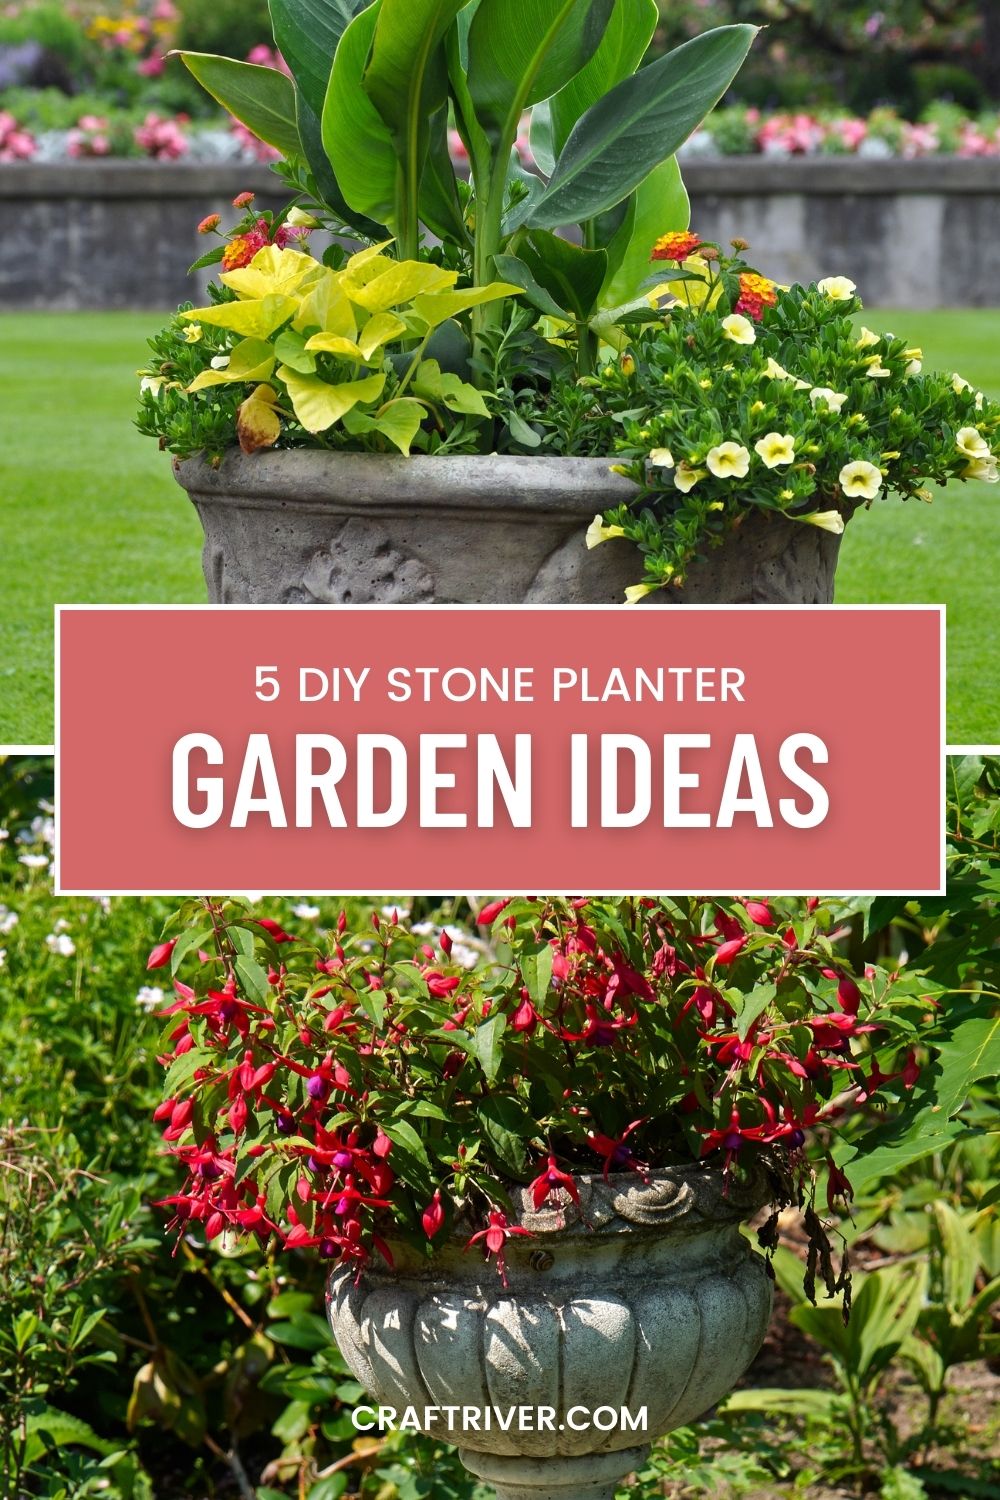
Picture this: Your outdoor space, adorned with charming stone planters that not only showcase your favorite plants but also add a touch of rustic elegance.
And the best part? You get to create these beauties with your own two hands.
That’s right, you don’t need to be a crafting expert or have a fancy toolkit. If I can do it, you definitely can too!
But hold on – there’s more to this than just the result. I’m going to take you through each idea step by step, like your gardening sidekick. We’ll gather materials, get our hands a little dirty (in a fun way, I promise!), and turn those plain old stones into eye-catching plant sanctuaries.
It’s a journey of creativity, a dash of patience, and a sprinkle of dirt – the perfect recipe for a memorable gardening adventure.
River Rock Elegance: Crafting Rustic Stone Planters
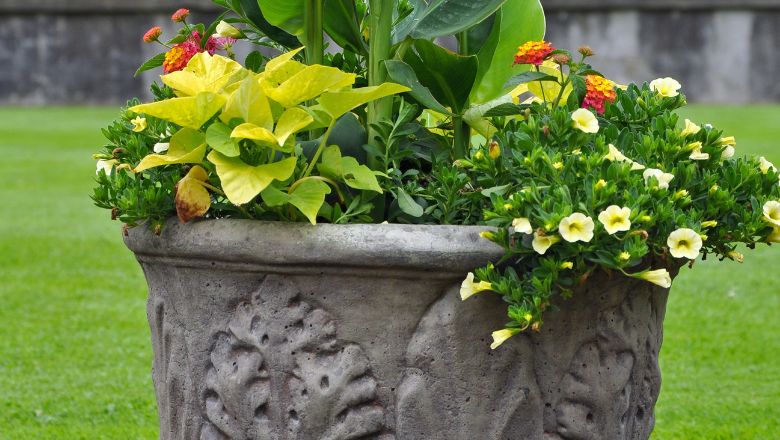
Ready to turn your garden into a masterpiece of natural elegance?
If you’ve got a love for the outdoors and a touch of creativity, I’ve got an exciting DIY project for you. Imagine crafting rustic stone planters that not only bring a touch of nature’s beauty but also exude your flair.
You don’t need to be a crafting expert; all it takes is a little guidance, a handful of river rocks, and your artistic spirit. Let’s roll up our sleeves and dive into the world of “River Rock Elegance: Crafting Rustic Stone Planters.”
Step 1: Gathering Your Stones
First things first, head out on a scavenger hunt for river rocks. You can find these beauties near streams, rivers, or even at craft stores.
The irregular shapes and earthy colors are what we’re after – they’ll give your planters that rustic charm you’re aiming for.
Step 2: Selecting Your Adhesive
Now, let’s talk about the magic that holds it all together – adhesive. Look for a waterproof adhesive that can withstand the elements.
You want those rocks to stay put no matter what nature throws their way.
Step 3: Planning Your Design
Get your creative juices flowing! Imagine the arrangement of your river rocks – do you want a mosaic-like pattern or a more structured design? The beauty of this step is that it’s all up to you. You’re the artist here!
Step 4: Assembling Your Planter
Time to get your hands dirty (literally). Apply the adhesive to the rocks and start placing them according to your design.
The process might feel a bit like putting together a puzzle, but it’s a puzzle with no wrong answers. Each rock finds its perfect spot.
Step 5: The Finishing Touches
As your planter takes shape, let it sit and dry for a while.
This is your time to admire your work, perhaps enjoy a sip of lemonade, and envision how fantastic your garden will look with this new addition.
Step 6: Planting Your Treasures
Once your rustic stone planter is dry and secure, it’s time to introduce your plant buddy.
Choose a plant that complements the natural beauty of the stones – perhaps a hardy succulent or a delicate flowering plant. Nestle it gently into the planter, and voila! You’ve just created a piece of art that’s also a home for your green companion.
Imagine the satisfaction of seeing your handiwork brighten up your garden. Every time you water your plant, you’ll know that you’ve created something truly special.
Stacked Stone Marvels: Building Vertical Stone Planter Towers
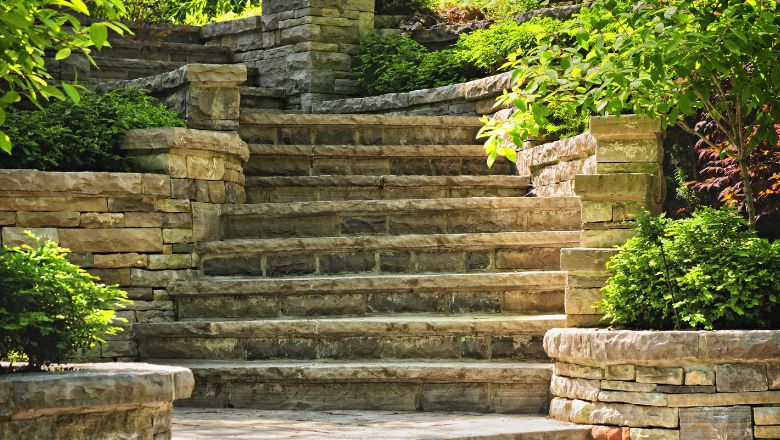
Ready to take your garden to new heights? If you’ve been dreaming of a unique and space-saving way to display your beloved plants, you’re in for a treat.
Say hello to “Stacked Stone Marvels,” where we’ll show you how to create stunning vertical stone planter towers that’ll make your garden the talk of the town.
Step 1: Choosing Your Stacked Stones
Imagine the possibilities as you gather your stacked stones. These could be flat and sturdy stones you find in your garden or acquire from a local supplier.
The key is to choose stones that can be securely stacked on top of each other.
Step 2: Preparing Your Work Area
Get ready for some creative construction! Lay out your stones, your adhesive, and any tools you’ll need. It’s like preparing your canvas before you start painting.
Step 3: Designing Your Tower
This is where your imagination takes the lead. Plan how many tiers you want, how high you want your tower to be, and where each stone will go.
Visualize the result and get excited about the unique structure you’re about to create.
Step 4: Stacking Like a Pro
It’s time to put your architectural skills to the test. Apply adhesive between each layer of stacked stone and gently press them together.
The adhesive will ensure your tower stands tall and sturdy.
Step 5: Adding Your Plants
Now comes the rewarding part – introducing your plants to their new vertical home. Choose plants that thrive in vertical planters, like cascading vines or compact succulents.
Gently place them into the spaces between the stones, letting nature’s beauty complement your creative craftsmanship.
Step 6: Admiring Your Vertical Oasis
As you step back and admire your handiwork, you’ll be amazed at how your garden has transformed.
Your vertical stone planter tower is not just a practical solution for space-challenged areas; it’s also a testament to your innovation and dedication to your garden.
Imagine the delight of seeing your plants thrive in their new vertical habitat. Your garden has just gained a stunning focal point that’s sure to spark conversations and admiration.
Pebble Mosaic Magic: Designing Artistic Stone Planters
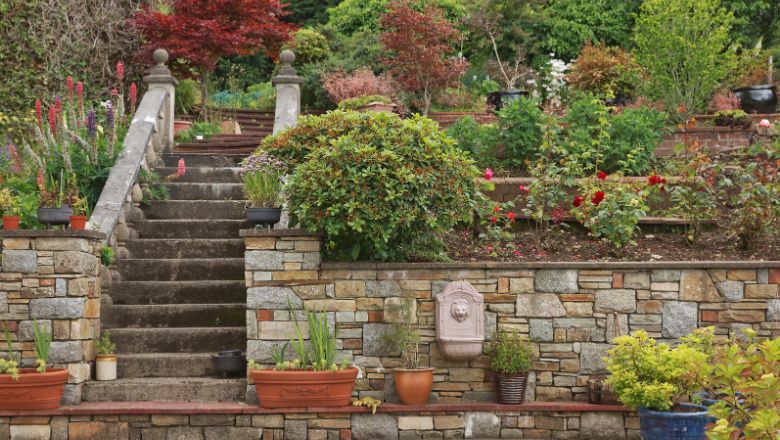
Ready to embark on a creative journey that’ll transform your garden into a gallery of natural art?
If you’re a fan of intricate patterns and artistic expression, then “Pebble Mosaic Magic” is your ticket to crafting truly one-of-a-kind stone planters.
Step 1: Gathering Your Pebbles
Imagine strolling along the beach, picking up pebbles that catch your eye. These little gems will become the building blocks of your mosaic masterpiece.
Choose pebbles in different colors, sizes, and shapes for a dynamic effect.
Step 2: Planning Your Design
Before you dive into the artistic process, take a moment to plan your mosaic design. Will it be a swirling pattern, a geometric motif, or a depiction of nature?
Sketch out your ideas and envision how the pebbles will come together to form a cohesive image.
Step 3: Preparing Your Planter
Whether you’re using a large planter or a smaller pot, make sure it’s clean and ready for your creative touch. Think of it as your canvas, eagerly awaiting its transformation.
Step 4: Applying the Pebbles
Now comes the fun part – placing the pebbles! Dip each pebble in adhesive and press it gently onto the planter’s surface according to your design.
Feel the satisfaction as your mosaic takes shape, piece by colorful piece.
Step 5: Admiring Your Artwork
As your pebble mosaic design comes to life, take a step back and marvel at your handiwork.
Each pebble is like a brushstroke on a canvas, contributing to the overall beauty of your planter.
Step 6: Planting Your Creation
With your pebble mosaic in place, it’s time to introduce your plant to its artsy new home. Choose a plant that complements the colors and mood of your mosaic.
The combination of the vibrant pebbles and the living plant is a sight to behold.
Imagine the satisfaction of creating a stone planter that’s not only a functional container for plants but also a work of art that reflects your personality. Your garden becomes a visual showcase of your creativity and appreciation for nature’s wonders.
Whimsical Stone Critters: Crafting Adorable Animal Planters
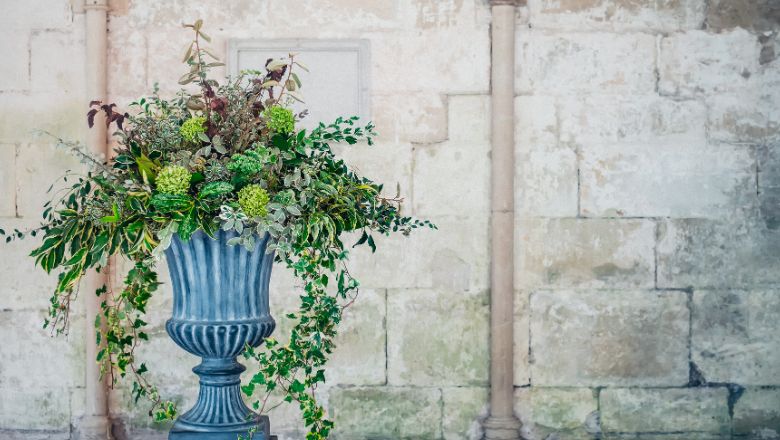
Are you ready to add a touch of whimsy and personality to your garden?
If you’ve ever looked at a stone and seen the potential for a charming creature, then “Whimsical Stone Critters” is the DIY adventure you’ve been waiting for.
Step 1: Finding Your Stones
Imagine going on a treasure hunt for the perfect stones to bring your critters to life.
Look for stones with interesting shapes and textures – these will become the bodies of your whimsical creatures.
Step 2: Unleash Your Inner Artist
Now comes the fun part – imagining the animals your stones could become.
Think of ladybugs, turtles, owls, or even little frogs! It’s your chance to channel your inner artist and see the world through a creative lens.
Step 3: Giving Your Critter Features
It’s time to add the finer details that’ll turn your stone into a critter. Grab some paints and brushes and start giving your stone eyes, a nose, and perhaps even a smile.
Feel free to let your imagination run wild!
Step 4: Creating a Home for Your Critter
As your stone critter takes shape, think about where it’ll call home. Consider using a small pot or container as the body of your critter, allowing it to double as a planter.
Your critter’s new house should reflect its personality and style.
Step 5: Planting and Personalizing
Now it’s time to introduce your critter to its new home. Choose a plant that complements the critter’s character – maybe a spiky succulent for a prickly critter or a flowing vine for a whimsical one.
Add some rocks, pebbles, or even tiny accessories to personalize the critter’s environment.
Step 6: Admiring Your Garden Friends
As you step back and take in the sight of your whimsical stone critters, you’ll be amazed at how a simple stone has transformed into a charming garden friend.
These critters are not just planters; they’re little works of art that add character and joy to your outdoor space.
Imagine the delight of seeing your stone critters nestled among your plants, adding a touch of magic to your garden. Every time you glance at them, you’ll be reminded of the power of creativity and the joy of turning everyday objects into something extraordinary.
Stepping Stone Splendor: Combining Function and Flair
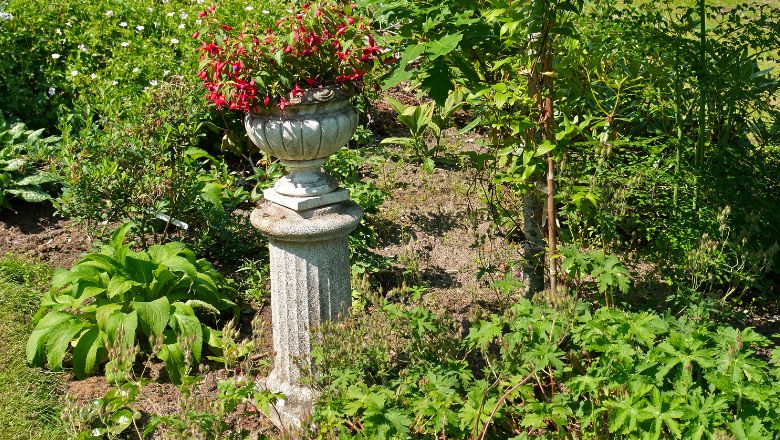
Imagine strolling through your garden, not just on a simple path, but on a path of beauty and practicality.
If you’ve been longing for a way to add charm and functionality to your outdoor space, “Stepping Stone Splendor” is your answer.
Step 1: Picking Your Stones
Imagine choosing the stones that will become both your stepping stones and planters.
These could be large, flat stones that provide a stable surface for walking and a cozy space for plants to flourish.
Step 2: Planning Your Pathway
Before you start placing the stepping stones, think about the path you want to create.
Will it wind through your garden or lead to a special spot? Sketch out your pathway and decide where each stepping stone will be placed.
Step 3: Preparing Your Stones
It’s time to get your stepping stones ready. Clean them off and make sure they’re level, so they’ll serve as sturdy foundations for both walkers and plants.
Step 4: Planting Your Green Footsteps
Imagine the thrill of adding life to your stepping stones. Choose plants that can thrive in small spaces, like creeping thyme or low-growing sedums.
Plant them in the soil-filled pockets of your stepping stones, creating a harmonious blend of green and stone.
Step 5: Walking on Your Garden Canvas
As you step on your newly created stepping stone pathway, you’ll feel the magic beneath your feet.
It’s like walking on a canvas of living art, where every step you take is a step closer to nature.
Step 6: Watching Your Pathway Flourish
Imagine the joy of seeing your stepping-stone planters come to life.
Over time, the plants will grow and fill in the spaces, creating a vibrant and welcoming pathway that’s as functional as it is beautiful.
Imagine the delight of walking through your garden, guided by the stepping stones you’ve crafted with your own hands. Each step is a reminder of your creativity and your ability to transform ordinary materials into extraordinary features.
Embrace the Outdoors: A Garden Transformed by Your DIY Stone Planters
Just think about the conversations these stone planters will spark – your friends and neighbors won’t believe their eyes when they see what you’ve crafted.
Every glance at those lush, thriving plants will remind you of the fun, the creativity, and the joy you poured into making these unique pieces.
So keep nurturing those plants and nurturing your creativity. Keep finding joy in transforming simple stones into expressions of your personality and style.
Keep sharing your journey with others – who knows, you might just inspire someone else to embark on their garden adventure!
