Ready to dive into the world of DIY gifts that’ll have your family and friends jumping with joy? Well, guess what?
I’ve got a sleigh-load of fantastic ideas to make this Christmas extra special.
If you’re curious about how to make this holiday season unforgettable for your nearest and dearest, keep reading.
I’ll be your trusty elf, guiding you through 5 easy DIY Christmas gift ideas for family and friends.
Get ready to unwrap the joy of creativity and let’s make this festive season truly shine!
From the Heart: 5 Effortless DIY Christmas Gifts for Family and Friends

Imagine the excitement on your loved ones’ faces as they unwrap a gift that’s not only thoughtful but also handmade by you.
That’s the kind of magic we’re aiming for, and I’m here to guide you through it all. From dazzling ornaments that twinkle with memories to cozy, personalized goodies that warm the heart – we’ve got it all covered.
So, let’s roll up our sleeves, grab some glitter (and maybe hot cocoa, too), and get ready to spread some serious holiday cheer.
Whether you’re a crafting novice or an artistic pro, these ideas are designed to make your DIY journey a piece of gingerbread cake.
Plus, with just a dash of your personality, these gifts will turn out to be truly one-of-a-kind.
Twinkling Memories: DIY Photo Ornaments for Heartfelt Gifting

Ready to turn your treasured memories into sparkling holiday keepsakes?
These DIY photo ornaments are about to add an extra dose of magic to your gift-giving game. Picture this: delicate ornaments adorned with snapshots of moments that matter the most.
It’s like capturing time in a snow globe – pure enchantment!
Materials You’ll Need
- Clear ornaments (choose your preferred shape and size)
- Printed photos that tug at heartstrings
- Glitter, sequins, tiny trinkets for that extra dazzle
Let’s Get Crafting
- Choose Your Moments: You’re the curator of your memories! Select those photos that make you smile and reminisce – a family trip, a hilarious candid shot, or that cozy holiday morning.
- Print and Trim: Get those photos printed and sized to fit snugly into the clear ornaments. A little trimming might be needed, but it’s all in the name of crafting magic.
- Assemble with Love: Carefully slide the photos into the ornaments, ensuring they’re visible from every angle. Your special moments are now encased in a winter wonder.
- Sprinkle Stardust: Here comes the fun part! Add a pinch of glitter, a sprinkle of sequins, or even a tiny trinket that resonates with the photo inside. This is your chance to make each ornament truly unique.
- Seal the Joy: Secure the ornament cap, making sure your enchanting creation is safe and sound. You’ve officially bottled up a memory, ready to twinkle through the holidays.
Why It’s Magical
These ornaments aren’t just decorations; they’re mini time capsules that capture the essence of your special moments.
Imagine your family’s delight as they unwrap these personalized treasures – it’s like reliving those moments all over again.
Every twinkle of the ornament will remind them of the love and laughter you’ve shared.
So, let’s transform those memories into shimmering gems that adorn Christmas trees with love. Whether it’s a gift for a friend or a family member, your DIY photo ornaments are destined to be cherished keepsakes, spreading joy for years to come.
Warm Hugs in a Mug: Crafting Customized Hot Cocoa Kits
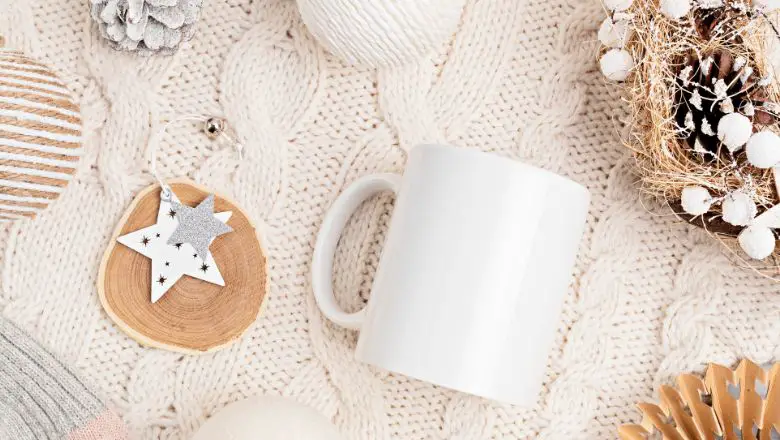
Let’s dive into the coziest corner of crafting – creating customized hot cocoa kits that deliver warm hugs in a mug!
Think about it: a jar filled with everything needed to whip up a cup of velvety cocoa magic.
It’s not just a drink; it’s a heartwarming experience wrapped in ribbons and topped with marshmallows.
What You’ll Need
- Mason jars (or any clear containers that showcase your cocoa layers)
- Rich hot cocoa mix (because who doesn’t love indulgence?)
- Marshmallows (because a cup of cocoa without them is like a snowman without a carrot nose)
- Toppings that tickle your taste buds (sprinkles, crushed candy canes – get creative!)
- Festive ribbons for that final flourish
Here’s the Plan
- Layer the Love: Start with your cocoa mix as the base layer. Then, sprinkle in marshmallows like little fluffy snowballs. Alternate between layers of cocoa mix and marshmallows until your jar is filled to the brim.
- Topping It Off: Here’s where the fun begins. Add a layer of your chosen toppings – colorful sprinkles, crushed candy canes, or even a dusting of cocoa powder. It’s like decorating a mini cocoa masterpiece!
- Seal with a Bow: Screw the lid on tightly and tie a festive ribbon around the neck of the jar. This is your cocoa kit’s outfit – make it as merry and bright as you want!
- Spread the Warmth: Attach a cute little tag with instructions for making the perfect cup of cocoa. And voilà, your warm hugs in a mug are ready to be gifted!
Why It’s Heartwarming
These customized cocoa kits aren’t just gifts; they’re moments of cozy indulgence waiting to be unwrapped.
With every spoonful, your loved ones will be reminded of your thoughtfulness and the warmth of your friendship.
And let’s not forget the joy of watching those marshmallows bobbing in a steaming cup – it’s a small, sweet pleasure that warms the soul.
So there you have it, a DIY gift that wraps up comfort, joy, and a touch of indulgence in one delightful package. Get ready to share warmth, one cup at a time, and see the smiles light up faces all around.
Scent-sational Surprises: Handmade Candles that Spread Cheer
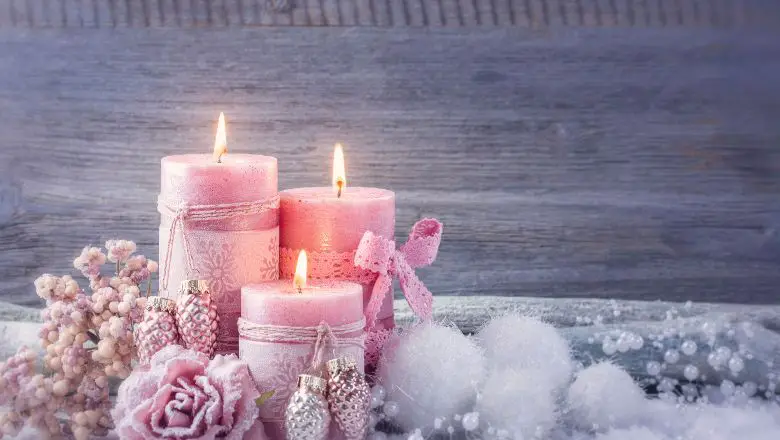
Time to add a dash of ambiance and a whole lot of aroma to your gift-giving game! We’re diving into the world of handmade candles – those scented wonders that have the power to fill a room with warmth and delight.
Get ready to create not just candles, but miniature works of scented art that’ll light up hearts.
Here’s What You Need
- Candle wax (because we’re turning craft into candle magic)
- Wicks (the heart and soul of your candles)
- Fragrance oils (to transform a regular candle into an aromatic symphony)
- Containers (any jar or vessel that suits your style)
Let’s Illuminate the Process
- Melt and Mix: Start by melting your candle wax according to the instructions on the packaging. Once melted, add your chosen fragrance oil and give it a good stir. Get ready for your space to smell like a fragrant wonderland!
- Set the Stage: Attach your wick to the bottom of your chosen container using a dab of melted wax. Make sure it’s centered and straight – this wick is going to light up lives!
- Pour in the Magic: Carefully pour your scented wax into the container. And just like that, you’ve created the very core of your candle. Let it cool and solidify while you bask in anticipation of the aroma it’s about to spread.
- Decorate with Delight: Once your candle is set, you can get creative with its appearance. Tie a ribbon around the container, add a personalized label, or simply leave it au naturel – it’s all about what brings you joy.
Why It’s Aromatic Bliss
Handmade candles are like instant mood lifters. They bring warmth, comfort, and a dash of luxury to any space.
With your unique scent choices, you’re gifting not just a candle, but an experience.
Imagine your friend lighting your handmade candle and being transported to a cozy cabin or a fragrant garden – that’s the magic you’ve woven.
So let’s illuminate the holiday season with your creativity. Handmade candles aren’t just gifts; they’re tokens of tranquility and indulgence that light up hearts and homes. Get ready to set the mood and spread cheer as we embark on the next crafting adventure.
Cuddlesome Creations: DIY Cozy Blankets for Snuggle-Worthy Gifts
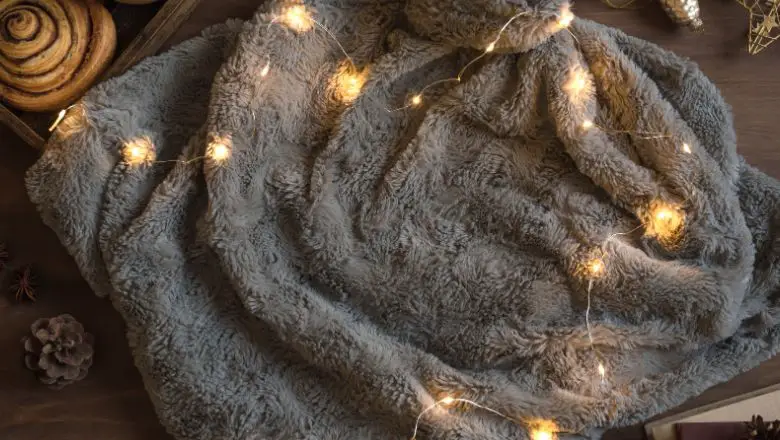
Ah, the allure of a warm and snuggly blanket – it’s like a hug you can wrap yourself in! Brace yourself for a crafting adventure that’s all about creating comfort and coziness.
We’re talking about DIY blankets that are not just soft and warm but also carry your personal touch.
Gather Your Supplies
- Fleece fabric (choose colors and patterns that speak to your crafting soul)
- Scissors (your trusty companion for snipping fabric with precision)
- Ruler (for straight edges and well-measured cuddles)
- Pins (to keep things in place during your crafting journey)
Let’s Get Cozy
- Pick Your Palette: Dive into a sea of fleece fabrics and choose the hues that resonate with you. This is your chance to personalize your blankets with colors that bring comfort.
- Measure and Trim: Lay out your fleece and use a ruler to measure the dimensions you want. Then, snip away the excess fabric to create a neat and even rectangle.
- Tie the Knots: This is where the magic happens! Along each edge of your fleece, make evenly spaced snips about 1 to 2 inches apart. Then, tie the top and bottom layers together in a snug knot. You’re essentially creating a cozy fringe all around the blanket.
- Embrace the Fluff: Give your blanket a little shake to fluff up the knots and make them extra snuggly. This is where your creation truly comes to life, ready to wrap someone in warmth.
Why It’s Cuddlesome
A DIY fleece blanket is more than just a piece of fabric – it’s a warm embrace, a comfort zone, and a visual representation of care.
Whether you’re crafting it for a family member or a friend, it’s a gift that offers warmth both physically and emotionally.
Imagine the joy of your loved ones as they bundle up in your handmade creation, feeling the love and effort you’ve woven into every knot.
It’s a gift that speaks of your warmth and affection, and that’s the kind of magic that keeps on giving.
So let’s dive into the world of cozy crafting, where snuggles meet scissors and creativity knows no bounds. Get ready to gift the coziness of your heart and watch as your DIY blankets become cherished companions during chilly winter nights.
Festive Flavors: Homemade Infused Oils for Culinary Delights
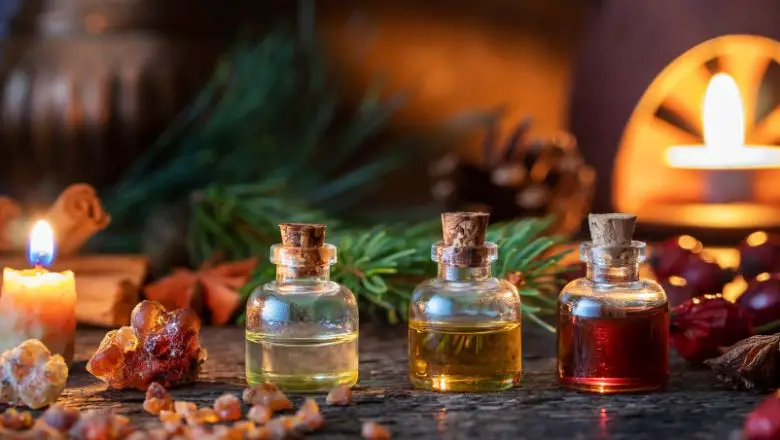
Time to take your gifting game to the kitchen and infuse a dash of flavor magic into your presents!
We’re talking about homemade infused oils that can turn even the simplest dish into a gourmet masterpiece.
Get ready to gift a culinary adventure that’s as delicious as it is thoughtful.
Gather Your Ingredients
- Glass bottles (because presentation matters as much as the contents)
- Fresh herbs (think rosemary, thyme, basil – anything that tantalizes taste buds)
- Spices (cinnamon sticks, chili flakes, or black peppercorns – the choice is yours)
- High-quality olive oil (the canvas for your flavor masterpiece)
Let’s Add Flavorful Fun
- Select Your Flavors: This is where the magic begins. Choose your favorite herbs and spices, and let your taste preferences guide you. This is your chance to create unique flavor combinations that’ll make every meal a celebration.
- Prepare the Ingredients: Wash and dry your chosen herbs thoroughly. If you’re using spices, consider giving them a quick toast in a pan for an extra layer of depth.
- Combine and Infuse: Carefully place your herbs and spices into your glass bottles. Then, pour the olive oil over them, making sure they’re fully submerged. Seal the bottles and give them a little shake to kickstart the infusion.
- Patience is a Flavor: Now comes the hard part – waiting. Leave your bottles in a cool, dark place for about a week or two. The longer you wait, the more intense the flavors will become.
Why It’s a Flavor Fiesta
Homemade infused oils aren’t just condiments; they’re the secret ingredients that elevate dishes from ordinary to extraordinary.
Imagine your friend’s excitement as they drizzle your basil-infused oil over a Caprese salad or use your rosemary-infused oil to transform roasted potatoes.
You’re not just gifting oils; you’re gifting a culinary adventure, a chance for your loved ones to explore new flavors and create unforgettable meals.
It’s a present that tantalizes taste buds and adds a sprinkle of your creativity to every dish.
Get ready to gift the joy of experimenting with flavors and turning every meal into a flavorful journey. As we wrap up our crafting expedition, remember that your DIY creations are about to light up hearts and homes in the most delicious way possible!
Ready, Set, Gift! It’s Time to Shine with Your Homemade Treasures
You’ve journeyed through the world of creativity, turning everyday items into heartwarming tokens of affection.
From the twinkle of personalized ornaments to the comforting embrace of DIY blankets, you’ve embarked on a magical adventure of crafting joy.
Remember, it’s not just about the finished gifts; it’s about the love, thought, and effort you’ve poured into every stitch, every detail, and every sprinkle of glitter.
You’ve not only created presents but woven memories that will forever be cherished. The joy that comes from seeing your loved ones’ faces light up as they unwrap your handmade treasures is simply priceless.
So as you put the final bows on your creations and wrap up your crafting journey, take a moment to pat yourself on the back.
You’ve embraced the spirit of the season, celebrated the joy of giving, and brought your unique touch to this festive time.
Your DIY gifts aren’t just objects; they’re extensions of your heart, and they’re about to make this holiday season unforgettable.
