Welcome to the world of small bathrooms, where space is always at a premium! As someone who has lived in a tiny apartment with a minuscule bathroom, I know how frustrating it can be to find enough storage space for all your toiletries and other bathroom essentials.
But fear not, my fellow small-bathroom-dwellers, for I have some DIY storage ideas that will help you make the most of your limited space! In this article, I’ll share with you five easy and creative DIY bathroom storage solutions that will not only save you space but also add some style to your bathroom.
So, if you’re tired of cluttered countertops and overflowing cabinets, keep reading to discover how to transform your small bathroom into a well-organized, functional, and stylish space!
5 Genius DIY Bathroom Storage Ideas to Maximize Your Space
Are you tired of constantly searching for your shampoo bottle or losing your favorite lipstick in a cluttered bathroom?
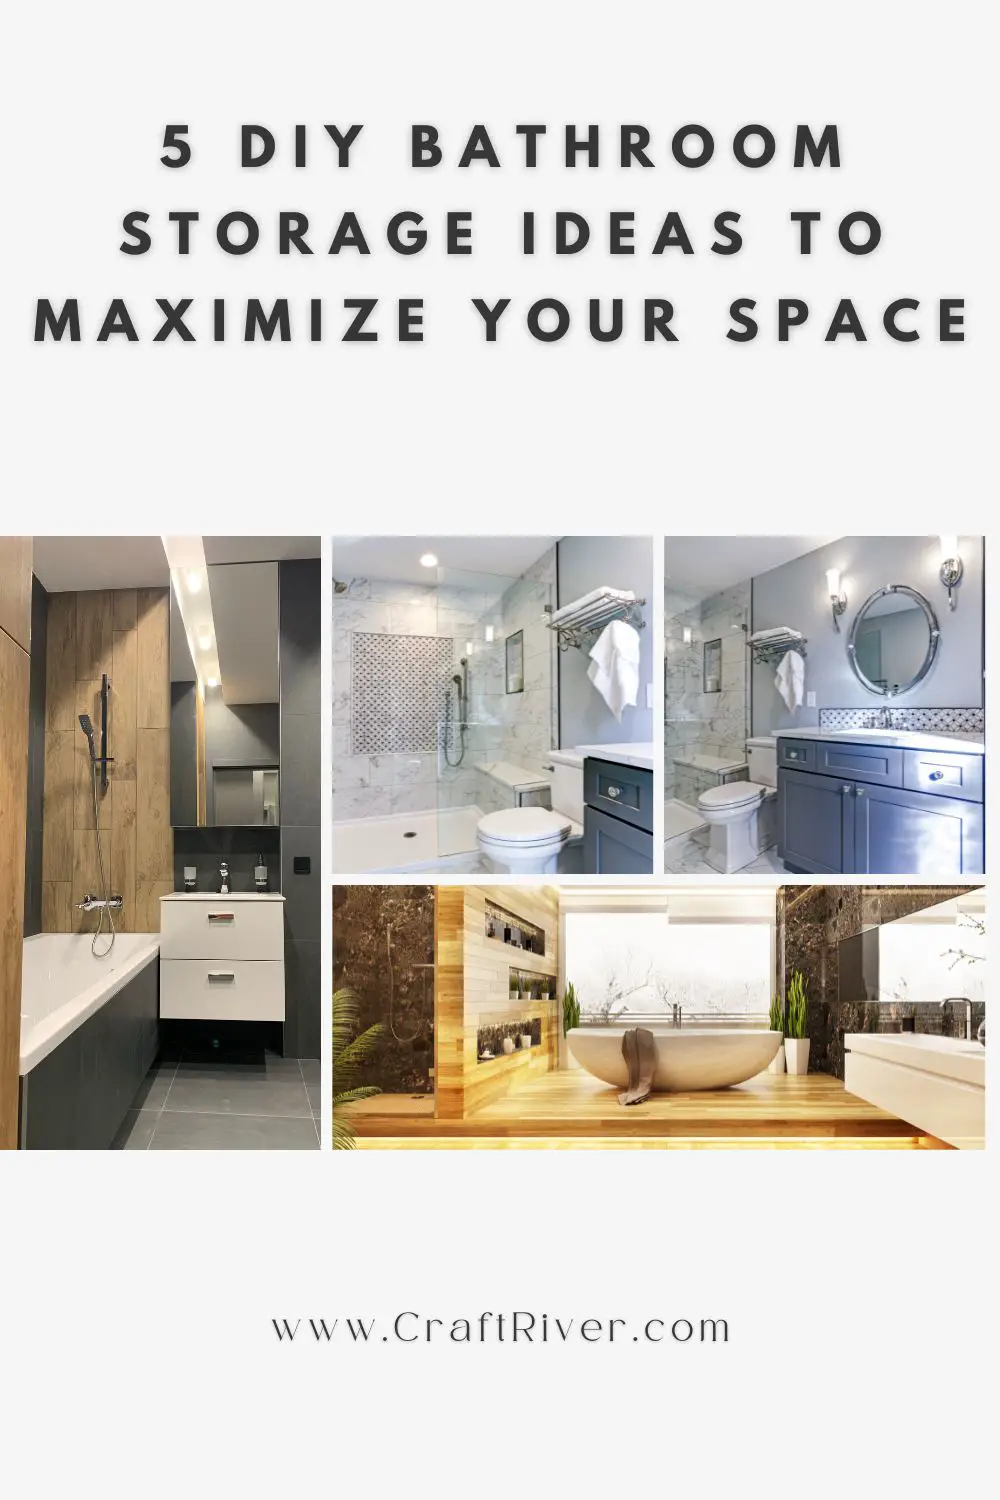
Look no further, because I have rounded up 5 genius DIY bathroom storage ideas that will help you maximize your space and keep everything organized.
DIY Bathroom Storage Idea 1: Over-the-Toilet Shelves
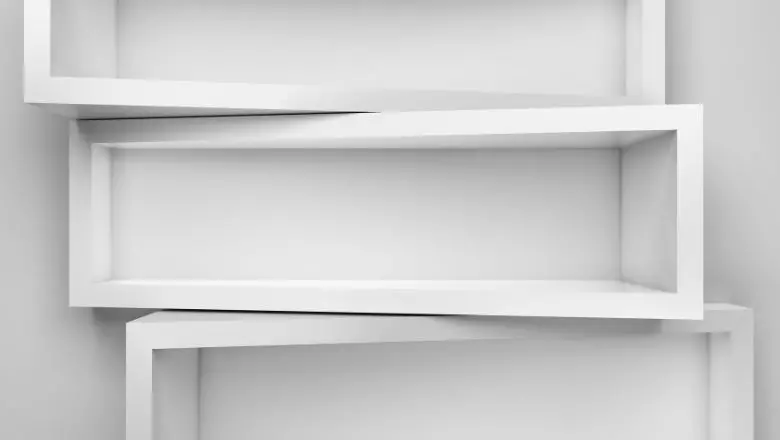
If you are looking for an easy and cost-effective way to add extra storage to your bathroom, then over-the-toilet shelves might be the perfect solution for you.
Not only do they provide ample storage space, but they also make use of the often-overlooked space above your toilet.
Here is a step-by-step guide on how to build and install your over-the-toilet shelves.
Materials Needed
- 1 x 12-inch board (length depends on your toilet size)
- 2 x 2-inch wood blocks
- Screws
- Drill
- Level
- Measuring tape
Step-By-Step Instructions
- Step 1: Measure the Space Above Your Toilet
Before you start building your shelves, you need to measure the space above your toilet.
The length of your 1 x 12-inch board will depend on the size of your toilet, so make sure to measure the space accurately.
- Step 2: Cut the Wood Blocks
Next, you need to cut two 2 x 2-inch wood blocks to the same width as your 1 x 12-inch board.
These wood blocks will serve as the brackets that will hold your shelf in place.
- Step 3: Attach the Wood Blocks
Using screws and a drill, attach the wood blocks to the wall above your toilet.
Make sure they are level and secure.
- Step 4: Attach the Shelf
Once your wood blocks are securely attached to the wall, it’s time to attach your shelf.
Place the shelf on top of the wood blocks and screw it into place.
Make sure the shelf is level and flush with the wall.
- Step 5: Decorate and Organize
Now that your shelves are in place, it’s time to decorate and organize your items.
You can add baskets, jars, or other containers to store your bathroom essentials.
Make sure to use organizers that fit the dimensions of your shelves for maximum efficiency.
In conclusion, over-the-toilet shelves are a great DIY bathroom storage idea that can add both style and function to your bathroom.
With a few simple materials and some basic DIY skills, you can create a customized storage solution that meets your specific needs.
So, go ahead and try it out – your bathroom will thank you!
DIY Bathroom Storage Idea 2: Mason Jar Wall Storage
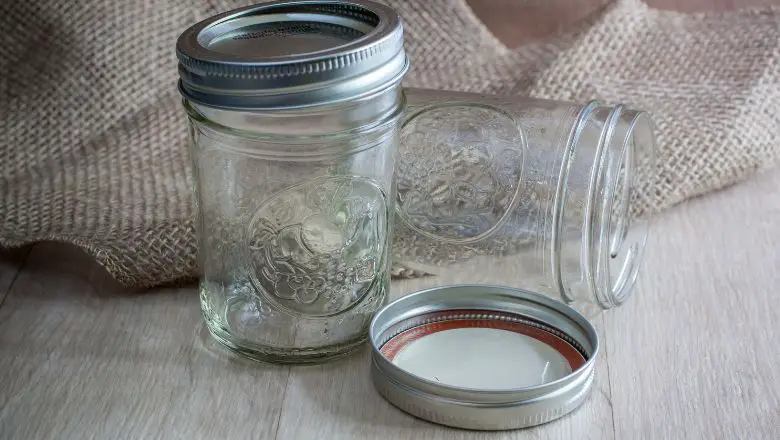
If you are looking for a way to add a touch of rustic charm to your bathroom while also increasing storage space, this DIY mason jar wall storage is a great option.
Materials Needed
- Mason jars (quantity depends on the desired size of the storage unit)
- Screws
- Screwdriver
- Drill
- Measuring tape
- Paint or stain (optional)
- Sandpaper (optional)
Step-By-Step Instructions
- Measure the area where you want to hang the mason jar storage and decide on the number of jars you want to use.
- Sand the wood board if needed, and paint or stain it to your desired color.
- Determine the placement of the mason jars on the board, leaving enough space in between each jar for easy access.
- Using a drill, make pilot holes in the board where you want to screw in the jar lids.
- Attach the lids to the board using screws and a screwdriver.
- Fill the jars with your desired bathroom essentials, such as cotton swabs, cotton balls, or toothbrushes.
- Hang the board on the wall using screws and a drill.
Tips and Tricks
- Choose mason jars with larger openings to fit larger bathroom essentials.
- Paint or stain the wood board to match your bathroom decor.
- You can also add labels to the jars to help you stay organized.
- With just a few materials and some creativity, you can easily create a beautiful and functional storage solution for your bathroom.
- Plus, the mason jars add a charming touch that will make your bathroom feel cozy and inviting.
DIY Bathroom Storage Idea 3: Towel Rack with Shelf
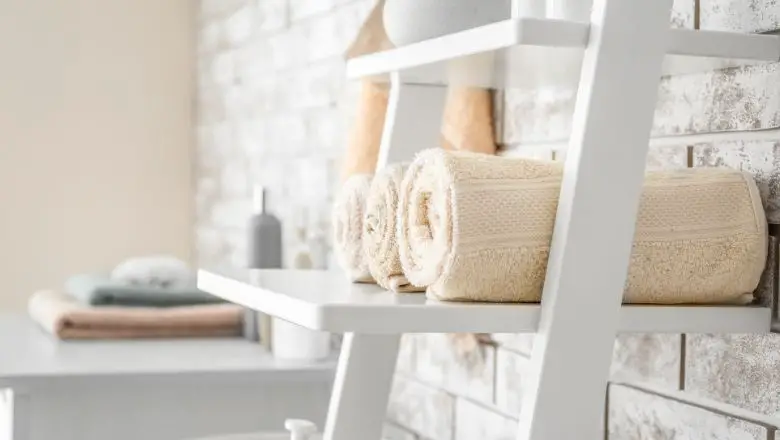
If you need extra towel storage in your bathroom, a DIY towel rack with a shelf can be a great solution.
This project is relatively simple to complete and can be customized to match your bathroom decor.
Materials Needed
- Wood board
- Towel hooks
- Screws
- Screwdriver
- Measuring tape
- Paint or stain (optional)
- Sandpaper (optional)
Step-By-Step Instructions
- Measure and cut the wood board to your desired length.
- Sand the wood board if needed, and paint or stain it to your desired color.
- Determine the placement of the towel hooks and mark their locations on the board.
- Attach the towel hooks to the board using screws and a screwdriver.
- Attach the board to the wall using screws and a drill.
- Optional: Add a shelf above the towel hooks for extra storage by attaching a second wooden board to the top of the towel rack using screws.
Tips and Tricks
- Choose towel hooks that match your bathroom decor.
- If you plan to hang heavier towels, use sturdy hooks and screws to ensure they can hold the weight.
- Consider adding a second board to create a shelf for extra storage.
With just a few materials and some basic tools, you can easily create a functional and stylish towel rack with a shelf for your bathroom.
This DIY project is a great way to add extra storage to your bathroom while also enhancing its overall look and feel.
DIY Bathroom Storage Idea 4: PVC Pipe Hair Tool Organizer

Are you tired of your hair tools taking up too much space on your bathroom counter or getting tangled up in a drawer? Consider making a DIY hair tool organizer out of PVC pipes.
This project is affordable, customizable, and practical.
Materials Needed
- PVC pipes
- PVC pipe cutter
- Sandpaper
- Acrylic paint or spray paint
- Command strips or screws for hanging (optional)
Step-By-Step Instructions
- Cut the PVC pipes into the desired lengths using a PVC pipe cutter.
- Sand the edges of the PVC pipes to remove any rough spots or sharp edges.
- Paint the PVC pipes with acrylic paint or spray paint in your desired color.
- Optional: Add a second coat of paint or a clear coat for extra protection.
- Allow the pipes to dry completely before using them.
- To hang the organizer, use command strips or screws to attach it to the wall.
Tips and Tricks
- Use different sizes of PVC pipes to accommodate different types of hair tools.
- Add a section of PVC pipe at the bottom of the organizer to hold cords and prevent them from getting tangled.
- Paint the PVC pipes with a metallic finish for a sleek and modern look.
By creating a hair tool organizer out of PVC pipes, you can save valuable counter and drawer space in your bathroom while also keeping your tools organized and easily accessible.
This DIY project is simple to complete and can be customized to fit your specific needs and style preferences.
DIY Bathroom Storage Idea 5: Repurposed Bookshelf
Looking for a unique and affordable way to add storage to your bathroom? Consider repurposing an old bookshelf.
With a few simple modifications, a bookshelf can be transformed into a stylish and functional storage solution for your bathroom.
Materials Needed
- Old bookshelf
- Sandpaper
- PrimerPaint or stain
- Drill
- Screws
- Hooks (optional)
Step-By-Step Instructions
- Sand the bookshelf to remove any rough spots or imperfections.
- Apply a coat of primer to the bookshelf and allow it to dry completely.
- Paint or stain the bookshelf in your desired color and allow it to dry.
- Optional: Add hooks to the sides of the bookshelf for additional storage.
- Attach the bookshelf to the wall using screws and a drill.
Tips and Tricks
- Look for a bookshelf with adjustable shelves to accommodate different sizes of bathroom items.
- If you don’t have an old bookshelf to repurpose, check local thrift stores or online marketplaces for affordable options.
- Add baskets or bins to the shelves for additional organization and storage.
By repurposing an old bookshelf, you can create a unique and affordable storage solution for your bathroom.
This DIY project allows you to customize the bookshelf to fit your specific style and storage needs.
Whether you choose to paint it a bold color or keep it natural with a stain, a repurposed bookshelf is sure to add both function and personality to your bathroom.
Space-Saving Storage Solutions: Transform Your Small Bathroom Today!
In conclusion, having a small bathroom doesn’t mean sacrificing style or storage.
With these five DIY storage ideas, you can transform your bathroom into a functional and organized space while adding a touch of creativity and flair.
Whether you opt for an over-the-toilet shelf, a hanging basket, or a floating shelf, these space-saving solutions will help you make the most of your limited bathroom space.
So don’t let a small bathroom hold you back from achieving the bathroom of your dreams! Get started on these DIY projects today and enjoy a clutter-free, stylish, and functional bathroom.
