Are you ready to sprinkle some extra joy and deliciousness into your upcoming Christmas bash for the little ones?
Well, you’ve come to the right place because I’ve got a sleigh-load of fantastic ideas that’ll make your kids’ holiday party a total hit.
So, if you’re curious to know how to make this year’s Christmas party unforgettable for the kiddos (and adults sneaking bites too), keep reading.
You won’t want to miss out on these 5 easy-peasy Christmas party food ideas that’ll have everyone’s taste buds dancing with joy.
5 Christmas Party Food Ideas Your Kids Will Adore

Picture this: a table decked out with scrumptious delights that not only look cute but also tickle the taste buds of even the pickiest eaters.
And the best part? You won’t need to spend hours slaving away in the kitchen or juggling an array of complicated ingredients.
No siree, these ideas are all about keeping it simple, yet oh-so-creative!
So, if you’re ready to dive into the world of Christmas culinary magic, just follow me.
Cupcake Magic: Rudolph Delights
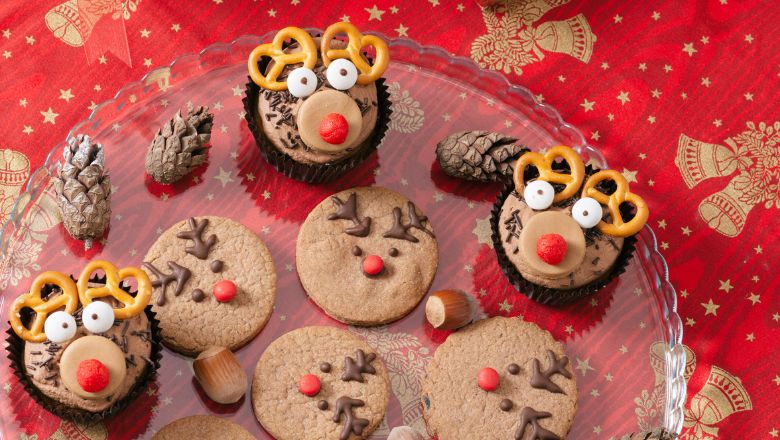
Get ready to create cupcakes that are not only scrumptious but also adorable – we’re talking about turning these sweet treats into Rudolph the Red-Nosed Reindeer!
Imagine the delight on everyone’s faces when they see these festive little fellas waiting to be devoured.
Ingredients You’ll Need
- Chocolate-covered pretzels
- Candy eyes
- Red M&M’s
- Cupcakes (already baked and cooled)
- Frosting (chocolate or vanilla, your choice)
Step 1: Rudolph’s Antlers
Start by getting your chocolate-covered pretzels ready. These will be the antlers of our edible Rudolphs.
Gently press two pretzels into the top of each cupcake – make sure they’re sticking out a bit on either side.
Step 2: The Eyes Have It
Take those cute candy eyes and place them just above the pretzels.
They’ll bring Rudolph to life in no time! Now, doesn’t he already look adorable?
Step 3: Nose So Bright
Here’s where Rudolph’s signature red nose comes into play. Grab a red M&M and place it right in the center, a little below the eyes.
That’s the finishing touch that gives Rudolph his unmistakable charm.
Step 4: Frost and Frost Again
Spread a generous dollop of frosting onto the cupcake, covering the top.
This will help all our decorations stay in place and give your cupcakes that extra sweetness.
Step 5: The Grand Reveal
Now comes the best part – show off your creative culinary skills by presenting these Rudolph delights on a platter.
The kids (and the grown-ups too!) won’t be able to resist grabbing one and enjoying the playful flavors.
And there you have it! Your cupcakes have transformed into Rudolph and his antlered buddies, bringing a touch of Christmas cheer to your table. This DIY cupcake craft is simple yet oh-so-adorable, and it’s bound to be a hit at your holiday party.
Mini Sandwich Trees: Festive Snacktime Fun
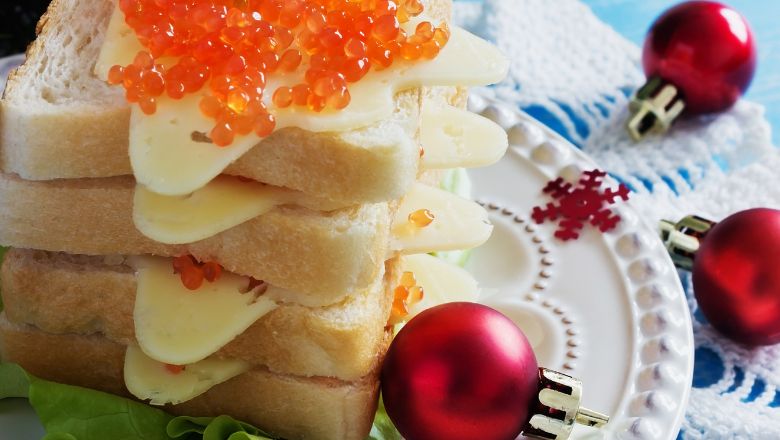
Who said snack time can’t be a creative adventure? Get ready to craft mini sandwich Christmas trees that are as delightful to make as they are to eat.
These bite-sized wonders are sure to be a hit at any holiday gathering, and they’re so easy to put together, you’ll wonder why you haven’t tried them before!
Ingredients You’ll Need
- Slices of bread
- Assorted fillings (think cheese, deli meats, spreads)
- Cheese slices (for the tree tops)
- Pretzel sticks (for the tree trunks)
- Star-shaped cookie cutter
Step 1: Bread Boughs
Using your star-shaped cookie cutter, cut out star shapes from slices of bread. These will be the base for your mini sandwich trees.
Don’t let those leftover bread bits go to waste – save them for breadcrumbs or other recipes!
Step 2: Filling the Forest
Now, the fun part – let’s fill those bread stars with your favorite sandwich fillings. Get creative here!
You can layer on slices of cheese, turkey, ham, or even spreads like peanut butter and jelly for a sweet twist.
Step 3: Top It Off
To create the tree tops, cut small triangles from cheese slices.
Place one cheese triangle at the top of each sandwich, and just like that, your trees are starting to take shape!
Step 4: Trunk Time
No tree is complete without a trunk. Insert a pretzel stick into the bottom of each sandwich, creating a tree trunk.
This not only adds a fun visual element but also makes your mini trees easy to hold and enjoy.
Step 5: The Forest Comes Alive
Arrange your mini sandwich trees on a platter, and watch as they transform into a festive forest of flavors.
The combination of colors, textures, and tastes will make these creations a feast for the senses.
Step 6: Snacktime Adventure
Now, it’s time to dive into the mini sandwich trees!
As you and your guests enjoy these delicious treats, you’ll not only savor the flavors but also the joy of a snacktime adventure that’s as delightful to make as it is to devour.
And there you have it! With just a few simple ingredients and a sprinkle of creativity, you’ve crafted mini sandwich trees that are perfect for sharing, munching, and spreading holiday cheer.
Snowman Cheese Sticks: Cheesy Winter Delights
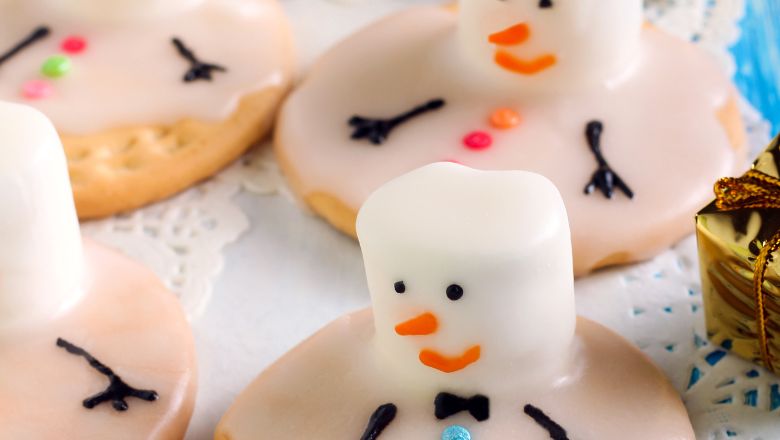
Get ready to melt some hearts (and cheese!) with these adorable snowman cheese sticks.
These little guys are not only fun to make but also an absolute delight to eat. Plus, they’re perfect for adding a cheesy touch to your winter festivities.
Let’s dive into the world of edible snowmen that are as cute as they are delicious!
Ingredients You’ll Need
- Cheese sticks
- Black olives
- Mini carrots
- Small edible eyes (you can find these in baking or craft stores)
- Cream cheese (for “gluing” the pieces together)
Step 1: Head and Body
Grab a cheese stick – this will be the snowman’s body. Carefully slice a small piece off the top to create a flat surface.
This will serve as the base for the snowman’s head.
Step 2: Eyes and Buttons
Dip the tip of a toothpick into cream cheese and use it to “glue” two small edible eyes onto the flat surface of the cheese stick.
These eyes will give your snowman its character. Add a few cream cheese dots below the eyes to create the snowman’s buttons.
Step 3: Nose Knows Best
Take a mini carrot and cut a tiny triangle from it. Attach the carrot triangle to the cheese stick, just below the eyes.
This is the snowman’s carrot nose!
Step 4: Arms and Hat
Slice black olives into thin strips to create the snowman’s arms. Insert them into the sides of the cheese stick.
For the snowman’s hat, you can cut a small round piece from a black olive and place it on top of the snowman’s head.
Step 5: Finishing Touches
Give your snowman a smile by adding a small curve of cream cheese just below the carrot nose.
And there you have it – your cheesy snowman creation is complete!
Step 6: Snowy Wonderland
Create a snowy scene on your plate by arranging your snowman cheese sticks. Add a sprinkle of imagination and watch your edible snowmen come to life.
Time to Indulge!
Now that you’ve crafted these cheesy winter delights, it’s time to enjoy the fruits of your labor.
Grab a snowman cheese stick and take a cheesy bite – you’ll not only savor the deliciousness but also the sheer joy of creating something so cute and whimsical.
Whether you’re adding them to your holiday party spread or surprising your little ones with a whimsical snack, these snowman cheese sticks are bound to make everyone’s faces light up.
Santa’s Little Helpers: Edible Reindeer Antlers
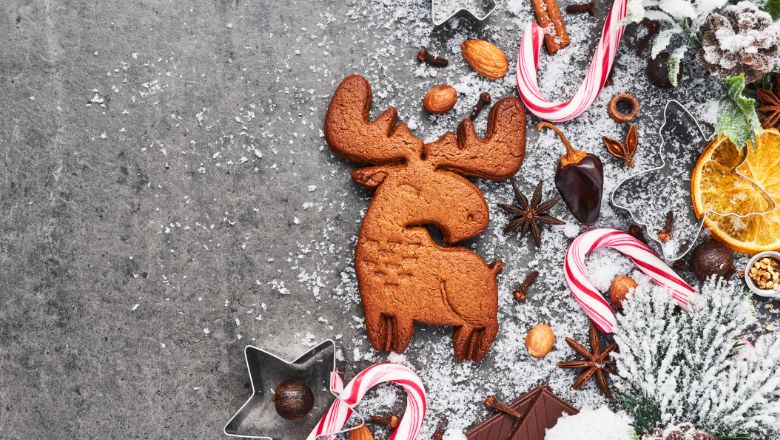
Ho, ho, ho! Get ready to bring some festive flair to your Christmas party with a delicious twist – edible reindeer antlers!
These adorable treats are not only a delight to the taste buds but also a charming addition to your holiday spread.
Let’s dive into the fun of creating these tasty antlers that’ll have everyone feeling merry and bright.
Ingredients You’ll Need
- Pretzels (thin sticks work best)
- Chocolate (melted)
- Edible glitter (optional but adds a magical touch)
- Parchment paper (for easy cleanup)
Step 1: Melting Magic
Start by melting your chocolate. You can do this by microwaving it in short bursts or using a double boiler.
The goal is to get that smooth, liquid goodness ready for crafting.
Step 2: Dip and Decorate
Hold a pretzel stick at one end and carefully dip the other end into the melted chocolate.
Coat the pretzel with chocolate about halfway, creating a sturdy base for your antlers.
Step 3: Sparkling Snowflake Touch
If you’re feeling extra festive, now’s the time to sprinkle on some edible glitter.
Just a pinch will do, adding a shimmering snowy touch to your reindeer antlers.
Step 4: Shake Off the Excess
Hold the pretzel stick over the bowl of melted chocolate for a moment to let any excess chocolate drip off.
This ensures your antlers are nicely coated without being overly thick.
Step 5: Chill and Set
Place your chocolate-coated pretzel sticks on a parchment paper-lined tray or plate.
Pop them in the fridge for a little while to allow the chocolate to set and harden.
Antlers That Delight
Congratulations, Santa’s little helper! You’ve crafted edible reindeer antlers that are both charming and delicious.
These treats are ready to steal the spotlight at your Christmas celebration, adding a playful touch to your dessert table or snack spread.
Whether you’re hosting a kids’ holiday party or just want to add a whimsical touch to your festivities, these edible reindeer antlers are sure to bring a smile to everyone’s face.
Jolly Gingerbread Crew: Edible Snowman Friends
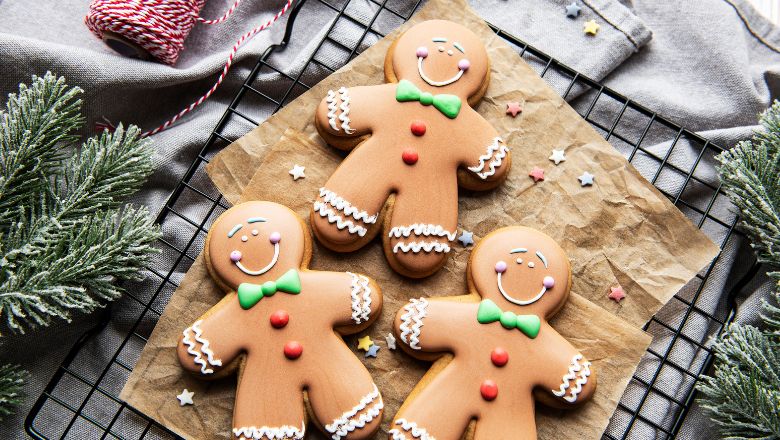
Get ready to whip up a batch of not-so-traditional gingerbread friends that’ll melt hearts and taste buds alike – edible snowman buddies!
These adorable treats are the perfect way to spread holiday cheer while indulging in a bit of creative kitchen fun.
So, let’s roll up our sleeves and create these tasty snowmen that are as cute as they are delicious!
Ingredients You’ll Need
- Gingerbread cookies (pre-baked and cooled)
- Icing (white, for decorating)
- Candy decorations (mini chocolate chips, colored sprinkles, etc.)
- Mini marshmallows (for snowman heads)
- A touch of imagination!
Step 1: Base Layer
Place your gingerbread cookies on a clean and flat surface. These cookies will serve as the body of your snowman.
Step 2: Snowy Heads
Dab a bit of icing onto the top of a mini marshmallow and gently press it onto the center of the gingerbread cookie.
This is your snowman’s head, and the icing acts as “glue” to keep it in place.
Step 3: Eyes, Nose, and Smile
Use your icing to create two tiny eyes and a smiling mouth for your snowman’s face.
You can use mini chocolate chips for the eyes and a small orange sprinkle or icing for the nose.
Step 4: Button Up!
Using the icing, create three or more buttons down the front of your snowman’s body. This adds a touch of charm to their snowy attire.
Step 5: Scarves and Hats
Get creative by using icing to add scarves and hats to your snowmen.
You can make scarves by piping colored lines across their necks and create hats with little icing triangles or other decorations you have on hand.
Step 6: Finishing Flourish
Add final touches to your snowmen with candy decorations like mini chocolate chips for coal buttons or colorful sprinkles for added cheer.
Congratulations, you’ve assembled a cheerful crew of edible snowman friends that are ready to make your holiday gathering extra delightful. Each unique snowman is a work of art and a scrumptious treat all rolled into one.
Spreading Joy, One Bite at a Time: Unforgettable Kids’ Christmas Party Delights
With these 5 easy Christmas party food ideas for kids, you’re all set to throw a holiday bash that’ll be talked about for years to come.
From turning cupcakes into Rudolphs to crafting mini sandwich trees that’ll have everyone reaching for seconds, you’ve got a whole array of adorable and tasty treats up your sleeve.
Imagine the giggles and excitement as the little ones feast their eyes on these edible wonders. Not only will you be the ultimate party hero, but you’ll also create memories that will warm hearts even when the snow melts.
So, put on your creative chef’s hat, grab your apron, and let the holiday magic flow as you whip up these delightful goodies.
The best part? You don’t need to be a seasoned chef to make these treats a reality.
They’re designed to be fun, simple, and oh-so-delicious, making your holiday prep stress-free and enjoyable.
And remember, it’s not just about the food itself – it’s about the joy and laughter that come with each bite.
