Have you ever thought about tying the knot in the enchanting winter wonderland? I
know it sounds like a magical fairy tale! But hold on tight, because I’ve got some exciting news for you.
In this blog post, I’ll spill the beans on 5 fantastic DIY winter wedding ideas that won’t break the bank.
Imagine saying “I do” under a sparkling canopy of twinkling lights, surrounded by nature’s winter charm. And that’s just the beginning!
From adorable handmade favors to whimsical table settings, these DIY ideas will add a personal touch that’ll leave your guests in awe.
So grab your hot cocoa, cozy up by the fireplace, and let’s dive into these 5 budget-friendly DIY winter wedding ideas that will make your heart flutter.
Trust me; you won’t want to miss these fabulous and frugal wedding hacks!
Snowy Enchantment: 5 DIY Winter Wedding Ideas on a Budget

Winter weddings can be magical and romantic, with the crisp air and snowy landscapes creating a picturesque backdrop for the celebration of love.
However, planning a wedding during this season can often come with a hefty price tag.
But fear not! With a little creativity and some DIY magic, you can have your dream winter wedding without breaking the bank.
In this article, we will explore five budget-friendly DIY ideas that will add charm and elegance to your special day, making it an unforgettable event for both you and your guests.
Create Snowflake-Inspired Invitations

Get ready to sprinkle some winter magic on your wedding invites! Creating snowflake-inspired invitations is the perfect way to set the enchanting tone for your special day.
With just a few simple materials and a touch of creativity, you’ll have your guests in awe before they even RSVP.
To start, gather some sturdy cardstock, snowflake stencils (you can find these online or at craft stores), glitter in your favorite winter hues, and glue. Now, let’s get crafting!
Step 1: Cut and Fold
Cut the cardstock into your desired invitation size. You can go with classic rectangles or get creative with unique shapes like snowflakes or mittens. Once you have your shape, fold the cardstock in half to create the invitation card.
Step 2: Let it Snow!
Place the snowflake stencil on the front of the card and secure it in place. Now, it’s time to sprinkle on the magic! Liberally apply glue over the stencil and then sprinkle the glitter on top. Gently tap off any excess glitter.
Step 3: Personalize with Love
Now that your snowflake is sparkling, it’s time to add the essential details. Write the names of the couple and the wedding date inside the snowflake or on the opposite side of the card. You can use calligraphy for an elegant touch or playful handwriting for a more casual vibe.
Step 4: RSVP Magic
Don’t forget to include RSVP cards for your guests to respond to your invitation. Keep the snowflake theme going by adding a small glittery snowflake on the corner of the RSVP cards.
Bonus Tip: Seal the Enchantment
To seal the deal (literally), consider using snowflake stickers or wax seals to secure the envelopes. It’s those little touches that make all the difference!
There you have it – your snowflake-inspired invitations are ready to charm your guests! With these DIY wonders, your wedding will be a winter wonderland right from the start.
Whimsical Centerpieces with Frosted Jars
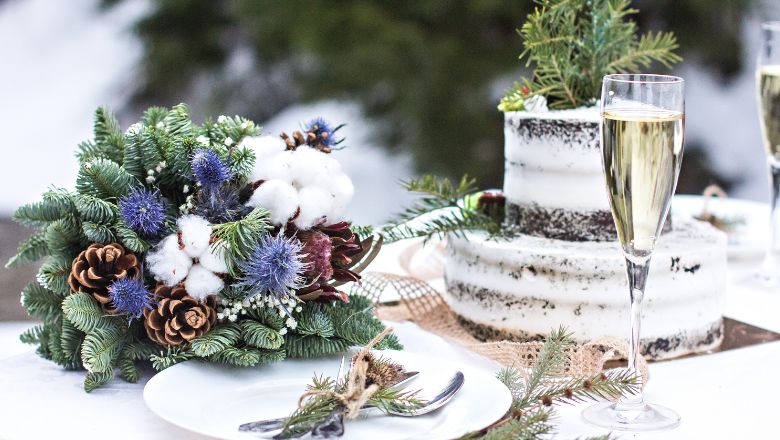
Get ready to add a touch of whimsy to your winter wonderland with enchanting frosted jar centerpieces!
These DIY delights will create a warm and cozy atmosphere that will leave your guests mesmerized. Best of all, they are incredibly simple to make and won’t blow your budget.
For this charming centerpiece, you’ll need some mason jars (you can find them at your local craft store or repurpose old ones), Epsom salt, small candles, and twine for that rustic touch. Let’s dive into the magical crafting process!
Step 1: Frosted Beauty
Start by pouring Epsom salt into each mason jar, filling it about one-third of the way. Epsom salt resembles glistening snow, adding an extra layer of winter charm to your centerpiece.
Step 2: Candlelit Elegance
Now, place a small candle (battery-operated ones are a safe choice) in the center of the jar, gently pressing it into the Epsom salt to keep it steady. The soft glow of the candle will create a warm and inviting ambiance, perfect for a winter celebration.
Step 3: Twine It Up
Wrap some twine around the mouth of the jar to add a rustic touch and secure it with a simple knot or bow. This will complement the frosted look and tie the whole centerpiece together beautifully.
Step 4: Grouping and Variation
Create a captivating display by arranging several frosted jar centerpieces together on each table. Mix and match jar sizes and candle heights for a dynamic look. You can even sprinkle some faux snow or small pinecones around the jars to add an extra layer of charm.
Step 5: Safety First
If you’re using real candles, be sure to keep an eye on them throughout the event and never leave them unattended. Safety is the key to enjoying the enchantment worry-free.
These whimsical frosted jar centerpieces are sure to be a hit with your guests. They will transport everyone to a cozy winter retreat, where love and joy fill the air.
Handmade Winter Favors for Guests
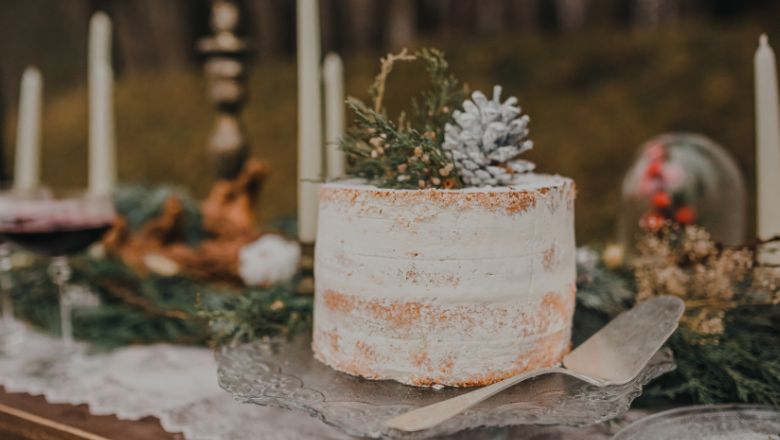
Spread the winter warmth and gratitude with delightful handmade favors for your cherished guests.
These personalized treasures will not only show your appreciation but also serve as charming keepsakes from your magical day. Best of all, they are budget-friendly and fun to make!
For these winter favors, you’ll need miniature stockings, hot cocoa mix (a winter must-have!), and candy canes for that sweet touch. Let’s dive into the delightful world of DIY winter favors!
Step 1: Stocking Stuffers
Get your hands on some adorable miniature stockings, which you can find at craft stores or online. Opt for colors that match your wedding theme or go with classic winter hues like red, green, or snowy white.
Step 2: Fill with Cocoa Love
Now, it’s time to fill those stockings with hot cocoa mix. Spoon the mix into each stocking, making sure they are filled to the brim with deliciousness. You can use a store-bought cocoa mix or make your own for an extra personal touch.
Step 3: Candy Cane Charm
Add a candy cane to each stocking as a sweet surprise. The combination of hot cocoa and candy cane will evoke all the cozy winter vibes.
Step 4: Customizable Tags
Attach a customizable tag to each stocking, expressing your gratitude to your guests. You can write a heartfelt thank-you note, add your name and the wedding date, or even include a cute winter-themed poem.
Step 5: Packaging Perfection
To ensure your favors look picture-perfect, consider arranging them in a rustic basket or a vintage crate. This will not only add to the charm but also make it easy for guests to pick up their favors on their way out.
Bonus Tip: Personal Touches
For an extra dash of creativity, consider adding small trinkets or charms that represent your love story. Whether it’s a tiny snowflake charm or a heartwarming message, these personal touches will make your favors truly unique.
Your guests will be delighted by these handmade winter favors, filled with love and thoughtfulness. These little tokens of appreciation will remind them of the magical time they shared with you on your special day.
DIY Faux Fur Shawl for the Bride

For the bride-to-be who wants to stay stylish and warm, a DIY faux fur shawl is the perfect winter wedding accessory. This luxurious addition to your bridal ensemble will not only keep you cozy but also add an elegant touch to your overall look.
Best of all, it’s a budget-friendly alternative to expensive fur accessories.
To create this faux fur shawl, you’ll need faux fur fabric, ribbon in your preferred color, and a sewing kit. Now, let’s dive into the fabulous world of crafting your winter bridal shawl!
Step 1: Choose the Perfect Faux Fur
Head to your local fabric store or shop online for faux fur fabric that matches your style and wedding theme. Whether you opt for classic white, soft ivory, or a splash of color, make sure it complements your wedding dress beautifully.
Step 2: Measure and Cut
Lay the faux fur fabric flat and measure the desired length for your shawl. Standard size is around 18 inches wide and 60 inches long, but feel free to adjust it to your liking. Once measured, use fabric scissors to cut the fabric along your marked lines.
Step 3: Sew the Edges
To prevent fraying, sew a straight stitch along the edges of the faux fur fabric. This will give your shawl a neat finish and ensure it lasts through your entire wedding day.
Step 4: Add Ribbon Ties
Now it’s time to add a touch of elegance with ribbon ties. Cut two pieces of ribbon (about 12-18 inches long each) and sew one end of each ribbon to opposite corners of the shawl. These ribbons will be used to tie the shawl around your shoulders, allowing you to adjust it to your comfort.
Step 5: Test and Adjust
Put on your wedding dress and try on the faux fur shawl. Make any necessary adjustments to the ribbon ties, ensuring the shawl drapes beautifully over your shoulders without slipping.
Bonus Tip: Embellishments for Glamour
If you’re feeling a bit fancy, consider adding some embellishments to your shawl. Rhinestones, pearls, or even faux fur brooches can add a touch of glamour to your winter bridal look.
Now, you have your own personalized faux fur shawl, ready to keep you cozy and chic on your special day. With this DIY masterpiece, you’ll be the epitome of winter elegance as you walk down the aisle to say “I do” in style.
Rustic Twig Arch for the Ceremony
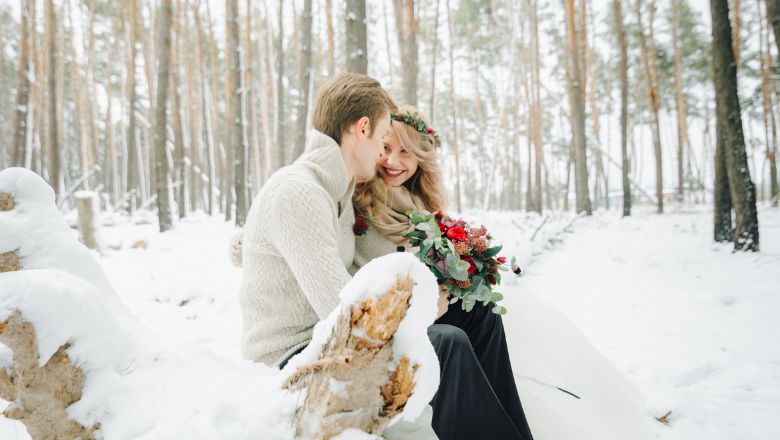
Say “I do” under the enchanting charm of a rustic twig arch that blends perfectly with the winter landscape. This DIY masterpiece will be the focal point of your ceremony, providing a natural and picturesque backdrop for your vows.
Plus, it’s a budget-friendly alternative to elaborate wedding arches.
To craft this rustic twig arch, you’ll need branches of various lengths, twine, and, if you desire, seasonal blooms to add a pop of color.
Now, let’s dive into the world of woodland elegance and create your dreamy ceremony arch!
Step 1: Gather Nature’s Bounty
Venture out into the great outdoors and collect sturdy branches of varying sizes and shapes. Look for ones that have character and showcase the beauty of nature. The imperfections will add to the charm of your rustic arch.
Step 2: Form the Arch Shape
Lay out the branches on the ground, forming the shape of your arch. Consider the height and width you desire, and make any necessary adjustments by trimming or combining branches until you achieve your ideal design.
Step 3: Secure with Twine
Once you’re satisfied with the arch’s shape, use twine to bind the branches together at their connecting points. Wrap the twine securely around the branches, ensuring they are tightly held in place.
Step 4: Blooming Beauty (Optional)
If you desire a touch of floral beauty, weave seasonal blooms into the arch using floral wire. Opt for winter flowers like poinsettias, holly, or even dried cotton stems for a rustic vibe. Let your creativity bloom as you add these natural accents to your arch.
Step 5: Set the Scene
Find the perfect spot for your rustic twig arch, whether it’s outdoors against a snowy backdrop or indoors, where the arch can stand as a stunning focal point. Decorate the area around the arch with candles, lanterns, or cozy blankets for an extra touch of warmth and charm.
Bonus Tip: Winter Elements
To elevate the winter wonderland atmosphere, consider draping a faux fur or plaid blanket over the arch or hanging icicle lights to add a touch of sparkle.
Your rustic twig arch will be a masterpiece of natural beauty, capturing the essence of the winter season and your love story. As you exchange your vows beneath this rustic wonder, you’ll feel connected to nature’s elegance and the magic of your special day.
Handmade Happiness: The Perfect Ending to Your Winter Wedding Journey
Congratulations, winter wedding wizard! You’ve unlocked the secret to a truly magical celebration on a budget.
Your DIY winter wedding journey has been filled with twinkling lights, snowy enchantment, and heartwarming memories that will last a lifetime.
As you stood under that sparkling canopy, surrounded by loved ones and the charm of winter, you created a fairy tale that was uniquely yours.
From handmade favors that melted hearts to whimsical table settings that left guests in awe, your personal touch shone through in every detail.
Not only did you create a winter wonderland that dreams are made of, but you also did it without breaking the bank. Your budget-friendly bliss proves that love knows no price tag and that a touch of DIY magic can make all the difference.
So as you move forward in your journey as a married couple, remember the joy of crafting your winter wonderland together.
Handmade happiness is now an inseparable part of your love story, and the memories you’ve made will forever warm your hearts.
