Are you ready to add some magic and personal touches to your special day?
Well, I’ve got something delightful in store for you! Today, I’m going to spill the beans on 5 amazing DIY wedding table decorations that will make your big day even more unforgettable.
Picture this: sparkling lights, enchanting flowers, and charming little details that reflect your unique love story.
With these easy-peasy ideas, you don’t need to be a crafting expert to create stunning centerpieces that will wow your guests and make your heart skip a beat.
So, if you’re eager to infuse your wedding with your personality, roll up your sleeves and join me as we dive into the world of DIY wedding table decorations.
Trust me, by the end of this post, you’ll be brimming with inspiration and ready to embark on a crafting adventure like never before!
Ready, set, let’s make your wedding day dreams come true! Keep reading to unveil the secrets of crafting magic that will leave everyone in awe.
From Rustic to Glam: 5 Creative DIY Wedding Table Decoration Ideas
If you’re planning your wedding and want to create a unique and memorable experience for your guests, consider adding some DIY touches to your table decorations.
Not only will this save you money, but it will also allow you to put your stamp on the event.
Here are five DIY wedding table decorations that are sure to wow your guests:
DIY Fairy Lights & Mason Jar Lanterns
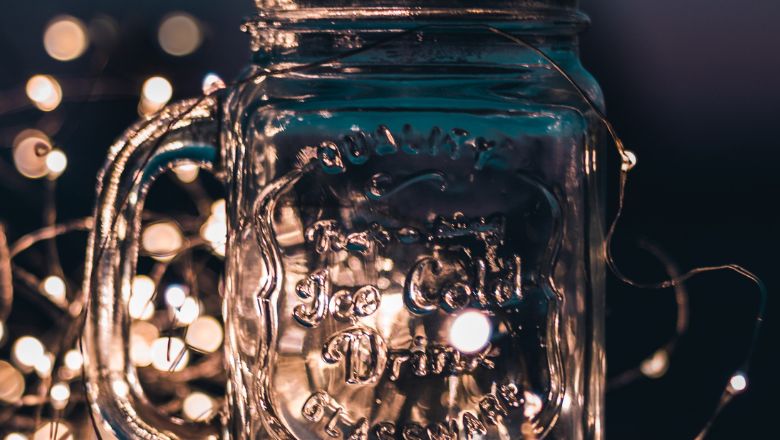
If you’re dreaming of a romantic ambiance that makes your guests’ hearts skip a beat, then look no further than these magical DIY Fairy Lights & Mason Jar Lanterns.
These twinkling beauties will cast a spell on everyone at your wedding and turn your reception into a fairytale wonderland.
Gather the Magic Ingredients
To create these mesmerizing lanterns, you’ll need mason jars and fairy lights. Mason jars are not only affordable but also versatile, making them the perfect canvas for your creativity.
As for the fairy lights, you can opt for warm white lights or go bold with colorful ones – the choice is yours!
Assemble Your Enchanting Lanterns
Start by inserting the fairy lights into the mason jars, allowing them to drape gently for that whimsical effect. You can coil the lights or let them cascade down from the jar’s mouth, whichever looks more magical to you.
Secure the battery pack discreetly at the bottom to keep the focus on the twinkling lights.
Arrange the Fairy Tale Centerpieces
Once your lanterns are ready, it’s time to create enchanting centerpieces. Line them up along the center of your tables or group them in clusters for a mesmerizing effect.
Don’t hesitate to mix different jar sizes to add dimension and charm to the setup.
Magical Tips for Extra Charm
Here are some extra tips to make your Fairy Lights & Mason Jar Lanterns even more bewitching:
- Add a dash of color by tying ribbons or lace around the necks of the jars.
- Place some greenery or baby’s breath around the lanterns for an ethereal touch.
- For outdoor weddings, hang the lanterns from tree branches to create a dreamy canopy of lights.
These captivating centerpieces will not only fill the air with romance but also leave a lasting impression on your guests.
Picture Perfect: Photo Frame Table Numbers
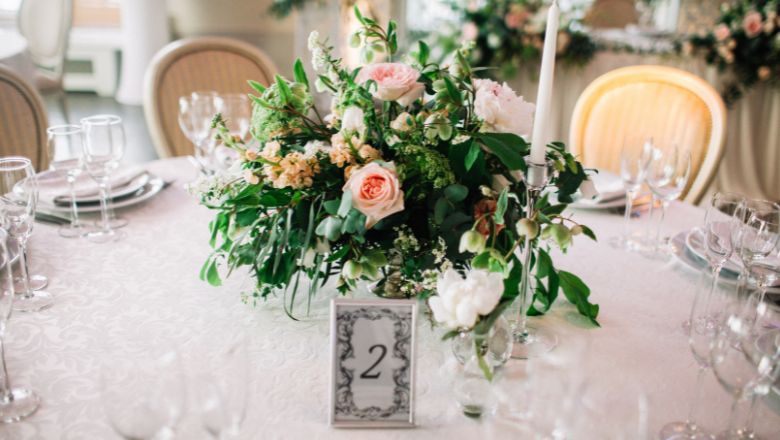
Your wedding guests will be delighted to find their seats with this creative and heartwarming addition.
So, let’s dive into the world of DIY and craft your very own unique table numbers that showcase your love story.
Gather Your Treasured Photos
To kick off this delightful project, gather your favorite photos as a couple. It could be snapshots from your first date, a memorable vacation, or a candid moment that perfectly captures your love.
Choose pictures that reflect the beautiful journey you’ve shared.
Frame It with Love
Now, it’s time to choose the perfect photo frames for your table numbers. Look for elegant frames that complement your wedding theme.
You can go for classic white frames for a timeless look or opt for rustic wooden frames to add warmth and charm.
Get Creative with Numbers
Instead of traditional table numbers, let’s put a fun twist on it! How about incorporating your favorite numbers or special dates that hold sentimental value?
For example, Table “Lovebirds ’21” or “Lucky Table 7”. It’s a subtle way to add a dash of personality to your reception.
Print and Place
Once you’ve decided on your photos and numbers, it’s time to print them out and assemble the photo frame table numbers. You can either print the numbers directly onto the photo or create separate cards and place them inside the frames.
Use a beautiful font that matches your wedding theme for an extra elegant touch.
Share Your Love Story
Make your table numbers more than just a seating guide. Use the space around the frame to share a brief love story related to the photo.
It could be a sweet anecdote, a favorite quote, or a heartfelt message for your guests to enjoy.
Display with Love
On the big day, arrange the photo frame table numbers in a prominent spot on each table.
You can place them near the centerpiece or even use small easels to elevate them, making them stand out beautifully.
By incorporating your cherished memories into your table numbers, you’re not only guiding your guests to their seats but also inviting them to be a part of your love story.
Rustic Elegance: Wooden Slice Coasters
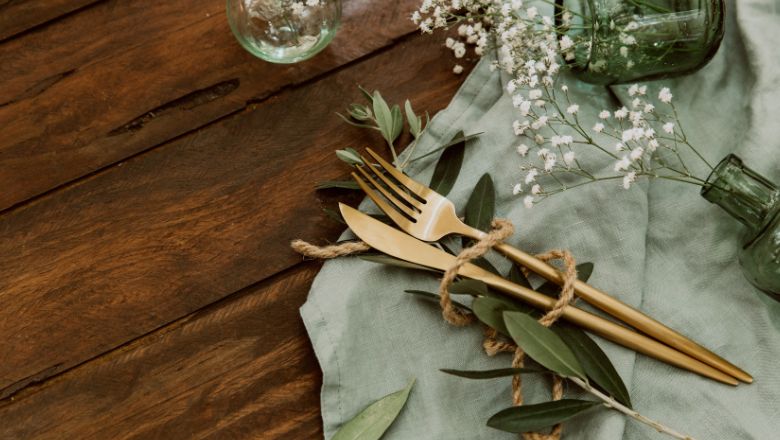
If you’re envisioning a wedding that exudes natural beauty and warmth, these DIY coasters will be the perfect addition to your table settings.
So, let’s roll up our sleeves and bring a touch of nature to your special day!
Hunt for Nature’s Gems
To begin this delightful project, take a stroll in nature or visit a local craft store to find wooden logs or tree branches.
Look for slices that are about half an inch thick and approximately the size of a coaster.
The unique patterns and textures of the wood will add a rustic and organic feel to your wedding decor.
Slice and Sand
Once you’ve gathered your wooden pieces, it’s time to slice them into coaster-sized rounds. Use a saw to carefully cut through the wood, and then smooth out any rough edges with sandpaper.
You’ll be left with beautiful and natural-looking coasters ready for your creative touch.
Personalize with Love
Now comes the fun part – personalizing your wooden slice coasters! You can leave them in their natural state for a raw and earthy look, or get creative with designs.
Consider wood-burning initials, dates, or cute symbols on the coasters. Alternatively, you can paint them with a touch of your wedding colors for a more vibrant touch.
Seal the Beauty
To protect the wooden coasters and ensure their longevity, apply a coat of clear varnish or sealant. This will not only give them a beautiful sheen but also protect them from spills and moisture.
Arrange with Rustic Elegance
On your wedding day, place these wooden slice coasters at each guest’s place setting.
They’ll not only serve as practical and eco-friendly coasters but also as charming keepsakes for your guests to take home.
Eco-Friendly Favors
Want to go the extra mile? You can also bundle these coasters together with twine and a small tag, expressing your gratitude for your guests’ presence on your special day.
It’s a thoughtful and eco-friendly wedding favor that will be cherished by all.
Your wedding tables will exude the natural beauty and warmth that only nature can provide, they will not only add rustic charm but also reflect your love for the environment.
Delightful Details: Handmade Place Cards
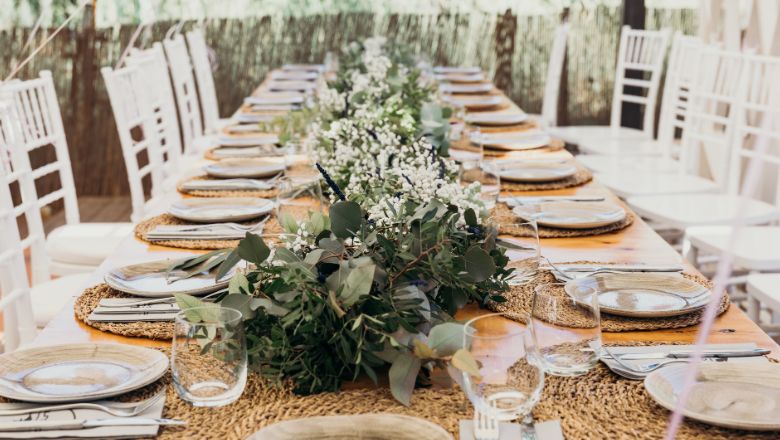
These charming little creations will not only guide your guests to their seats but also leave them feeling special and appreciated.
Let’s dive into the world of DIY and craft these personalized treasures together!
Embrace Creativity
The beauty of handmade place cards lies in their uniqueness and personal touch. Embrace your creativity and choose a crafting style that complements your wedding theme.
Whether it’s elegant calligraphy, playful watercolors, or rustic kraft paper, let your imagination run wild.
Gather the Materials
Depending on your chosen style, gather the necessary materials such as cardstock or watercolor paper, calligraphy pens or markers, paintbrushes, ribbons, or any other decorative elements you want to incorporate.
Express Your Love
Think of creative ways to express your love and appreciation for your guests through the place cards.
You can add a heartfelt thank-you message, a sweet quote, or a fun fact about each guest that will make them smile.
Personalize with Names
Of course, the most important detail on the place cards is the names of your beloved guests.
Write each name with care and attention, making sure to match the style and theme of your wedding.
Make It Stand Out
Consider adding some flair to the place cards to make them stand out on the table. You can attach a small flower or greenery sprig, tie a delicate ribbon, or use an elegant place card holder to elevate the cards.
Place them with Love
On the big day, arrange the handmade place cards on the tables, carefully placing them in a prominent spot.
Your guests will feel genuinely touched by the thought and effort you put into making them feel special.
A Keepsake to Cherish
The best part about these handmade place cards is that they double as keepsakes for your guests to take home.
Your guests will be able to cherish these little tokens of love and remember the wonderful moments shared at your wedding.
Your wedding tables will be adorned with a personal touch that celebrates every guest. These DIY creations are not just simple cards but expressions of love and gratitude that will leave a lasting impression on your loved ones.
Flower Power: Blooming Centerpieces
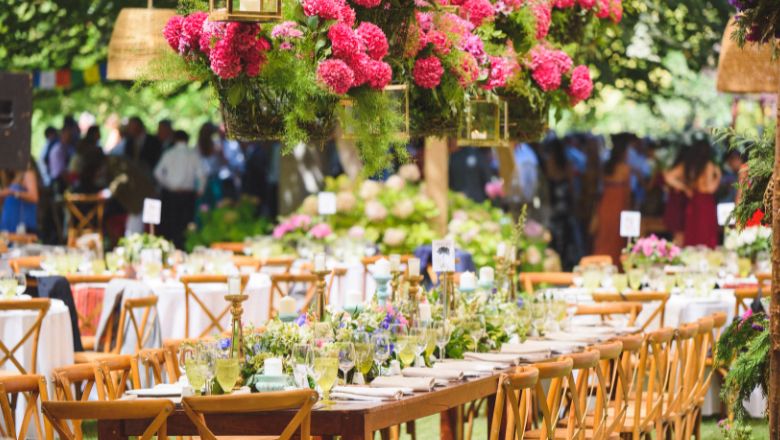
If you’re a fan of floral beauty and want to create an enchanting atmosphere, these DIY flower arrangements will be the showstoppers of your reception.
So, let’s dive into the world of petals and fragrances and craft the most stunning centerpieces together!
Choose Your Blooms
Start by selecting your favorite flowers or a mix of blooms that match your wedding color scheme and theme.
Whether it’s romantic roses, rustic wildflowers, or elegant lilies, the choices are endless. Remember, there are no rules – go with what speaks to your heart.
Get Creative with Vases
The vessels that hold your flowers can add a touch of magic to your centerpieces. Consider using a mix of vintage vases, mason jars, or even repurposed bottles for a rustic-chic look.
Clear glass vases will showcase the natural beauty of the blooms, while colored vases can add a pop of personality.
Play with Heights and Textures
Create visual interest by playing with different heights and textures. Arrange some tall flowers in the center and surround them with shorter blooms or greenery.
Add some cascading elements to create a sense of movement and flow in your arrangements.
Blend in Some Greenery
Don’t forget to incorporate lush greenery to complement your blooms. Ferns, eucalyptus, or ivy can add a touch of freshness and create a natural backdrop for your flowers.
The mix of blooms and greenery will give your centerpieces that effortlessly elegant look.
DIY Floral Wreaths
For a unique twist, consider making DIY floral wreaths as centerpieces. Use a foam or wire wreath form and attach flowers and greenery using floral wire or hot glue.
Hang these beautiful wreaths on the back of the chairs or place them in the center of the table with candles in the middle.
Effortless Elegance
The key to achieving the perfect “Flower Power: Blooming Centerpieces” is embracing the natural flow of your chosen blooms.
Don’t overthink it – let the flowers guide you and create arrangements that exude effortless elegance.
On your wedding day, these blooming centerpieces will not only fill the air with fragrance but also fill the hearts of your guests with joy. The beauty of nature will surround you, and your celebration will be a testament to the power of love and the magic of flowers.
From DIY Novice to Master Crafter: Wedding Table Decorations Achieved!
You’ve now unlocked the secrets to crafting the most enchanting DIY wedding table decorations.
With your newfound creativity and a sprinkle of love, you’ve transformed your special day into a wonderland of personal touches and forever memories.
Remember, it’s not about being a crafting pro — it’s about infusing your wedding with your heart and soul.
The sparkling lights, charming flowers, and delightful details are not just decorations; they’re an expression of your unique love story, one that will leave your guests in awe.
As you stood there, surrounded by your crafted wonders, you knew that every centerpiece carried a piece of you, a piece of your love story. The joy in your heart was matched only by the joy in your guests’ eyes as they admired your handiwork.
And as you bask in the glow of your wedding day, know that your tables told a story — your story — a story that will forever be etched in the hearts of all who were lucky enough to witness it!
