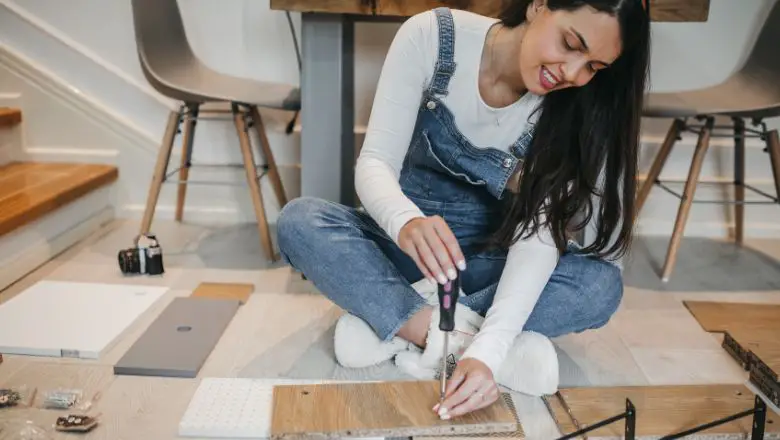
Are you looking for some creative and stunning DIY wall art ideas to add a personal touch to your home?
Look no further!
As someone who loves to decorate my home with unique and personalized pieces, I’ve put together a list of 5 stunning DIY wall art ideas that are easy to make and will add a touch of personality to any room.
From abstract paintings to photo collages, these ideas are sure to inspire you to get creative and make something beautiful for your home.
So, grab your materials, and let’s get started!
Make Your Walls Pop with These 5 Stunning DIY Wall Art Ideas!
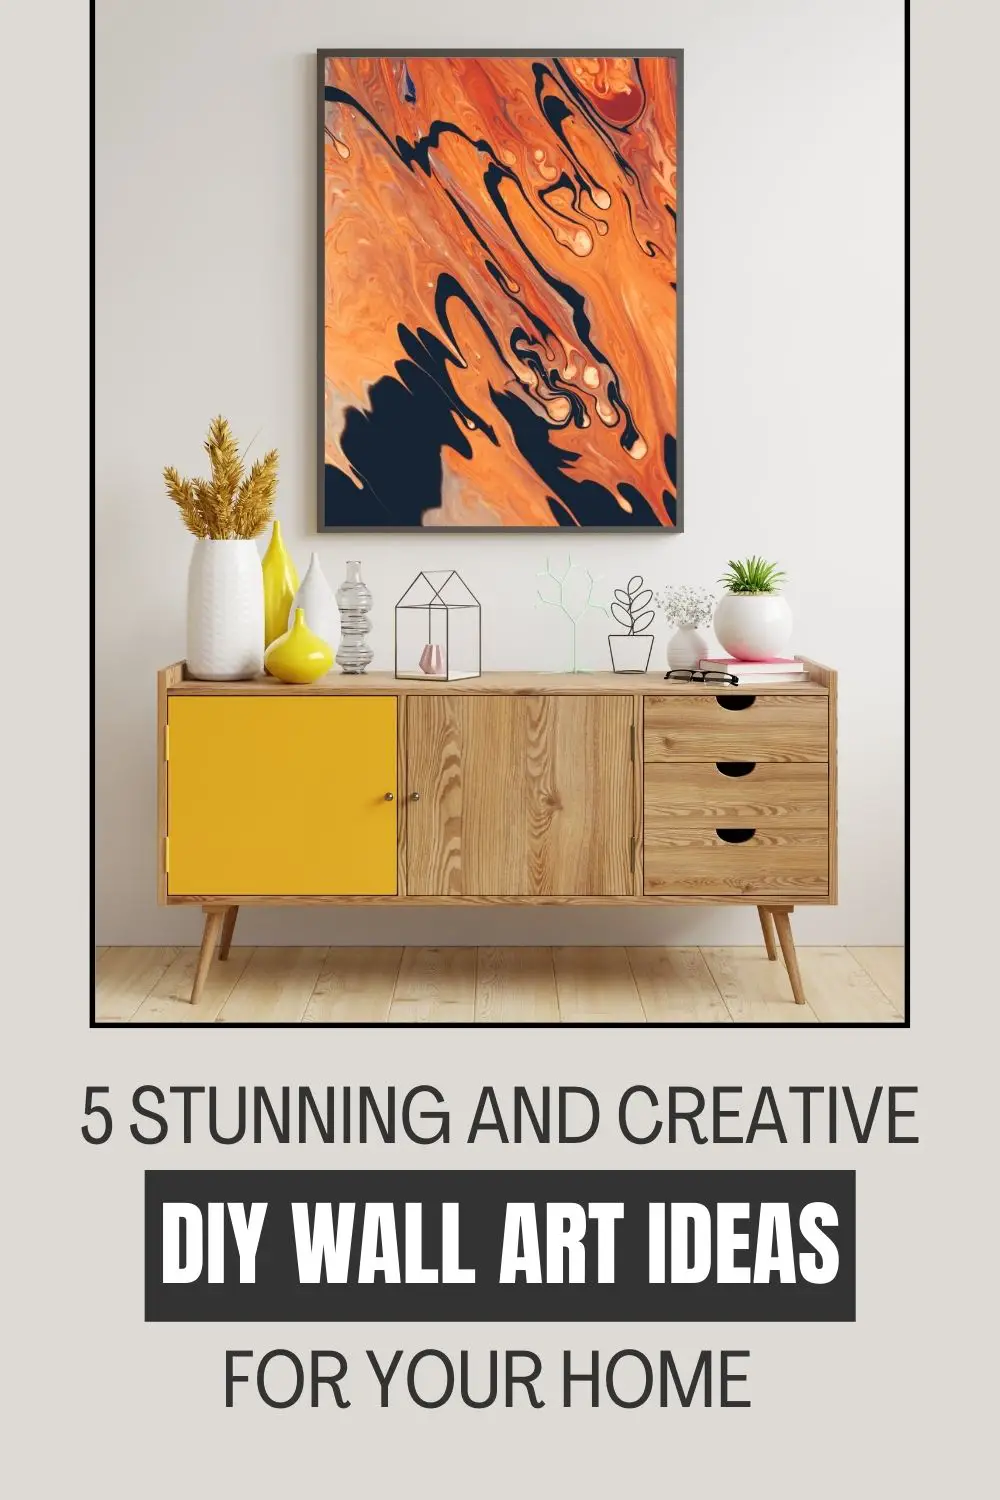
Are you tired of staring at bland, empty walls in your home?
It’s time to unleash your creativity and add some personality and color to your living space with these 5 stunning DIY wall art ideas!
With just a few supplies and some free time, you can transform any room into a work of art.
DIY Wall Art Idea #1: Gallery Wall
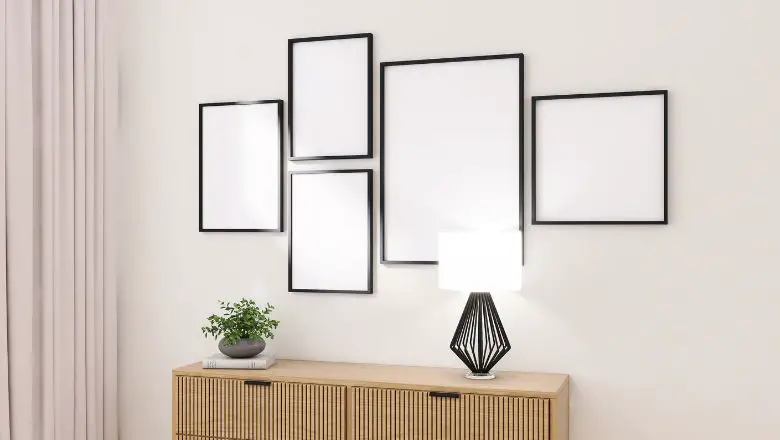
When it comes to adding a personal touch to your home decor, there’s nothing quite like DIY wall art.
And one of the best ways to display your favorite pieces is through a gallery wall.
Here’s what I used to create my gallery wall:
- Picture frames in various sizes and shapes
- Nails and a hammer
- Level
- Measuring tape
- Artwork, photographs, or prints
Step-by-Step Instructions:
- Choose the wall where you want to create your gallery. I chose a blank wall in my living room that required a little extra personality.
- Decide on the layout for your gallery wall. I played around with different configurations on the floor before I started hanging anything on the wall.
- Start by hanging the largest piece in your gallery first. This will serve as the focal point for your wall.
- Continue adding frames to your wall, using a level to make sure each frame is straight. Don’t be afraid to mix and match frames of different sizes and shapes for added interest.
- Once all of your frames are hung, step back and admire your work! You now have a beautiful gallery wall that adds personality and charm to your home.
Tips:
- Choose frames in colors and styles that complement each other for a cohesive look.
- When hanging your frames, leave a little bit of space between each one to create a polished look.
- If you’re not sure where to start, search online for gallery wall inspiration to get ideas.
Creating a gallery wall is a fun and easy way to add a personal touch to your home decor. With a little bit of creativity and the right materials, anyone can create a stunning gallery wall that showcases their favorite artwork and photographs.
So why not give it a try? You might be surprised at how much you enjoy the process and the result.
DIY Wall Art Idea #2: Fabric Wall Art
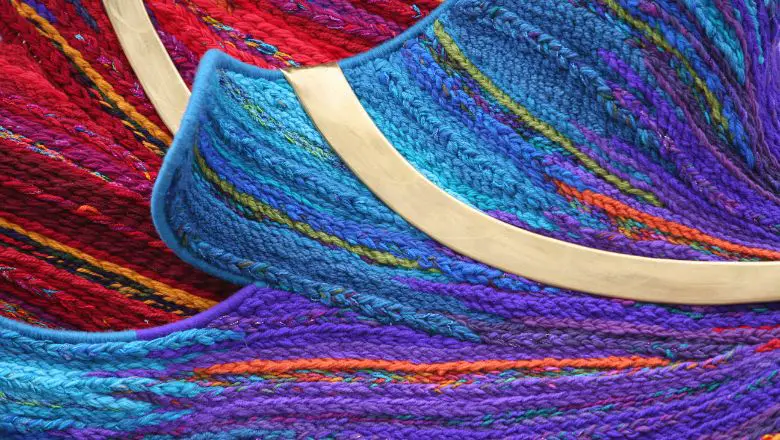
Adding fabric wall art to your home is a great way to infuse color, texture, and personality into any space.
Here’s what I used to create my fabric wall art:
- Fabric (in the design and color of your choice)
- Embroidery hoops (in various sizes)
- Scissors
- Glue or a staple gun
- Command strips or nails for hanging
Step-by-Step Instructions:
- Choose your fabric. I chose a colorful and geometric print that added a playful touch to my living room.
- Decide on the size and shape of your fabric wall art. I used various sizes of embroidery hoops to create a mix-and-match look.
- Cut your fabric to size, leaving a little bit of extra fabric around the edges to fold over the back of the embroidery hoop.
- Place your fabric over the embroidery hoop, making sure it’s centered and taut.
- Secure the fabric in place by folding the edges over the back of the hoop and gluing or stapling it in place.
- Repeat the process for as many fabric wall art pieces as you’d like.
- Hang your fabric wall art using command strips or nails.
Tips:
- Choose fabrics that complement your existing decor and add visual interest.
- Don’t be afraid to mix and match different sizes and shapes of embroidery hoops for added texture and dimension.
- Play around with the placement of your fabric wall art before hanging it to make sure you’re happy with the overall look.
Creating fabric wall art is a simple and affordable way to add a personal touch to your home decor. With a few materials and a little bit of creativity, anyone can create stunning fabric wall art that adds color and texture to any room.
So why not give it a try? You might be surprised at how easy and fun it is to create your fabric wall art.
DIY Wall Art Idea #3: Geometric Wall Art
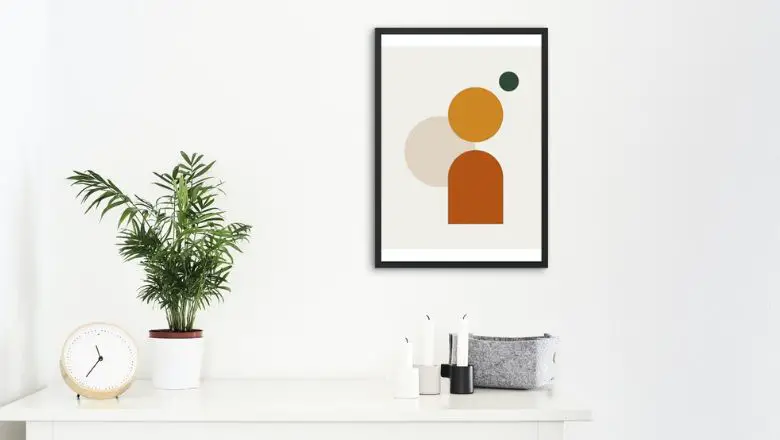
Geometric wall art is a popular trend in home decor that adds a modern and sophisticated touch to any space.
It may seem intimidating at first, but it’s a simple and fun DIY project that anyone can do.
Here’s what I used to create my geometric wall art:
- Painter’s tape
- Paint in the color of your choice
- Paint brushes or rollers
- Level
Step-by-Step Instructions:
- Choose the wall where you want to create your geometric wall art. I chose a blank wall in my bedroom that needed a little extra personality.
- Decide on the shape and size of your geometric design. I chose a series of triangles in various sizes and orientations.
- Use painter’s tape to outline your design on the wall. Make sure the edges are straight and the tape is secure.
- Paint your design in the color of your choice, using a paintbrush or roller.
- Let the paint dry completely before removing the painter’s tape.
- Step back and admire your work! You now have a beautiful geometric wall art design that adds a modern and sophisticated touch to your home.
Tips:
- Don’t be afraid to play around with different shapes and designs to find what works best for your space.
- Choose a paint color that complements your existing decor and adds visual interest.
- Use a level to make sure your design is straight and polished.
Creating geometric wall art is a simple and fun DIY project that adds a modern and sophisticated touch to any room.
With just a few materials and a little bit of creativity, anyone can create stunning geometric wall art that adds personality and charm to their home decor.
DIY Wall Art Idea #4: Botanical Wall Art
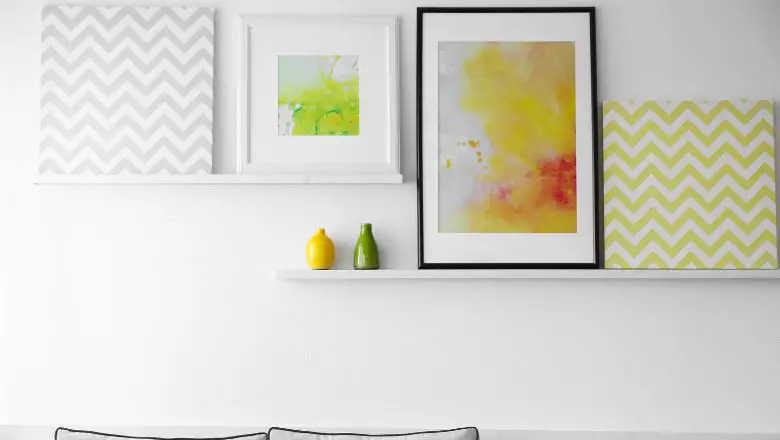
Botanical wall art is a great way to bring a touch of nature into your home decor, which adds a natural and organic feel to any space.
Materials Needed:
- Botanical prints (you can find these here)
- Frames (in various sizes)
- Scissors
- Command strips or nails for hanging
Step-by-Step Instructions:
- Choose your botanical prints. I chose a series of vintage botanical prints that added a timeless and rustic feel to my dining room.
- Decide on the size and shape of your frames. I used various sizes of frames to create a mix-and-match look.
- Cut your botanical prints to size, making sure they fit snugly into your frames.
- Place your botanical prints in their frames and secure the back.
- Hang your botanical wall art using command strips or nails.
Tips:
- Look for botanical prints that complement your existing decor and add a natural touch.
- Don’t be afraid to mix and match different sizes and shapes of frames for added texture and dimension.
- Play around with the placement of your botanical wall art before hanging it to make sure you’re happy with the overall look.
Creating botanical wall art is a simple and affordable way to add a touch of nature to your home decor.
With a few materials and a little bit of creativity, anyone can create stunning botanical wall art that adds charm and character to any room.
DIY Wall Art Idea #5: Painted Wall Art
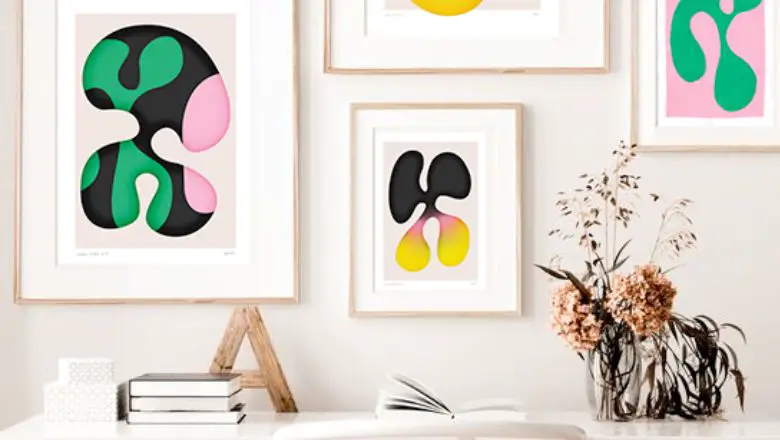
Painted wall art is a versatile and creative way to add a personal touch to your home decor, that allows you to express your personality and add color to any space.
Materials Needed:
- Paint in the colors of your choice
- Paint brushes or rollers
- Painter’s tape
- Stencils (optional)
- Level
Step-by-Step Instructions:
- Choose the wall where you want to create your painted wall art. I chose a blank wall in my home office that required some extra color and personality.
- Decide on the design and colors of your painted wall art. I chose a series of colorful stripes in various widths and shades.
- Use painter’s tape to outline your design on the wall. Make sure the edges are straight and the tape is secure.
- Paint your design in the colors of your choice, using a paintbrush or roller. You can also use stencils to create more intricate designs.
- Let the paint dry completely before removing the painter’s tape.
- Step back and admire your work! You now have a beautiful painted wall art design that adds a personal touch to your home.
Tips:
- Choose paint colors that complement your existing decor and add visual interest.
- Play around with different designs and colors to find what works best for your space.
- Use a level to make sure your design is straight and polished.
Creating painted wall art is a fun and creative way to add a personal touch to your home decor.
With just a few materials and a little bit of creativity, anyone can create stunning painted wall art that adds color and personality to any room.
Get Your Materials Ready and Add a Personalized Touch to Your Home with These 5 Stunning DIY Wall Art Ideas!
Your home is a reflection of your personality and style, and what better way to add a personal touch than with some stunning DIY wall art?
With these 5 easy DIY wall art ideas, you can make your home unique and beautiful without breaking the bank.
Whether you’re looking to create an abstract painting or a photo collage, these ideas are sure to inspire you to get creative and make something beautiful for your home.
So, get your materials ready and add a personalized touch to your home decor with these stunning DIY wall art ideas. Your walls will thank you!
