Spring is in the air, which means it’s time for Easter! One of the most exciting parts of this holiday is decorating eggs.
However, sometimes it can be hard to come up with new and creative ideas.
That’s why we’ve put together a list of 5 easy and fun DIY Easter egg decorating ideas to try this year.
As someone who loves to get creative with Easter egg decorating, I know firsthand how fun and satisfying it can be to create something unique.
So grab your paint, markers, and glitter, and let’s get started! Keep reading to discover these fun ideas that will make your Easter egg decorating the most impressive it’s ever been.
5 Easy & Creative DIY Easter Egg Decorating Ideas
Easter is just around the corner and that means it’s time to get crafty!
Decorating eggs has been a beloved Easter tradition for generations, but why stick to the same old boring designs? With a little creativity, you can turn an ordinary egg into a work of art.
In this article, I’ll share with you 5 easy and creative DIY Easter egg decorating ideas that are sure to impress.
Glitter Eggs
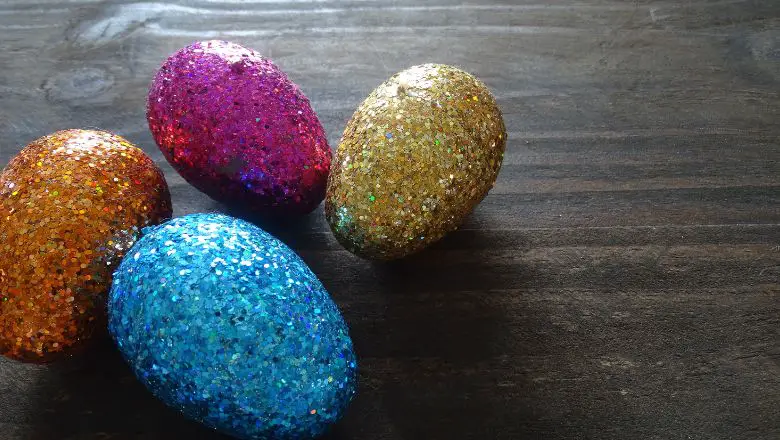
Glitter eggs are a fun and easy way to add some sparkle to your Easter decorations. Here’s how to make them:
Materials Needed:
- Hard-boiled eggs
- Craft glue
- Glitter
- Paintbrush
- Bowl
Step-by-step Instructions:
- Begin by hard boiling your eggs and letting them cool.
- In a bowl, mix craft glue and glitter.
- Use a paintbrush to apply the glitter glue mixture onto the eggs in any pattern you like.
- Let the eggs dry for a few hours.
Tips for Creating the Perfect Glitter Eggs:
- Use a variety of glitter colors to create a more colorful and vibrant look.
- If you’re using fine glitter, apply the glue in small sections so it doesn’t dry before you have a chance to apply the glitter.
- Be careful when handling the eggs as the glitter can be messy.
Glitter eggs are a simple yet stunning addition to your Easter decor.
They’re also a great activity to do with kids, as they’ll love getting to cover their eggs in glitter.
Try it out and see how much fun you can have with just a few simple supplies!
Tie-Dye Eggs
Tie-dye is a classic and fun technique that can be used to decorate Easter eggs. Here’s how to make your tie-dye eggs:
Materials Needed:
- Hard-boiled eggs
- Food coloring
- White vinegar
- Small bowls or cups
- Rubber bands
- Spoon
Step-by-step Instructions:
- Begin by hard boiling your eggs and letting them cool.
- Fill small bowls or cups with a mixture of white vinegar and food coloring. Use a different bowl for each color you want to use.
- Take a rubber band and wrap it around the egg, twisting it in different directions to create a unique pattern.
- Place the egg in one of the bowls and use a spoon to gently coat the egg with the colored vinegar mixture.
- Leave the egg in the bowl for a few minutes, or until it has reached your desired level of color saturation.
- Remove the egg from the bowl and carefully remove the rubber bands.
- Let the egg dry completely before handling.
Tips for Creating the Perfect Tie-Dye Eggs:
- Use a variety of colors to create a vibrant and colorful set of eggs.
- Try out different twisting patterns with the rubber bands to create unique designs.
- Be careful not to let the eggs soak in the vinegar mixture for too long, or they may become too dark or discolored.
Tie-dye eggs are a fun and colorful way to decorate for Easter.
They’re also a great activity to do with kids, as they’ll love getting to create their unique designs.
Give it a try and see how much fun you can have with this classic technique!
Decoupage Eggs
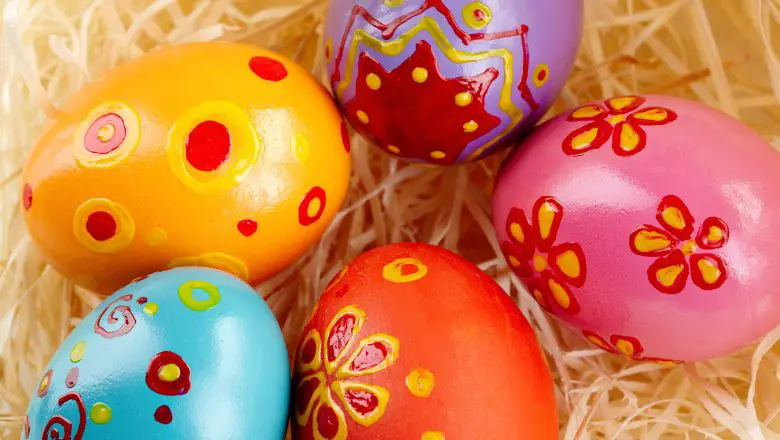
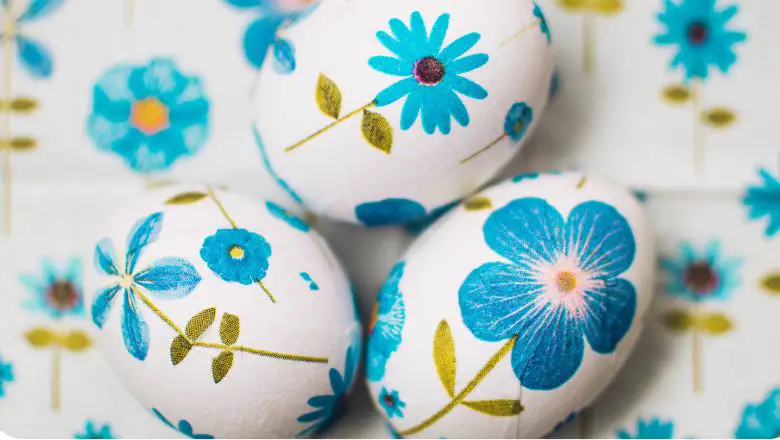
If you love arts and crafts, then this idea is perfect for you! Decoupage is the art of decorating an object by gluing colored paper cutouts onto it.
Here’s how you can use decoupage to make beautiful Easter eggs:
Materials needed:
- Hard-boiled eggs
- Colored tissue paper or napkins with pretty patterns
- Mod Podge or white glue mixed with water
- Paintbrush
- Scissors
Steps:
- Cut out the patterns you want from the tissue paper or napkins. You can cut out shapes, flowers, or even letters to spell out Easter-themed words.
- Apply a thin layer of Mod Podge or the glue mixture to a small area of the egg.
- Carefully place a piece of tissue paper on the wet area and smooth it out with your fingers or the paintbrush.
- Repeat this process, layering the tissue paper pieces until the entire egg is covered. You can mix and match patterns and colors to create a unique look.
- Once the egg is covered, apply another layer of Mod Podge or the glue mixture on top to seal the paper in place.
- Let the egg dry completely.
Tips:
- You can also use colored printer paper or magazine cutouts instead of tissue paper or napkins.
- If you want a shiny finish, you can apply a coat of clear nail polish or spray sealant.
- To make the eggs more durable, you can use blown-out eggs instead of hard-boiled ones.
Decoupage eggs are a fun and creative way to decorate your Easter eggs.
You can experiment with different patterns and colors to make your eggs truly unique!
Sharpie Eggs
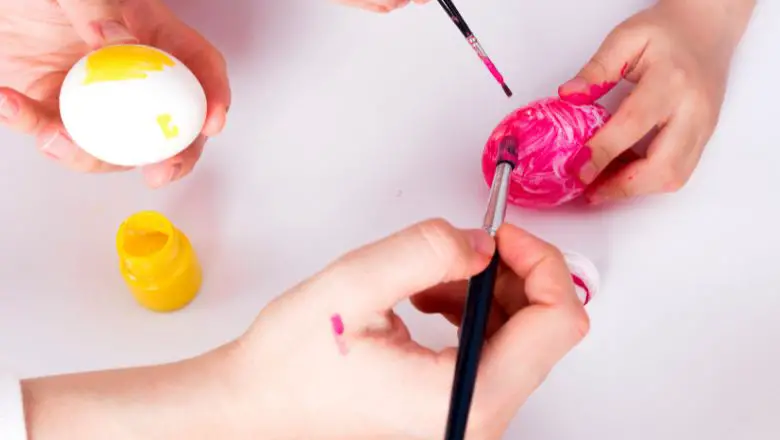
If you’re looking for a simple and easy way to decorate your Easter eggs, Sharpie markers are the way to go.
With a variety of colors to choose from, you can create a fun and unique design for your eggs. Here’s how to do it:
Supplies:
- Hard-boiled eggs
- Sharpie markers
- Stickers (optional)
- Rubbing alcohol (optional)
Instructions:
- Start by hard-boiling your eggs and letting them cool completely.
- Use your Sharpie markers to draw any design you want on the eggs. You can use a single color or multiple colors to create a more vibrant look.
- You can also use stickers to create a stencil for your design. Simply place the sticker on the egg and color around it with your Sharpie.
- If you make a mistake, don’t worry! Just use a cotton swab dipped in rubbing alcohol to remove the Sharpie and start over.
- Once you’ve finished your designs, let the eggs dry for a few minutes.
Tips:
- To make your designs more vibrant, use a white or light-colored egg.
- For a more intricate design, use a fine-tipped Sharpie marker.
- You can also use metallic Sharpie markers to create a shiny and glamorous look.
- If you want to preserve your decorated eggs, blow out the egg before decorating it so it will last longer.
Sharpie eggs are a great way to decorate your Easter eggs with minimal effort and maximum fun.
Try experimenting with different designs and colors to create your unique eggs that will impress everyone this Easter season!
Watercolor Eggs
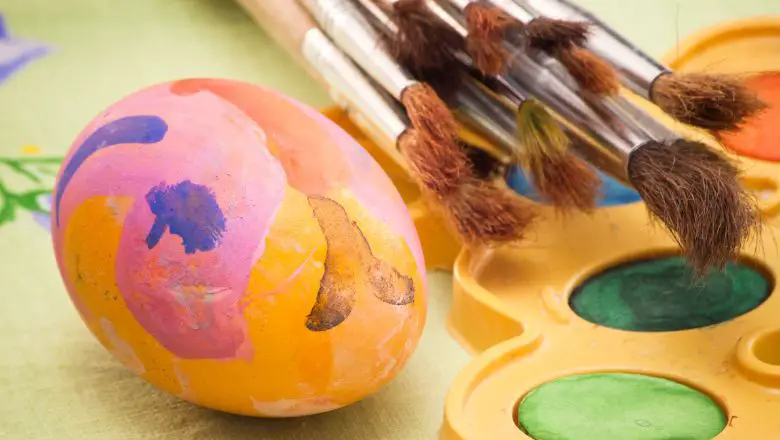
Are you looking for a fun and easy way to decorate your Easter eggs this year? Why not try watercolor eggs? Not only is this technique super easy and quick, but it also produces beautiful, unique eggs that are sure to impress your family and friends.
Materials:
- Hard-boiled eggs
- Watercolors
- Paintbrushes
- Water
Instructions:
- Prepare your hard-boiled eggs and let them cool completely.
- Choose the colors of watercolor paints you want to use.
- Dip your paintbrush in water and wet the egg.
- Choose a color of watercolor paint and apply it to the wet egg. You can experiment with different techniques such as painting stripes, and dots, or blending multiple colors.
- Continue painting until you are happy with the design.
- Let the egg dry completely.
Tips:
- Use lighter colors for a more subtle effect.
- Experiment with different techniques such as splattering or dripping paint onto the egg.
- Use a white crayon to draw designs or patterns on the egg before painting to create a resist effect.
Watercolor eggs are a great way to add a pop of color to your Easter egg collection.
Plus, they’re so easy to make that the whole family can get involved!
Give this technique a try and see how beautiful your eggs turn out.
Get Egg-cited to Try These DIY Decorating Ideas!
In conclusion, Easter egg decorating is a fun and creative way to celebrate the holiday season.
With these 5 easy and creative DIY Easter egg decorating ideas, you can make this year’s Easter eggs stand out like never before.
From glitter to paint and markers, there are endless ways to decorate your eggs and let your creativity run wild.
So, whether you’re decorating with friends, family, or just on your own, give these ideas a try and make this Easter extra special.
Let’s make this Easter egg-cellent!
